Why chickens hide their eggs and how to stop them from doing it
Most flocks of chickens have a routine that their keepers can expect each day. Morning rise and shine, maybe a quick breakfast and romp around the yard, and back to the coop to lay eggs in the nesting box. But what happens when you suddenly don’t find eggs in the nesting box around or after their usual time? Or worse – several days go by with fewer eggs where they should be? There are many reasons why chickens hide their eggs, but we’ll show you how to stop them from doing it.
Why do chickens hide their eggs?
There may be an obvious reason your hens are hiding their eggs, or it may be a combination of external factors. Usually, it’s a problem with the chickens’ nesting box. If conditions are not favourable, hens will seek out alternative locations that may make them feel more comfortable – leading you on an egg hunt each day. Here are the most common qualms hens have about their nesting areas that may cause your chickens to hide their eggs.
Short on space
Each flock is different, but the safest nesting box-to-hen ratio is 1:4. Some hens may be happy to share the same nesting space as 6 or 7 other chickens though, so keep an eye on your numbers. If you notice your hens avoiding the nesting area shortly after adding new flockmates to the mix, it’s probably time for an additional nesting box.
Feeling vulnerable
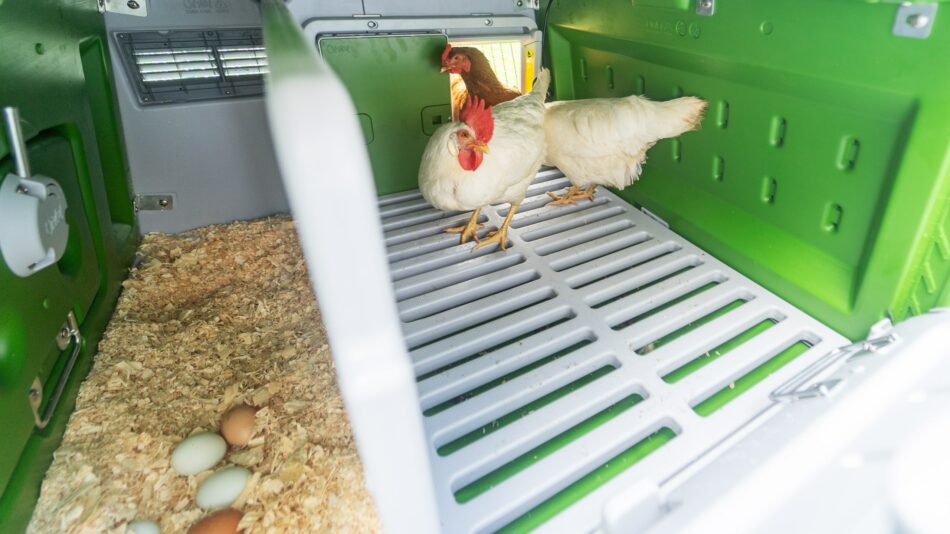
Nesting areas should be quiet, secluded, and comfortable. If there’s too much commotion around the coop, your hens are more likely to go off in search of a more private area to deposit their eggs. Elevated coops with secluded nesting areas are ideal for making hens feel safe and at ease.
Unfavorable bedding
Bedding that hens can manipulate into a nest shape is a favourite among flocks. Thin straw, shavings, or wood fibre make great nesting box bedding. Hens will shift the bedding around to make a doughnut shape to keep a clutch of eggs safely contained. Stiff substrates like rubber pads, thick straw with little to give to it, or artificial turf are not ideal for creating a welcoming nesting area.
Broody hens
If you have a broody hen in the coop, it’s likely to affect all of your layers. A broody hen will fiercely protect their nesting area and the eggs they’re sitting on, which will deter any other chickens from laying there. And, if a broody hen is occupying the sole nesting box for the flock, other hens will be forced to seek alternative options. Breaking a broody hen is essential to getting the entire flock back into their regular routine.
New layers
Pullets (young hens under a year old) that are new to laying might not catch on right away that the nesting box is where they should lay their eggs. It’s not uncommon for young hens to lay their first few eggs in random locations – in fact, the urge to lay an egg might sneak up on a pullet so quickly that they’ll simply lay an egg wherever they are and continue on with whatever they were doing.
Mites
They may not be visible to the naked eye, but if all of the other conditions are right and your hens are still avoiding the nesting box, it may be due to mites. Mites irritate chickens that come into contact with them, causing intense itching and discomfort. Make sure that your nesting boxes are made of materials that are not favourable to mites and can be cleaned thoroughly. Plastic chicken coops and nesting boxes are the easiest to thoroughly clean, and do a great job of preventing mites in the first place.
Ways to get your hens laying in their nest box
Once you’ve identified and corrected any issues with the nesting box, it’s time to redirect your hens back to their designated laying area. You’ll need to seek out where they’ve been laying their eggs in the meantime. Under the chicken coop, in or under other structures like barns or sheds, between hay bales, and in areas with thick grass or bushes are common places hens will use as alternative nesting spots. If your flock free ranges, you’ll want to keep them inside of their run for a few days to reacquaint them with their new and recently improved nesting box.
Clean the nesting area out at least once a week
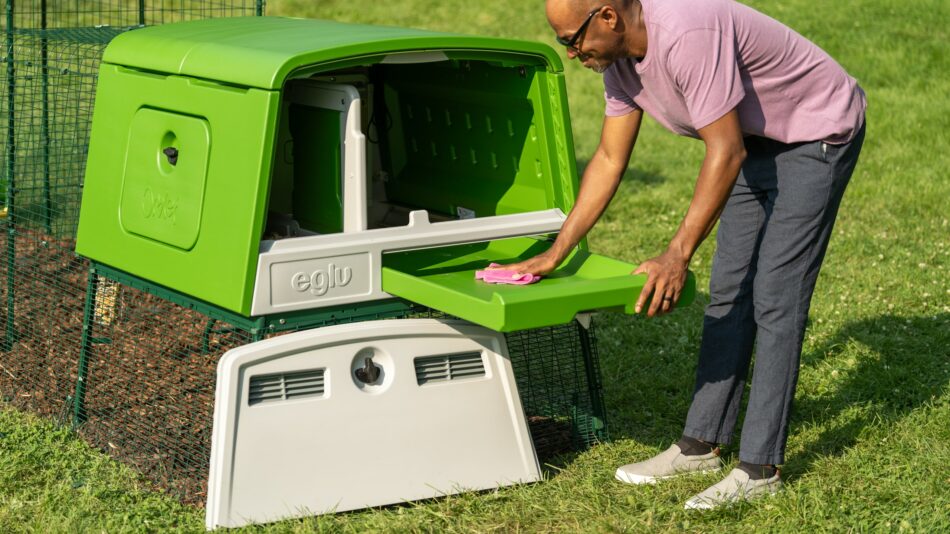
Keeping the nesting area clean will help encourage hens to continue laying eggs there. If you have an Omlet chicken coop, simply slide out the droppings tray and pressure wash or wipe it clean, and refresh the bedding for a clean coop in seconds. However, it’s not normal to find droppings in the nesting area itself unless hens are roosting there overnight. If you find droppings in the nesting box regularly, it’s time to add more roosting space.
Decoy eggs
Wooden or rubber eggs can be placed in the nesting box for pullets to get an idea of where to lay their eggs. It can also serve as a reminder to more seasoned hens that the nesting box is where eggs should be laid. You can also place a fresh egg that your flock previously laid in the nesting box to serve as a decoy. Be sure to only use one decoy egg, as a full nest can serve as a deterrent to hens rather than motivation.
Collect eggs regularly
While fresh eggs can be left in the coop for several days and still be edible, it’s good practice to collect eggs every day or two, depending on your flock’s laying frequency. Too many eggs lead to a crowded nesting area, which can deter hens from laying there. Gathering eggs regularly helps reduce the chance of them getting stepped on and broken by other chickens, decreases interest from predators, and ensures optimum freshness.
Your hens and Omlet
Keeping your hens on task with their nesting routine doesn’t have to be difficult. With our large, innovative Eglu Cube Chicken Coop, your flock will have plenty of room to roost without encroaching on the nesting area, an elevated station to feel more protected, and privacy while laying thanks to a dividing partition. Our chicken products foster the natural urges and patterns that drive hens to lay their eggs – taking all the guesswork out of keeping your flock healthy and happy.
This entry was posted in Chickens


