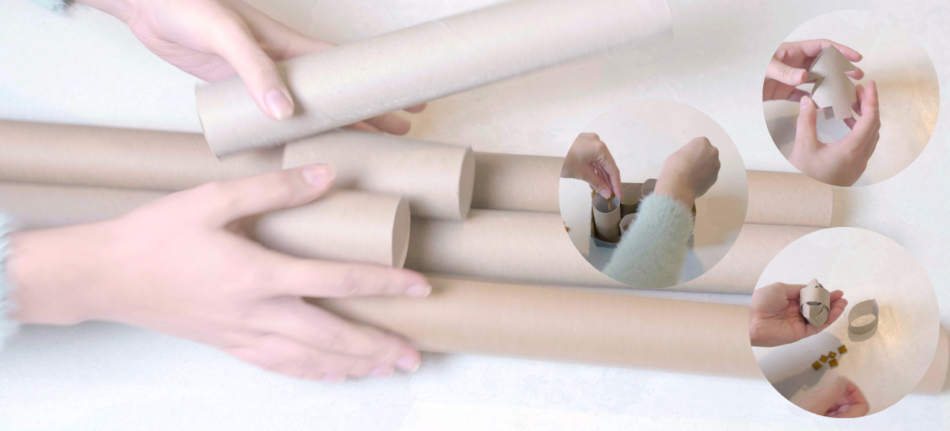
DIY Pet Toys Using Cardboard Tubes
Does your cat get in the way when you’re wrapping presents at Christmas? Are you tired of hunching over badly wrapped socks with sellotape stuck to your fingers? Is your dog snoring in the corner with one eye on the food gift sets?
It’s time to take a break and make some fun DIY pet toys! These four simple toys can easily be made with used wrapping paper cardboard tubes, so you can make great use of the tubes, and keep your pets entertained.
Opting out of wrapping this year? Don’t worry, you can make all these toys with toilet roll or kitchen towel tubes.
Safety note: Always supervise children with scissors, and supervise your pets with these new toys. Give treats in moderation.
Treat dispenser
You will need:
- Toilet roll cardboard tubes or a longer wrapping paper tube cut shorter
- Your dog or cat’s favourite treats/kibbles
- A pencil
- Scissors
How to:
- Cut into one end of the cardboard tubes, and repeat around the edge of the end of the tube, about 1cm between each cut, and up the tube by about 2cm
- Fold the cut pieces into each other and hook together so they hold their position, push your thumb through so the ends point inwards into the tube
- Repeat with the other end, but before closing up the tube and pushing inside, fill with your pets favourite treats or kibble
- Use the pencil to puncture holes into the tube, just about big enough for the kibble to fall out of
- Give to your pet and encourage them to kick the tube around to release the treats!
Slow release feeder
You will need:
- Toilet roll cardboard tubes or a longer wrapping paper tube cut shorter
- A small cardboard box
- Your dog’s favourite kibble
How to:
- If using a cardboard box, cut down the top flaps so it’s a completely open box
- Stand up toilet roll cardboard tubes in the box. You can cut them into different heights to make it more interesting
- Fill the box with your dog’s food
- Place the box on the floor and watch as your dog sniffs out their kibble and nudges and removes the tubes to eat
Christmas tree chewer
You will need:
- Toilet roll cardboard tubes or a longer wrapping paper tube cut shorter
- Scissors
How to:
- Fold a toilet roll tube in half by length (end to end)
- Draw a Christmas tree shape on the toilet roll
- It’s very important to leave a folded edge uncut by about half a centimetre either side – this will hold the tree together
- Once the tree shape is cut, push in the sides so isn’t folded flat, and the tree should stand up
- Place in your hamster’s cage or playpen and enjoy!
Treat ball
You will need:
- Toilet roll cardboard tubes or cut up a longer wrapping paper tube
- Scissors
- Treats or kibble
How to:
- Cut a toilet roll tube into 5 rings
- Place one ring through the other, and a third ring through these 2
- Place another ring through a gap, then pop some kibble into the centre
- Place the final ring through the tiny gap left so it holds its shape
- Roll the treat ball on the floor for your cat or dog to kick around to release the treats!
Watch the video to see the toy making in action!
No comments yet - Leave a comment
This entry was posted in Christmas