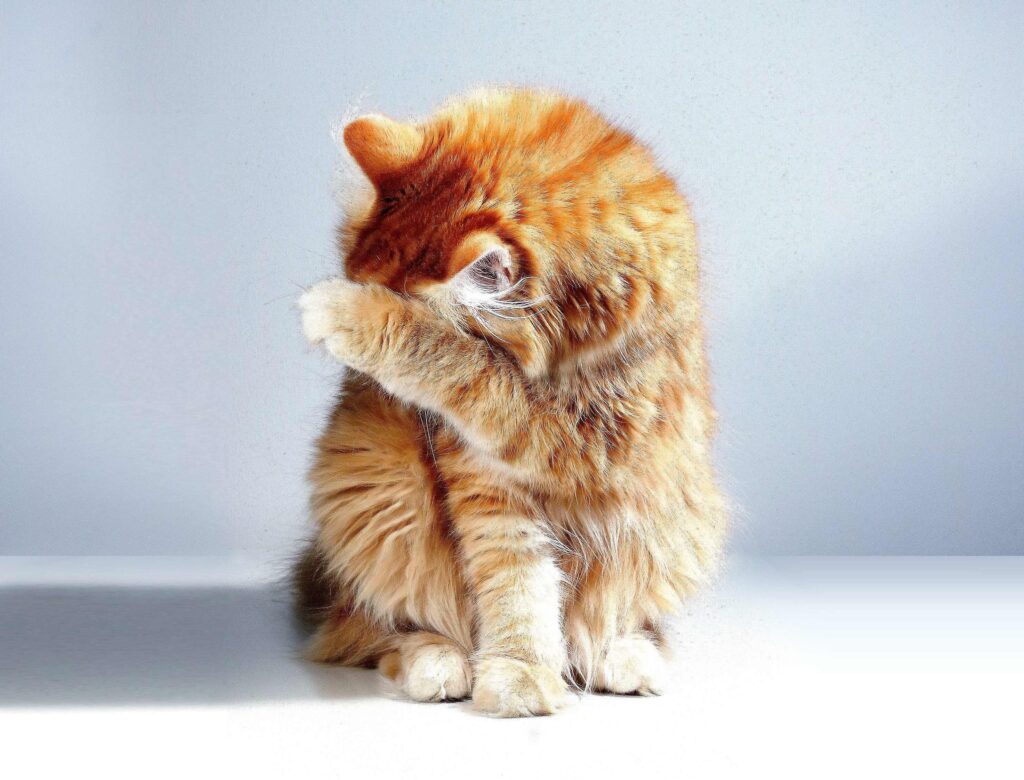
While some cats follow their owners to the bathroom and don’t understand the concept of privacy, many are still wary of who’s watching when they go to the toilet themselves.
Some cats will do their business solely outside, others might do a bit of both, perhaps preferring a warmer toilet in the winter months. Many cat owners choose open litter trays, and don’t always have the option to have the tray hidden away.
But how do cats feel about doing their business?
Why do cats prefer to poop in private?
It’s easy to empathise with our feline friends’ desire for privacy when we remember the troubles their ancestors faced and the natural instincts that’re placed in our moggies’ minds.
Cats have a deep-rooted urge to be alert at all times. Their desire to protect themselves and be wary of their surroundings extends to the toilet.
Using an uncovered litter box while other people are around can make a cat feel extremely vulnerable and exposed, this may especially be the case for anxious cats and rescues.
So it of course makes sense that some cats may prefer to do their business in private, without disturbances, somewhere they can feel safe and comfortable to relieve themselves without the potential of being attacked!
What’s the best litter box for privacy?
Open litter trays give the most exposed and vulnerable toilet experience for cats, and for you they offer the least in the way of odour and mess control. An enclosed litter box, such as the Maya Jump On Top Entry Litter Box, allows your cat to drop down into a dark and secluded litter box, giving them a feeling of peace and privacy to do their business.
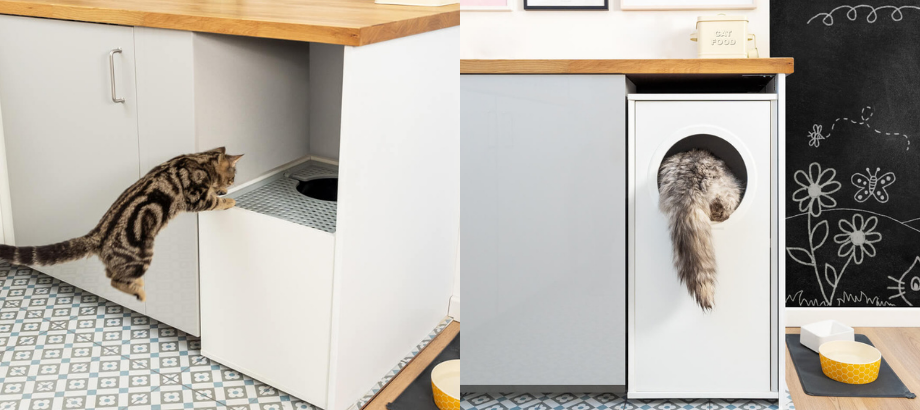
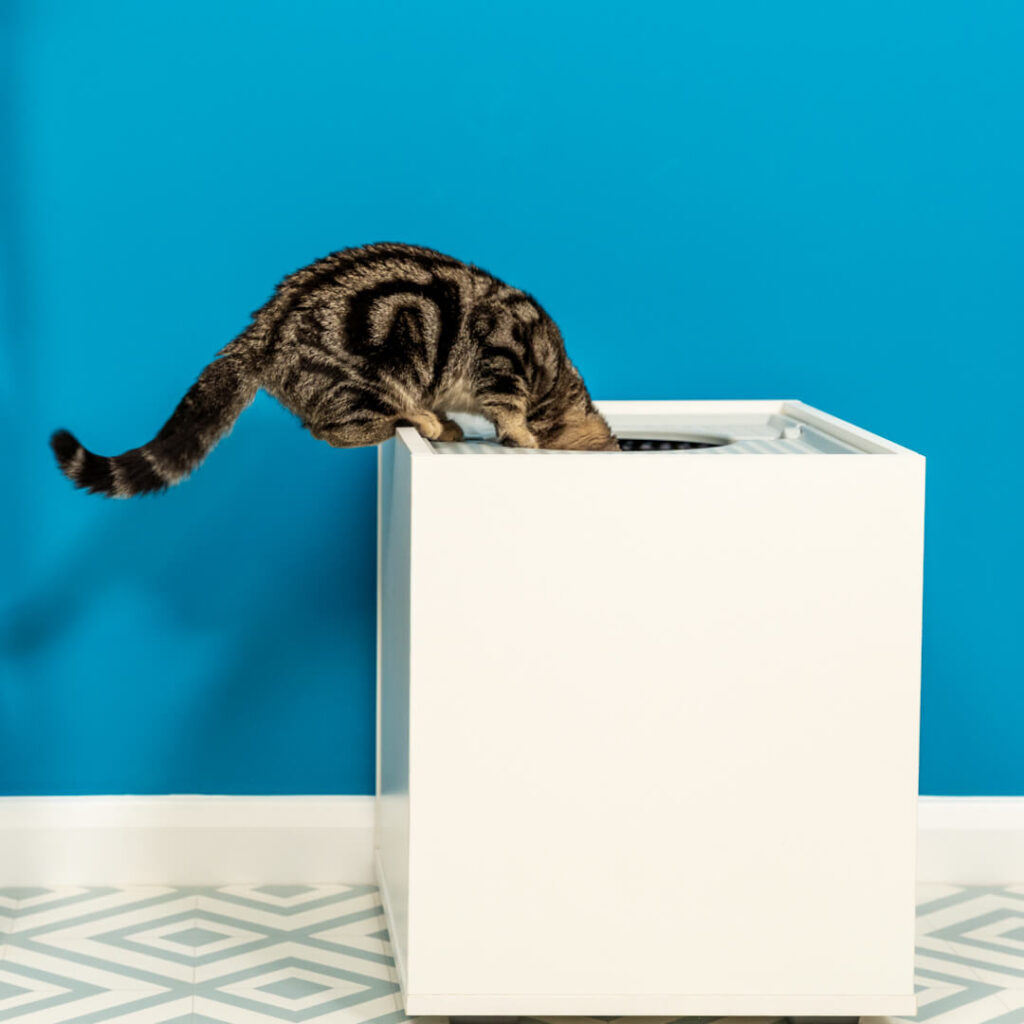
The Maya Jump In Litter Box takes that privacy one step further with a high entry point where cats can jump in and step down into a completely covered litter box. In the Jump In, cats can feel completely at ease that no dogs, children or adults can watch or touch them while they’re using their toilet.
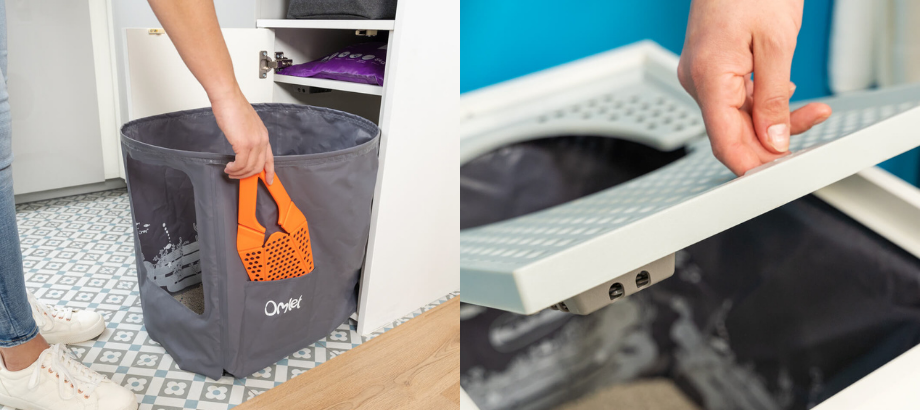
For you, the Maya Cat Litter Box also offers an effective odour control solution, reducing tracking mess around the home thanks to a grid platform which collects loose litter from your pets’ paws, and an easy wipe clean litter liner, with a cute underwater scene printed on the inside for your cat’s to enjoy.
The Jump In’s optional storage space is a great place to keep spare litter and poo bags, and the discreet pocket on the side of the litter liner holds a complimentary, fold-flat scoop, meaning everything you need for used litter removal is always on hand.
Best of all, this litter box fits in your home seamlessly, designed like a discreet cubicle, with no hint to what’s going on inside. This gives your cat that all important privacy, and keeps all the mess which comes with loving a cat hidden out of sight from you and your guests.
 What else can I do to help my cat feel comfortable?
As well as an enclosed, private litter box, there are other things you can do to minimise any feelings of vulnerability your cat may have when they use the toilet.
If you notice your cat is visiting the litter box frequently but never leaving any mess behind, it might be a sign that they have been disturbed and not felt safe enough to do their business.
Leave the room for a while to give your cat the opportunity to use their litter box without noise and disturbances. If you have children or other pets in the house, encourage them out of the room with you so your cat has complete privacy.
If you can, place the litter box in a room which is not frequented often and rarely gets noisy, for example a bathroom or utility room.
Do cat’s dislike using dirty litter boxes?
Another reason for cats being reluctant to use their litter box or visiting without using it, could be that the litter tray has already been used and is dirty. Cats can be incredibly fussy about mess and filth in the litter box, and may decline their used litter as to not dirty their paws!
Make sure you are regularly removing used litter from the litter box, and that you choose a litter with strong odour control qualities such as Omlet No. 4 Clay. A clumping litter like this makes it super quick and easy to remove the used litter without wasting perfectly clean litter around it.
Use the fold-flat scoop in the Maya Cat Litter Box to remove the used clump of litter, and the loose, clean litter will fall back into the litter box through the fine holes in the scoop.
What are the best litter boxes for a multi cat household?
Covered litter boxes are also a wise choice for multi cat households where cats may prefer to do their business in secret from their house mates! Cleaning the litter box regularly is also key if the same box is used by multiple cats, and opting for fresh, hygienic type of litter such as Omlet’s No. 1 Silica provides longevity and ease of cleaning.
Some cats can also be fussy about sharing a cat litter box with a friend. While keeping it clean will help, the scent of another may put off your cat, and bringing a new cat into the home to share the litter box can make an existing cat feel especially annoyed. In this instance you may need to be prepared to get a separate litter box for different cats in the house.
 How and when to give your cat space
Giving your cat privacy extends beyond the litter box. Cats can also feel vulnerable and exposed when trying to sleep in a busy house and particularly anxious cats will search for a quieter spot in the home.
Consider where your cat chooses to rest during the day when the house is busy and make that space comfortable for them, for example, if your cat prefers to nap under a bed or chair, place a blanket or small bed, like a Donut Bed, beneath to make the spot cosy and warm.
If you have children and dogs in the home, it’s a good idea to keep them from your cat’s ‘safe space’ when your cat is resting or grooming.
Also consider where you have placed your cat’s food and water bowls. It may also be advisable to leave the room, or move them to somewhere quieter, where your cat can eat in peace without feeling threatened.
What’s the best litter box for a senior, disabled or pregnant cat?
While tall Jump In boxes will give cats peace and privacy, less agile cats will feel most comfortable with an easy access litter box that won’t cause them pain or discomfort. The Maya Walk In Litter Box offers just that, while still being a relatively covered and discreet litter box for cats who want to feel secluded and safe.
7 Reasons You and Your Cat Will Love the Maya Litter Boxes
1. Easy to clean cat litter box solutions, reducing smell and mess
2. A range of entry point options and litter box styles to suit all cats
3. Designed to fit seamlessly into your home like a piece of furniture
4. Enclosed litter box to give your cat the privacy they desire
5. Durable, reusable and long lasting litter liners are easy to wipe clean
6. Includes a complimentary Omlet folding scoop in discrete pocket
7. Push-to-open door prevents accidental opening
Which litter box should I choose for my cat?
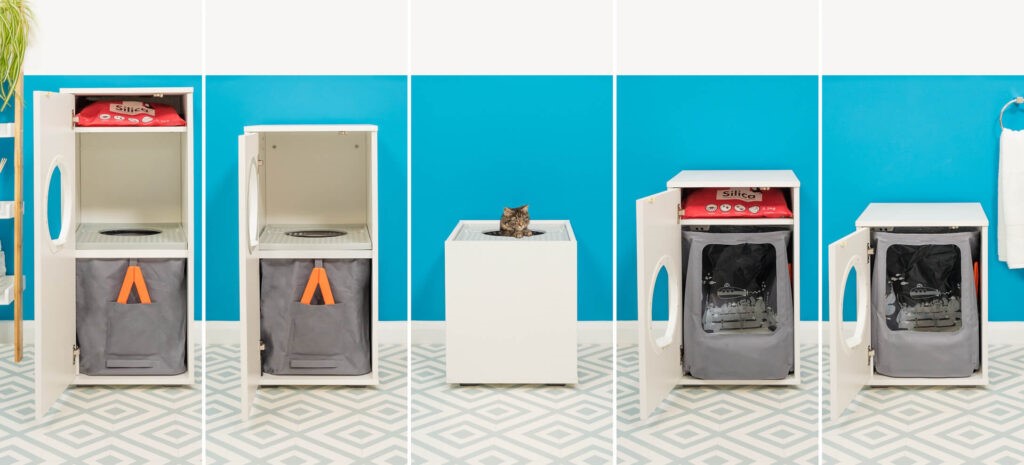
All the Maya Cat Litter Boxes offer an easy clean solution and effective odour and mess control, in a discreet, seamless unit. Find the right box for you and your cat from the range of 5 entry points…
Jump On – Anti-Tracking & Low Mess
Walk In – Senior & Disabled Cat Friendly
Walk In + – Senior Cat Friendly with Storage
Jump In – Anti-Tracking & Discreet
Jump In + – Anti-Tracking with Storage
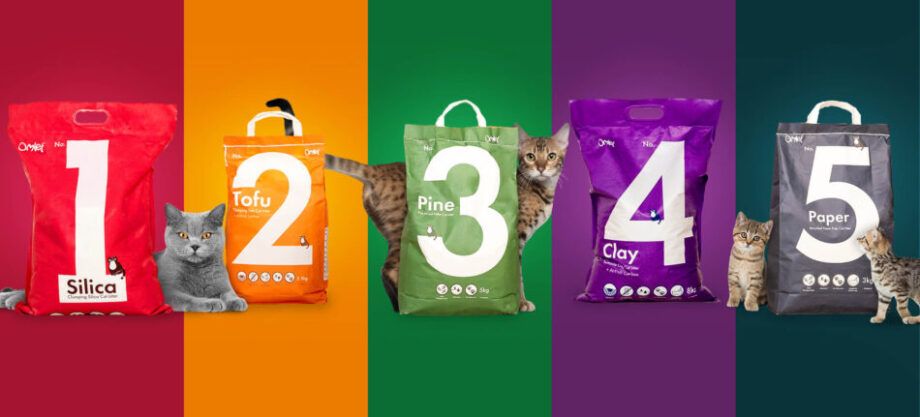
Discover Omlet Cat Litter
Our modern range of high performance cat litter offers excellent odour control and highly absorbent particles to eliminate bad smells from your litter tray. With 5 different types of cat litter on an easy to compare page you’ll find the perfect litter for you and your cat.
Use our clever Cat Litter Selector to get an expert recommendation for your cat. We only sell direct, with competitive pricing and free delivery.
This entry was posted in Cats on June 2nd, 2021 by juliakretzner

Chickens pretty much take care of themselves from an early age. However, there are certain things you need to avoid if you want your baby chickens to get the very best start in life.
In this article, we present six easily preventable pitfalls.
1. Not having the brooder ready before the chicks arrive
You need to sort out the chicks’ housing – known as a brooder – before the birds arrive. Otherwise, there will be nowhere to put them, and that would be disastrous.
You can buy brooder boxes made specifically to keep chicks in, or you can make a DIY brooder using a cardboard box or plastic bin with holes in the side. Only choose the DIY avenue if you’re 100% confident you know what you’re doing.
The important thing is to keep the birds in a warm and well-ventilated space, but protected from drafts. As a rule of thumb, allow two square feet per chick – this is more than enough space for fluffy newcomers, but remember you will also need to make sure they have enough room when they get bigger – which they will do very quickly!
A chicken wire covering for the top of the brooder is advisable. Chicks can easily ‘fly the nest’ if the sides of the brooder are less than 45cm high. Older chicks need roosting poles for perching when they sleep, and will appreciate the inclusion of these in the brooder.
2. Not getting the temperature right
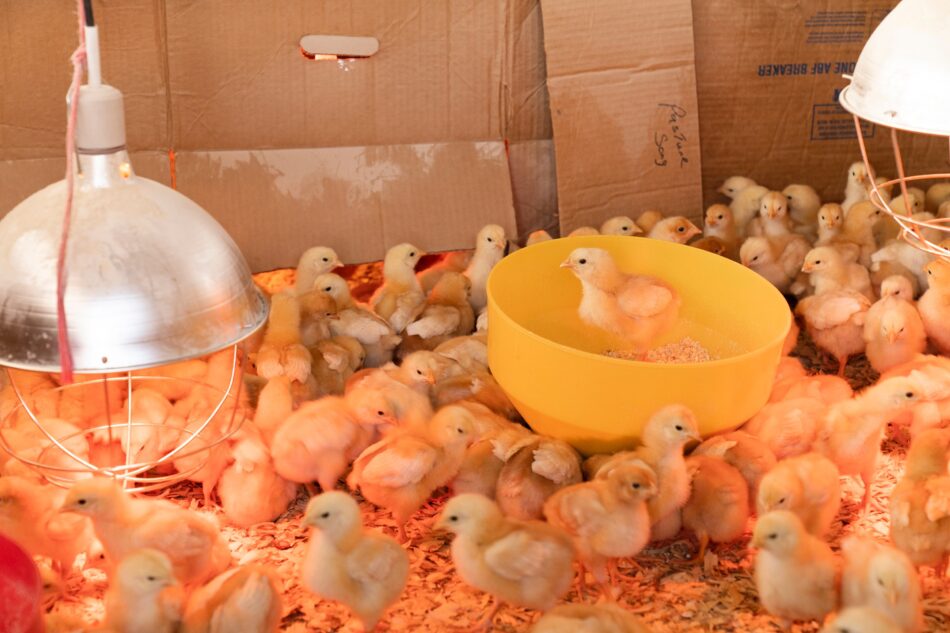
Too much or too little heat can kill chicks, so this is another life-or-death issue. The chicks need to be kept in a temperature of 35 °C (95 °F) in their first week. The heat should then be reduced slightly every five days or so until you’ve reached room temperature.
The source of heat is an important detail too. A heater designed explicitly for coops and aviaries is the best option, or a red heat bulb. You should not use a white heat bulb, as these produce glare that keeps chicks awake at night. This will make them irritable, as a result of which they may start pecking each other. Standard light bulbs are not suitable either.
Even the correct type of heater or bulb will need some adjusting in terms of where it hangs, and how high it is from the ground. Watch how the chicks behave in relation to the heat source. If they crowd together directly under the bulb or in front of the heater, it means they’re too cold. Lower the heat source or add an additional one, depending on the situation.
If the chicks cluster away from the heat source, they’re probably too hot. In this case, the heater or bulb will need to be moved further away, or its temperature reduced slightly. The chicks’ behaviour may change as they grow larger and the space becomes more crowded, so watch them carefully each day.
3. Using the wrong type of bedding
With chicks, it’s not a case of “any old bedding will do”. Use wood shavings or other non-toxic, absorbent material recommended for baby chickens. Avoid newspaper or shredded magazines, and don’t use aromatic, oily woods such as cedar. A 2.5cm layer of this bedding will be enough. If you omit the bedding, the chicks are in danger of slipping and sliding on the surface, which can lead to an injury called “splayed leg”, which is a life-threatening condition. The bedding should be changed at least once a week to prevent sticky droppings from accumulating.
4. Getting the wrong type of feed
Starter feed – in the form of either ‘crumble’ or ‘mash’ – is the essential basis of a chick’s diet. If your chicks have been vaccinated against coccidiosis, you will need to buy an unmedicated feed. The starter feed will double as a ‘grower’ feed, intended for chicks for up to 16 weeks. Some varieties, however, are for the first four weeks only, after which you can switch to a ‘grower’ feed.
Chicks will also enjoy a bit of fresh food as a treat, either vegetables or worms and bugs. These should never replace the starter feed mix, however. Chicks only eat as much as they need, and there’s no danger of them over-eating. So all you have to do is make sure the feeders are topped up at all times.
Like adult birds, chicks require grit to grind up their food. It needs to be sand grain-sized rather than the small pebbles and shell fragments that grown birds require.
The chicks will need food and water dispensers. Buy custom-made ones rather than improvising with dishes and trays: these inevitably end up fouled and/or spilt. Very young chicks will need to have their water changed at least twice a day, as they very quickly dirty it.
5. Forgetting to perform daily health checks
A chick health check is a simple case of looking at the young birds and making sure they look as lively and alert as usual. A chick that sits alone and looks lethargic or fluffed up when the others are active may be unwell. An ill chick will deteriorate very quickly and die.
The most frequent health issue encountered in young chicks is ‘pasting up’. This is when their droppings become encrusted on their bodies, preventing them from pooping. An affected bird can be cured by wetting the pasted-up area with warm water and wiping it clean. You may occasionally have to use tweezers to remove a plug of poo from the vent. The chick will need holding securely during this rather delicate and undignified procedure. If left blocked, a pasted-up chick could quickly die.
Note: if there is a thin dark strand hanging from a chick’s rear end, this is NOT pasting up. It’s the dried up umbilical cord that attaches the bird to its yolk inside the egg. It will fall off in a few days.
6. Moving chicks outdoors too quickly
Chicks can spend up to three hours a day outdoors once they’ve reached two weeks, as long as there is someone to supervise them. A large wire cage or portable run will do the job. The birds should only be placed outside if it’s at least 18 °C (65 °F), dry and not too windy. They will need food, water and shade.
Note: If you take the chicks outdoors before two weeks old, or if you leave them for more than three hours, they may catch a chill or sunstroke (depending on the prevailing weather). These shocks to the system can kill a small bird.
By 12 weeks, the young hens are old enough to move into an Eglu chicken coop and run. They will still be too small to negotiate the roosting bars, so these should be removed until the chicks are big enough to perch and walk across them safely. If you have an Eglu Cube Chicken Coop, the chicks may have to be lifted in and out of the roosting and laying area, as they often struggle with the ladder. This can be converted into a ramp during these early weeks, to make things easier for the hens.
The roosting area of the Eglu – or any other walk-in coop and run set up – should have lots of chicken bedding to ensure the hens stay warm at night. The bedding should also be replaced at least twice a week.
Chicks soon pick up the dos and don’ts of life from your other birds. A lot of their behaviour, remember, is based on instinct, so as long as you give them the right environment, nature will take care of the rest.
This entry was posted in Chickens on June 2nd, 2021 by juliakretzner
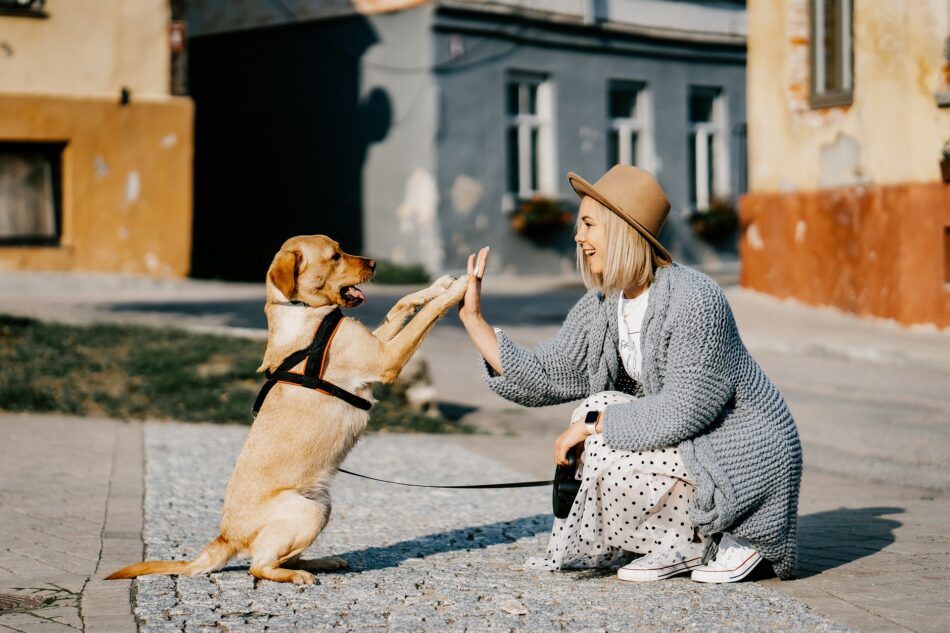 A dog who has been taught positive behaviour will be your best friend – fun, affectionate and reliable. It’s straightforward teaching your dog this canine version of positive thinking, but it won’t happen unless you lead the way.
There are many ways of teaching a dog the rights and wrongs of living in the human world, and that extends to how they interact with other dogs and the world around them. In this article, we reveal the five rules of thumb for all dog owners – whether you’re training an adult dog or a puppy.
Encouraging Positive Behaviour in Puppies
Puppies recognise when we’re pleased or displeased. It’s all part of their instincts, and in the wild this instinct helped their wolf ancestors find their place in the pack very quickly. Learning their place in the big wide world is all about positive reinforcement.
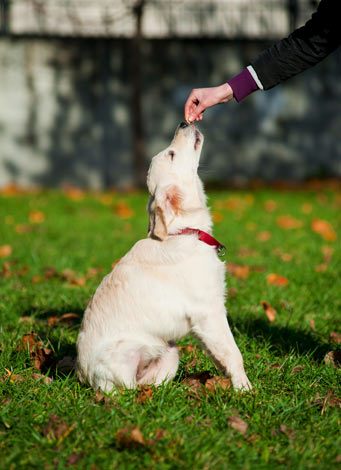
1. Puppy Treats. Dogs of all ages love food and will put lots of effort into doing what you want them to do as long a there’s a yummy treat at the end of it! This means treat-based training can be used for everything from toilet training to basic obedience training and that all-important early socialisation. The message here is simple and timeless – do this right, and you’ll get a treat!
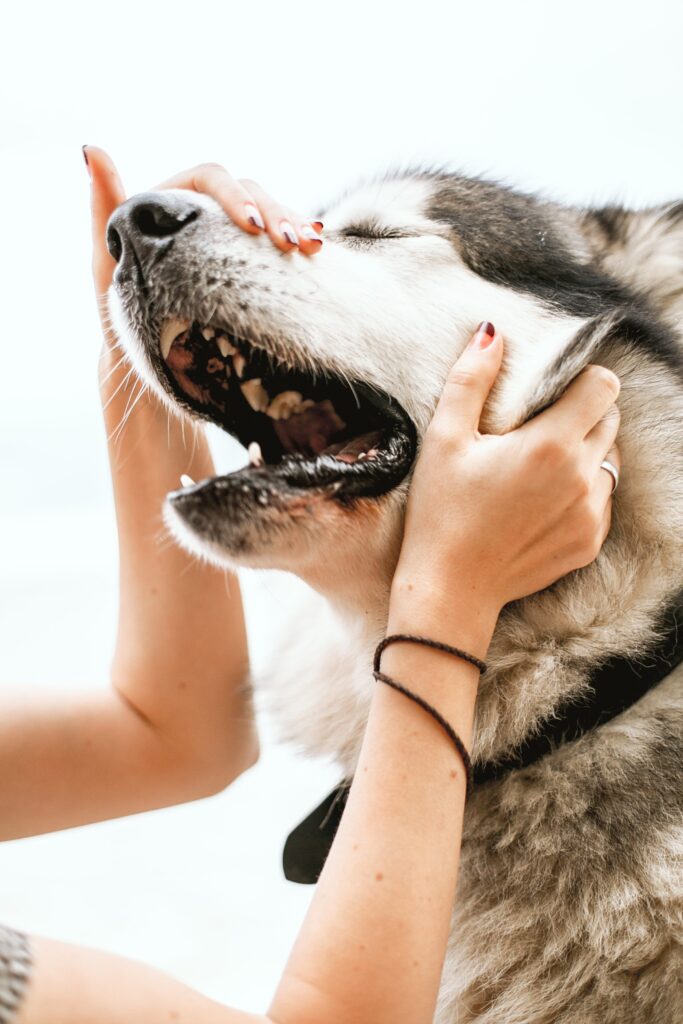
 2. Affection. This is arguably even better than a food treat! Bonding with a puppy involves physical contact in the form of belly-rubs, back stroking and lots of gentle words of affection and encouragement.
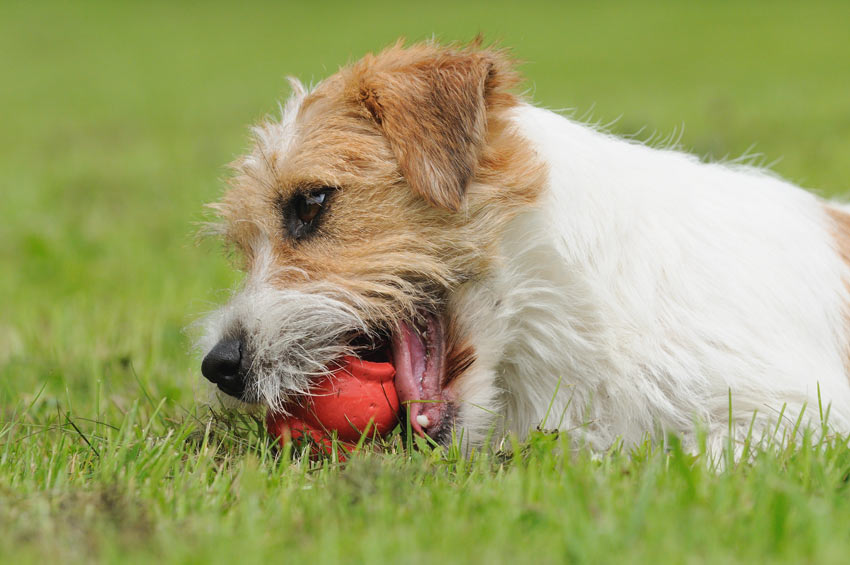
3. Fun and games. Tug-of-war, fetch and simply running around the garden with you are games that puppies love. What’s more, they strengthen the bond and love between you and your pet, and that’s the perfect groundwork for training and encouraging positive behaviour.
 4. A trip to a favourite place. This is a great treat for dogs, and can be as simple as a trip to the park, or perhaps to a favourite street for an on-lead walk, or maybe a shop that sells some of those yummy treats! If this is being done as a reward for good behaviour, make sure your puppy knows it by telling them what a good boy/girl they are as you put the lead on or get into the car!
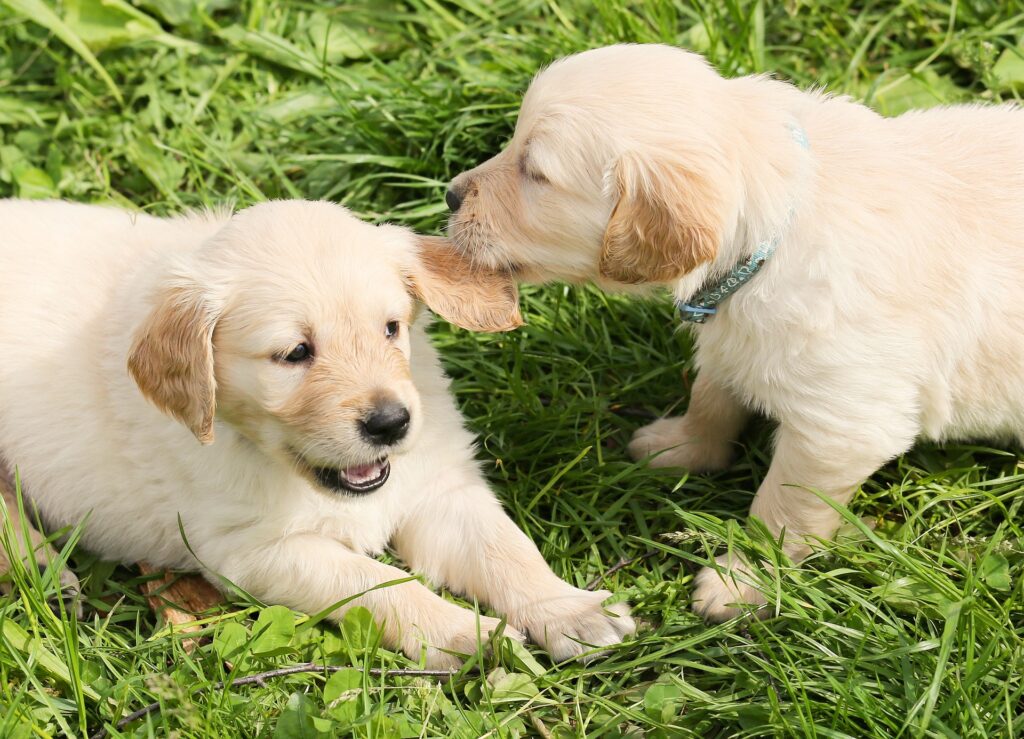
5. Puppy playdates. Starting these early is a great way to socialise your puppy, and that provides the basis for all the positive behaviour training. Young dogs love meeting each other – it’s not going to be a quiet morning out with your furry friend, but it’s one that will give him or her essential social skills.
Encouraging Positive Behaviour in Adult Dogs
The basics are simple. Positive reinforcement rewards a dog for good behaviour and ignores, rather than punishes, undesirable behaviour. Punishment will only lead to confusion and fear in your dog, reducing your chances of achieving the full benefits of positive-behaviour training.
Here are the five ways to make everything go smoothly, no matter which dog breed you have.
 1. Keep it simple. One-word commands are better than complex ones. We’re talking here about sit, come, sat, etc. Save the long-winded exchanges for praise and affection! A training session based on simple commands and treats is a great start for encouraging positive behaviour. Which brings us to…
2. Treats. Just like puppies, adult dogs will be well and truly ‘reinforced’ if treats are involved. Some breeds are more food-obsessed than others, but all types of dog will quickly learn that good behaviour results – at least in the early days of training – in a yummy treat.
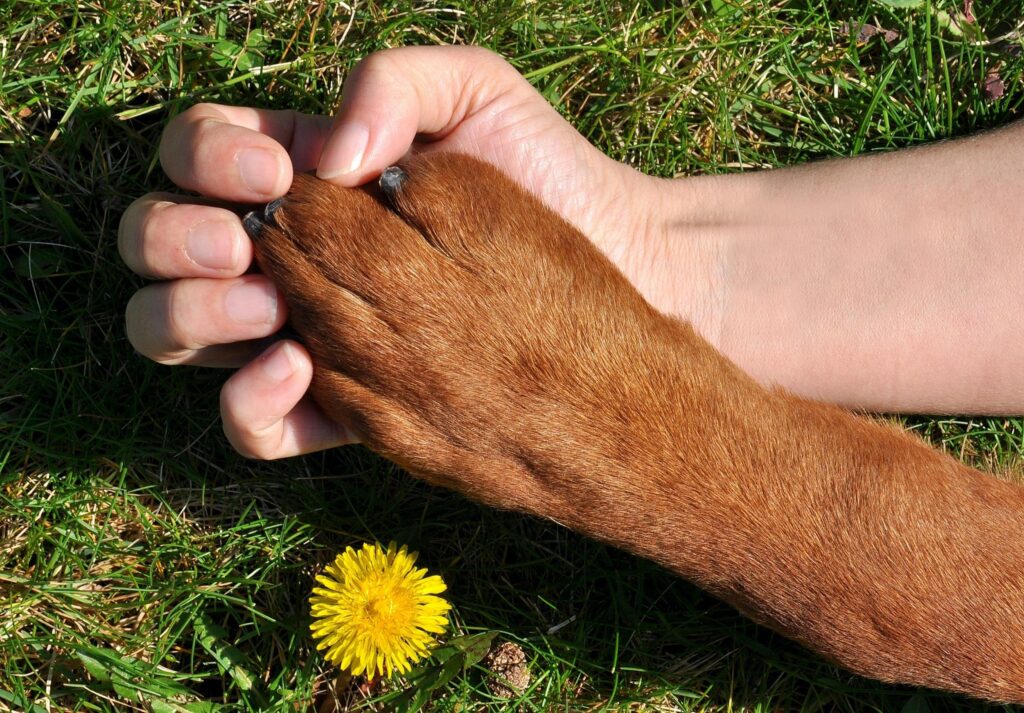
 3. Quality time. Dogs are social animals by instinct, and they will thrive in human company. Once you and your pet are the best of friends, the positive behaviour training will be much easier. If there’s any nervousness or standoffishness in your dog, they will be less able to take on board the things you’re trying to teach them. So, keep up the contact, and play with them every day.
4. Make it fun. A long session of ‘sit, lie down, stay, come’, etc. will soon become boring for a dog. A short session of command-based training followed by a bit of fun, however, will make your dog look forward to the sessions every time. After five or ten minutes (depending on your dog’s stamina), round off the proceedings with a game or a walk. The dog will soon realise that “If I do this tricky bit, I get that fun bit afterwards!” It’s a trick that works just as well with young children – “Finish your homework, and then we’ll go out on the bikes!”, that kind of thing.
5. Get everyone involved. Once your dog has grasped some of the basics, other members of the family, or friends, can reinforce the good behaviour by running through some of the training with your dog. Your pet will then learn that positive behaviour is part of their general lives and applies in all situations with all people.
This latter point is the ‘quantum leap’ for a dog – the idea that positive behaviour extends beyond their immediate owner to the big wide world around them. Getting them to this point takes time, there’s no doubt about that, and some breeds are a lot easier to train than others. However, once the work has paid off, you’ll have a doggy best friend you can be truly proud of!
This entry was posted in Dogs on June 2nd, 2021 by juliakretzner