The closest ancestors of the domestic cats were solitary wildcat species that didn’t have to, and in most cases didn’t want to, draw attention to how they were feeling. Showing weakness would potentially expose you as an easier target for predators or competing cats. This is still present in cats today; in most cases they will try to hide what they are feeling from you.
With that being said, they do of course communicate. With other felines, and with us. They use scents and vocalisations, but also a lot of visual cues in the form of body language.
When you’re trying to analyse and understand your cat’s body language it’s important to use the context of the whole situation rather than just looking at one thing. Check the surroundings and try to work out what factors might affect your cat. Is there anything that might make the cat stressed, angry or worried? This might make it easier to understand the cat’s, not always crystal clear, signals.
There are five things to focus on when trying to read your cat’s body language. Eyes, ears, face, body and tail!
EYES
Slow blinking – Eyes that blink slowly or are half closed indicate that your cat is really relaxed and trusts that the situation is not threatening. Try blinking back in the same slow way to mimic the cat’s behaviour. This is a great bonding exercise for the two of you.
Dilated pupils – Given it’s not extremely dark in the room, large pupils indicate that your cat is feeling surprised, or scared and anxious. Normally the eyes will also be open wide, and the cat will not blink.
Constricted pupils – If the pupils on the other hand are very small and constricted, your cat will most likely feel tense, possibly bordering on aggressive.
Staring – If your pet locks their eyes on something or something, it is likely to be a challenge. If it’s you the cat is staring at – best not to approach!
EARS
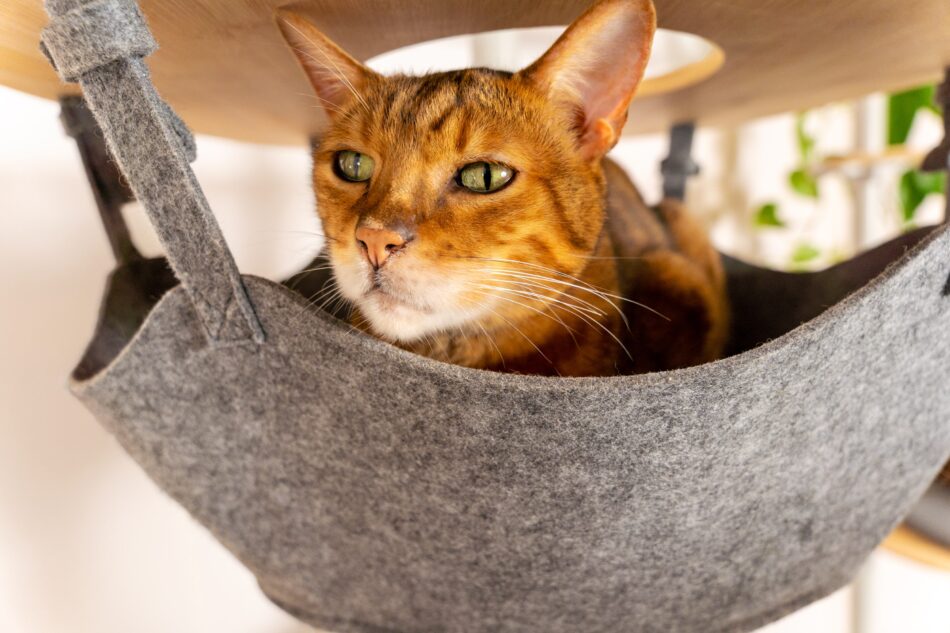
Pointing slightly up and forward – A content and relaxed cat will keep its ears held upright and pointing forward. This is the default ear position, and the ears will probably move somewhat as the cat follows familiar sounds in the room.
Pointing straight up – This is a sign of a cat who is alert and ready to go. They might have heard something they want to investigate, but will first listen out a bit longer.
Pointing in different directions – If one ear is angled to the side and the other one points backwards it is possible that the cat is nervous and trying to assess the situation to get as much information as possible.
Pointing back, lying flat against the head – This is a sign of an annoyed, angry and potentially aggressive cat who is ready to pounce. It’s best to leave them alone.
FACE
A relaxed and happy cat will have relaxed whiskers pointing going out from the face. Many cats also have a relaxed facial expression that resembles a smile.
An anxious or scared cat will pull its whiskers back along the side of the face to take up as little space as possible and not seem like a threat. Or if they are on high alert, the whiskers will point forwards.
If the whiskers stand erect pointing away from the face, or forwards, it’s a sign that the cat is angry. He or she might show their teeth and hiss or growl.
BODY
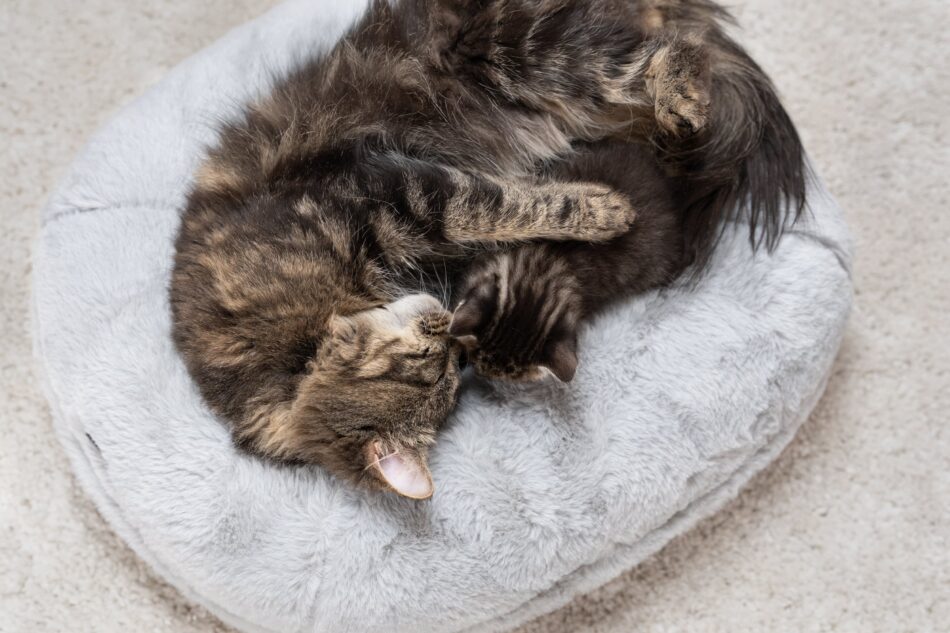
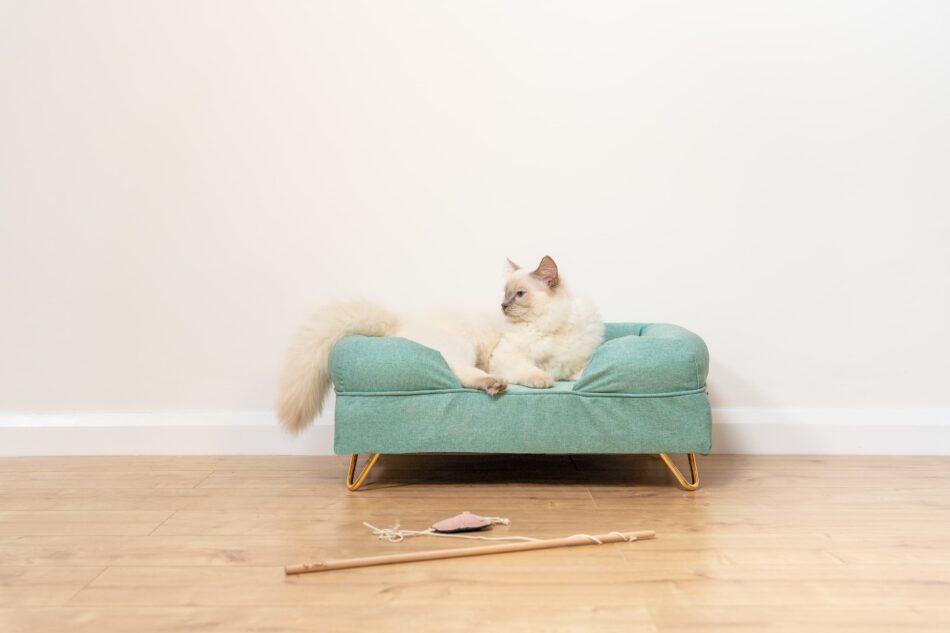
The neutral body stance for a cat is relaxed and even, with no tension. If they are lying down, they will be stretched out or curled up into a ball with their paws tucked in under the body. Often this might be followed by purring, a sign that the cat is content and relaxed.
An anxious or scared cat will in most cases just run away and hide somewhere away from what is frightening them, but if it’s not possible they will crouch very still on the ground with their head held low.
An angry cat will try to make itself look as big as possible, with the fur pointing away from the body, straightened front legs and an arched back.
It’s worth noting that a cat that’s lying on its back might not want a belly rub. Just as dogs they are trying to show submission, but would in most cases prefer just to be left alone.
TAIL
Tails tell tales! As well as helping cats to balance, your feline friend’s tail tells a lot about how they’re feeling, making it an incredibly valuable tool for communication. Since it’s connected to a cat’s spine, the tail is a part of their nervous system, which also makes it very sensitive. Here’s exactly what your cat’s tail is trying to say.
Held upright – Whilst dogs and cats use their tails to express their emotions, this doesn’t mean they are saying the same thing. For example, when a dog holds their tail upright, it often means that they’re alert. However, for a cat, this is a sign of a happy cat that wants attention and company. The tail can also be relaxed, but normally doesn’t move.
Held straight down – This means that the cat is scared or upset. A scared cat can also hold its tail under its body.
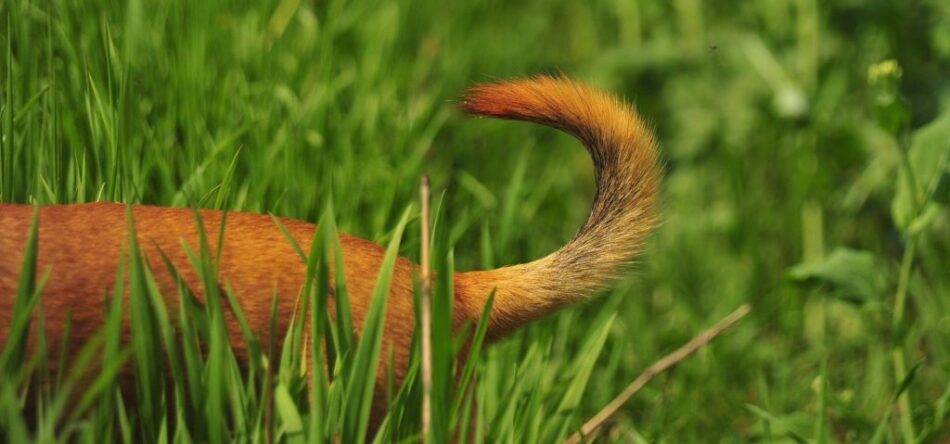
Wagging – When dogs wag their tails they’re happy, but when cats wag their tails they’re mad – right? Not always. There’s more to a cat’s fluffy tail than you might think. Of course, cat’s thrashing their tail hard and fast across the ground is a sign of stress, but what about when they’re twitching it from side to side and intently focusing on something in the grass? They’re most likely concentrating on a fly, ready to pounce and catch their prey. If the tail is moving quickly from side to side, the cat is likely annoyed and would like to be left alone. If the cat instead wags the tail slowly, they are trying to assess the situation and deciding what to do. The cat might be a bit worried, so if you can, try to reassure him or her.
Big, bushy tail held out straight from the body – Do not approach! This is an angry cat that is trying to look as scary as possible to potential threats.
Many of us know what it’s like. You start with a few chickens, thinking you’re just going to try it out, but once you realise what amazing pets they are and what delicious eggs they lay you will probably soon think it’s time to expand the flock and get some more hens for your garden.
But adding new chickens to an existing flock is easier said than done, and it’s important to know what you’re doing to avoid bickering and bullying, or even worse. The key to introducing chickens is time. Be patient, it might take a while before your new individuals are living happily with your current flock, but it will be worth it in the end. Each breed of chicken is different, and all chickens have different personalities, so how well your attempts will go depends on many different factors. Here are some useful things to think about:
Make the right choices
Some people say sticking to the same breed is a good idea, but it’s definitely possible to have several different breeds living side by side. If possible, add chickens that are of similar age and size as your existing ones. Smaller, younger hens will easily become a target if added to a group of larger chickens, and new younger, fitter chickens might cause stress for the older members of your current flock. Never add chicks to a group until they are old and strong enough to fight back if someone decides to bully them.
Also never introduce a chicken on her own; she is bound to become bullied in an already established pecking order. The more chickens you add, the more the pecking order will have to change, and it will be easier for the group to decide who is actually the most dominant. If possible, adding more chickens than you already have will often minimise problems with bullying, but it’s a risky game if you plan on expanding your flock more than once!
Quarantine
The first step in the process is to quarantine the new chickens somewhere away from your flock to make sure they don’t carry any diseases or parasites. Do regular health checks on the new chickens while you’re keeping them separate, and treat any illness you might come across. It might be worth doing a worming treatment and to dust them in DE a few times to be extra sure they are not bringing in any parasites into your coop.
Quarantine the new birds for at least a week, preferably longer, or until you’re certain they are happy and healthy.
Slow introductions
Unfortunately you can’t just plonk the new chickens down with the old ones as soon as you’re sure they are healthy. Instead you must allow them to get used to each other. Ideally this is done by placing the two groups close enough to each other that they can see and smell each other, but not close enough that they can touch. They will hopefully be curious of the other group, but not feel that their home is being invaded. The partitions for the Omlet Walk in run is perfect for this stage, as it means you can divide the run and slowly introduce the two groups.
Keep this setup for at least a week. It may seem like they have gotten used to each other after a few days, but for chickens there’s a big difference between seeing some hens over the fence and actually sharing a coop and run with them. Be patient, then you’re more likely to succeed.
The big meet
When you think it’s time for the two groups to meet for real, it is best done in a new, neutral area that no chicken has claimed as her own, even if it’s just a small fenced off area in the garden.
It’s always best to let the old flock come to the new, so put them down before you let your existing flock approach. This is especially important if you’re carrying out the introduction in the flock’s current run: don’t let them out of the coop until the new chickens are comfortable on the run.
Try putting up some entertaining distractions that might avert their attention somewhat. Fill a Peck Toy or a Caddi with your chickens’ favourite treat, and they will hopefully be more interested in that than the newcomers.
Another thing worth trying is introducing chickens in the night when they are quietly roosting in their coop. Open the door of the Eglu and put the new chickens in with your existing ones. This allows them to get used to the presence and the smell of the new chickens while they are sleepy and not likely to attack. This seems to work really well for some, whereas it leads to a few problems for others, so it’s up to you if you want to risk it. Make sure you are there in the morning when the chickens wake up to see how they are reacting to their new friends.
As we said, it might take a while before the flock goes back to its harmonious self. You must prepare yourself for some disagreement and a bit of bullying, this is part of establishing the pecking order. It should however have calmed down after a few days, maybe a week. If you notice that chickens are getting seriously hurt or are drawing blood it’s time to step in. Identify the main bully and isolate her somewhere else for a few days on her own. It might seem harsh, but it’s the best thing you can do for your flock. When you put her back with the group she will be too busy trying to figure out the new order that she won’t have time to bully.
? The main purpose of the tail is communication, and to spread personal information in the form of pheromones. Dogs have anal glands right under the tail that release scents that can be detected by other canines. When the dog wags its tail, the muscles around the dog’s bum tense and press on the glands, sending out lots of information. The sweeping motions from the tail can also help spread the scent even further.
? In a situation where the dog wants to be more low-key and not get noticed, maybe if they are feeling scared or hesitant, the dog will tuck its tail between the legs to minimise the spread of their scent.
? Dogs that have very small tails, or no tails at all, have a limited ability to use this body part to communicate and will have to use other modes of communication. Ears can for example be very useful to show other dogs who you are and how you are feeling.
? Different types of tail movements signify different emotions. A slight wag when meeting someone new can be seen as a tentative greeting, whereas a wider more sweeping movement is very friendly and non-competitive. A dog that makes short back-and-forth movements with the tail held high is possibly showing signs of uncertainty, assessing potential threats. You can read more about Dog Body Language in the Omlet Dog Guide.
? Puppies don’t wag their tails when they are born. The first month and a half is spent mainly eating and sleeping, and they have no real interest in their surroundings. However, as soon as they start socialising, around 49 days old, they will start wagging.
? The tail can be seen as an extension of the spine. Just like the backbone, tails are made up of 5-20 vertebrae, separated by soft discs that enable movement and flexibility. The vertebrae are wider at the base of the tail and get smaller toward the tip.
? The shape and form of the tail of specific dogs has been determined through selective breeding. The Dachshund’s long, sturdy tail is for example believed to have worked as a handle to pull them out of badger burrows, whereas a Beagle’s tail has a white tip to make it easier for the hunters to locate it in the distance, and Labradors have a so called “otter tail” that is thick and round and can act as a kind of rudder when the dog is swimming.
? Dogs do not only use their tails for communication, it is also useful for keeping balance. If you watch a really fast dog run, like a Greyhound or a Whippet, you can see that the tail sticks out straight behind them. It works as a counterweight and helps the dog to accelerate, brake and turn at high speeds. Find out more about these super speedy dogs in the Omlet Dog Breed Guide!
? According to studies made on dog tails, there is evidence that the direction a dog wags its tail can tell you something about their feelings. Positive stimuli (food, or seeing their owner) made the dogs start moving their tail to the right, whereas negative stimuli i.e. a threat causes the tail to start wagging to the left.
Liked this blog on dog’s tails? Take a read of Cat Tail Facts blog!
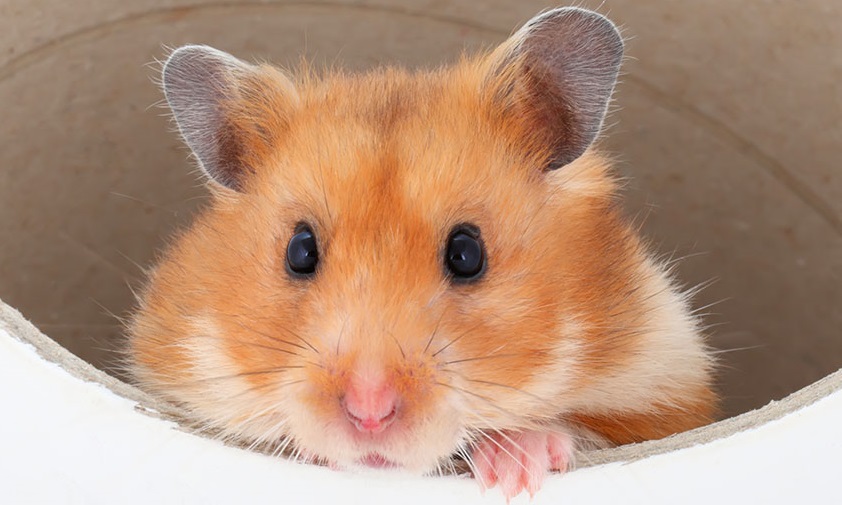
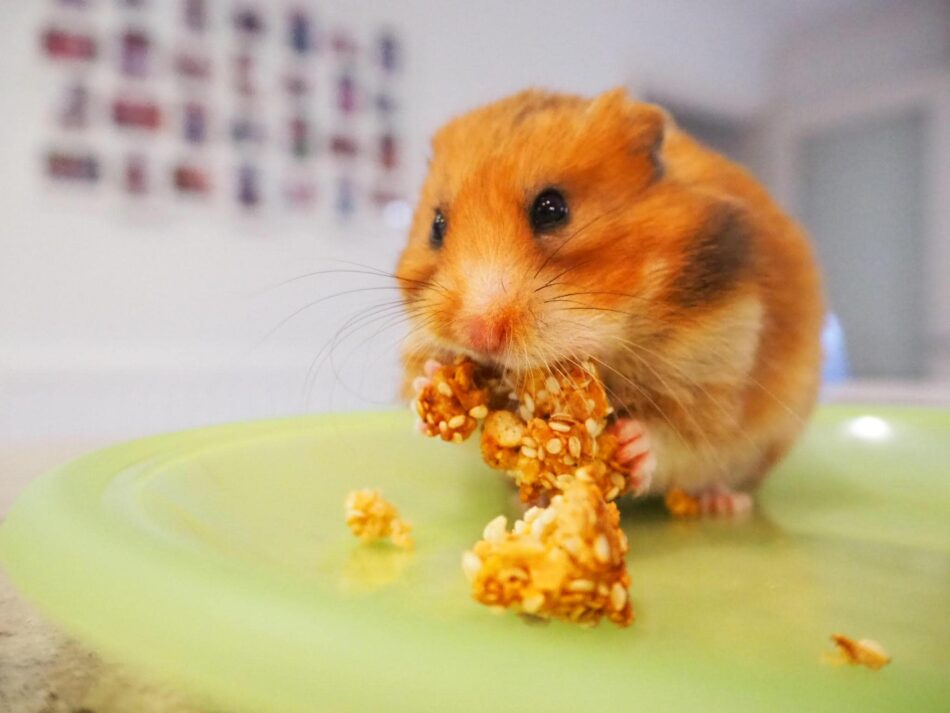
Hamsters are known for adorably stuffing food in their cheeks, giving them a puffy, caught-with-their-paws-in-the-cookie-jar look. But what exactly enables them to carry food in their mouths, and what do they do with it once it’s there? We’ll share 9 things you may not know about hamster cheek pouches so that you can understand your furry friend’s peculiar behaviour a little bit better.
9 things you might not know about hamster cheek pouches
All hamsters have cheek pouches, but what are they for, and how do they work? Let’s dive into those deep cheek pouches — if there’s still room!
Cheek pouches are part of hamster anatomy
What we call a “cheek pouch” is actually expandable parts of your hamster’s oral mucosa, or the lining of the cheeks. When they’re empty, your hamster’s cheek pouch looks like a small, deflated balloon. Once your hamster starts filling their pouches, they can expand all the way back to their shoulders. In fact, a hamster can stuff up to 20% of their body weight into their cheek pouches. That would be like a 120 lb human carrying an extra 24 lbs worth of food around in their mouth.
They act like a built-in lunchbox
The main purpose of their cheek pouches is to carry food. In the wild, hamsters use their cheeks to carry food back to their home to enjoy it in a safe, quiet place. Domesticated hamsters exhibit the same behaviour. You may observe your hamster depositing its proffered cheek pouch items in their hideout, play tunnels, or hamster sleeping area.
Food to-go
Hamsters can both run and eat with their cheeks full. In fact, hamsters can still eat when their cheek pouches are full. They’ll stuff their cheeks full, then eat some bites before taking their packed food back to their destination. And, even with all of the extra weight of full cheek pouches, hamsters aren’t slowed down by their to-go meals.
Dry storage
Here’s a fun fact: hamsters don’t release saliva into their cheek pouches. This keeps their packed lunches nice and dry and prevents bacteria from building up in their mouths. Hamster dentists are in short supply, so keeping their teeth free from moist food is important for overall oral hygiene.
Backup baby carrier
This isn’t something you’ll likely see in your domesticated hamster, but female hamsters can actually secure their babies in their cheek pouches to make a quick getaway, or to serve as an emergency hiding spot. Packing their babies in this way is only used as a last resort when their nest is being threatened.
Taking out the trash
Hamsters are actually pretty tidy creatures that don’t appreciate spoiled food in their pantries. They’ll use their pouches to stuff and carry spoiled food away from their fresh goods. This too is not very common with domesticated hamsters that have a clean cage, so having an easy-to-clean hamster cage will aid your furry friend in their housekeeping endeavours.
A wheelbarrow or shopping cart
How would you like to carry your latest decor or bedding finds home in your mouth? That’s exactly how hamsters sometimes use their cheek pouches — as vessels to carry bedding and nesting or building materials to the home.
Playing favourites
Some hamsters favour one side of their mouth over the other, while some will happily stuff both cheeks full. Watch to see if your hamster is a left or right-stuffer, or an ambi-stuffer.
A potential problem site
It’s possible for cheek pouches to be punctured or have abscesses form in them. You should keep an eye on your hamster’s overall health, with special attention on their mouths. If you notice any lumps that linger for more than a day, contact your veterinarian.
Omlet and your hamsters
Hamsters are amazing animals that are a pleasure to share a home with. Their quirky but lovable personalities are what inspired the Qute hamster cage. We wanted hamsters to have their ideal home, but one that was easy for their owners to keep clean while looking great in any room of the house. With a Qute hamster cage by Omlet, you’ll be able to see your hamster stuff their cheeks along with all of their other adorable behaviours up close and personally.
Wondering how to find and buy chickens at the moment? In the past, finding chickens has been easier in the spring — but recent years have seen a shift in this trend. Find out where to find chickens right now, and what to expect when it comes time to bring them home.
Finding chickens online
One of the best ways of finding people selling chickens is to Google ”buying chickens + your town or county”. There are several websites online that allow people to post adverts for chickens, or you’ll be able to find websites and contact information for farms or smallholdings that are selling chicks or hens.
Here are some good terms to search to use:
Chickens for sale
Simple, but effective. If you just want chickens and don’t really care about how old they are, what breed they are or how many eggs they will provide you with, just google chickens for sale and the town or area you’re in.
Point of lay chickens for sale
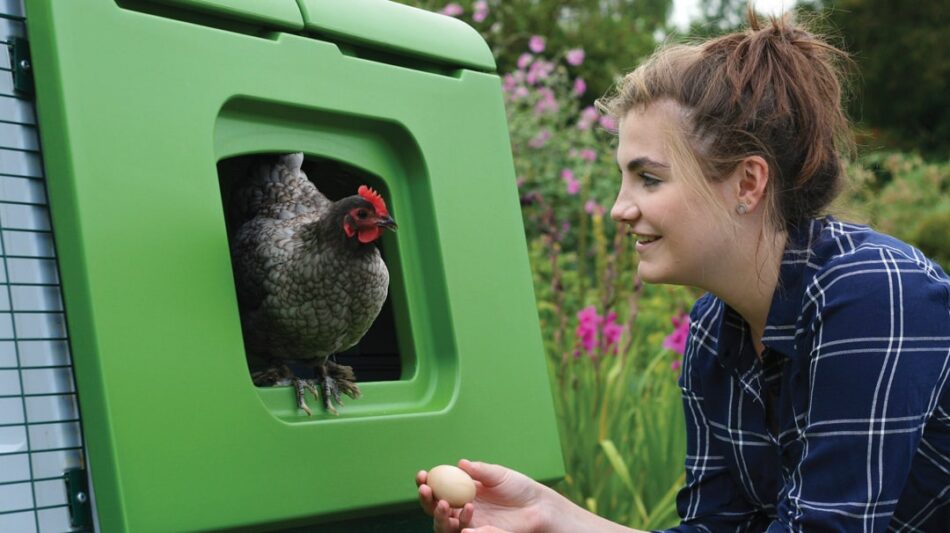
A point of lay chicken is a chicken that has just begun laying eggs. This is a good time to get hens, as they are old enough to take care of themselves but happy to be moved and introduced to a new home. When point of lay occurs varies somewhat between breeds and other external circumstances, but it generally happens when the chickens are approximately six months old. It’s worth noting that it will normally be another 6 months before the hen is fully grown and laying to her full capacity.
People selling larger amounts of hens often hatch chicks in batches, and they might not always have hens that are ready to leave the same week you contact them. It is best to get in contact now in April if you want to collect your hens in May, June, or even July.
Rare/pure breed chickens for sale
These chickens are bred from show birds, and the breeders are often affiliated with a poultry club. The chickens will have been well taken care of, and the breeder will be knowledgeable about the breed and chicken keeping in general, so you will be able to ask them lots of questions about the birds.
These chickens are often a bit more expensive than hybrid hens, but you will know what you are getting. This is especially useful if you have a clear idea of what type of chicken you would like. Read up on some chicken breeds here and choose one that you think will suit you, your requirements and your garden.
It’s best to contact the person you are planning to buy the chickens from, and ideally pay them a visit to see what their setup is and under what conditions the chickens are living. This will help you pick a good breeder that treats their animals well, so that you can be sure that your chickens arrive happy and healthy.
Alternatively, if adopting hens in need is more in line with your chicken-keeping goals, then searching for a chicken rescue group such as the BHWT will help you locate an organisation to work with.
Finding chickens in person
You can also check with your local animal shelter in person to see if they have any chickens available for adoption. Hens will periodically be surrendered or confiscated from previous owners, and are easily stressed in a shelter setting. Animal shelters will usually have low adoption fees for chickens in order to get them rehomed in a less stressful environment quickly.
Hatch eggs at home
You can incubate and hatch eggs any time of the year. Incubators are relatively inexpensive and easy to use, but we do suggest purchasing a trustworthy incubator with the following features:
Automatic egg turner (otherwise you’ll need to rotate the eggs several times every day)
Internal thermometer and hygrometer (to measure humidity levels)
Hatching level plate (to give hatchlings enough room to stand after they hatch)
Fertile eggs are necessary for hatching. If your flock doesn’t have a rooster, hatching eggs can be found through hatcheries, breeders, or individuals.
If you don’t want to buy an incubator, you can wait for a hen to go broody — meaning they decide to sit and hatch a clutch of eggs. But, broody hens upset the natural laying schedule of the entire flock, as they will try to hoard all of the eggs under themselves in order to hatch them. It’s best not to encourage broodiness in hens unless you have a large laying flock, as well as a rooster to provide fertilised eggs. Otherwise, you will spend a lot of time “breaking” a broody hen.
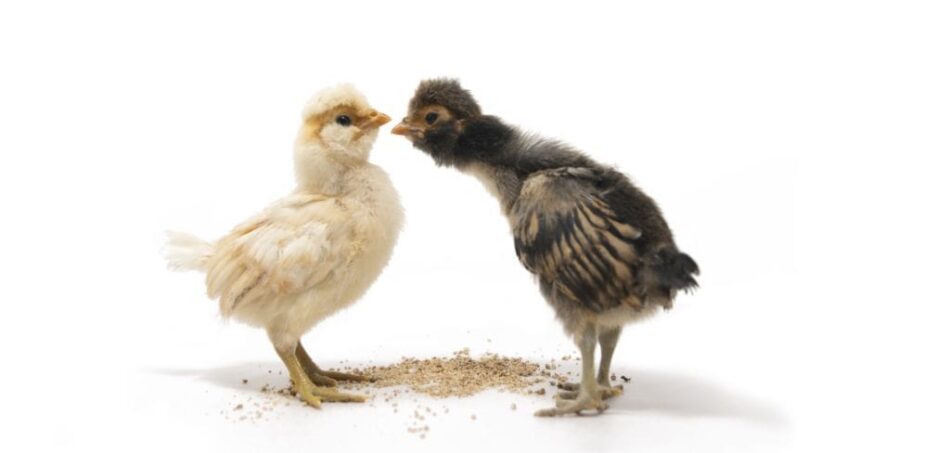
Watching eggs hatch is a fun experience — especially for children. Chicken eggs hatch in 21 days under the right conditions, whether in a brooder or under a hen. Once hatched, your chicks will need to spend 12 weeks in a brooder pen.
Bringing your chickens home
Bringing home new chickens is exciting, and you’ll want to make sure you have the right setup to welcome them home. When you choose flock and keeper-friendly products from the start, caring for your chickens won’t feel like a chore — just an enjoyable experience.
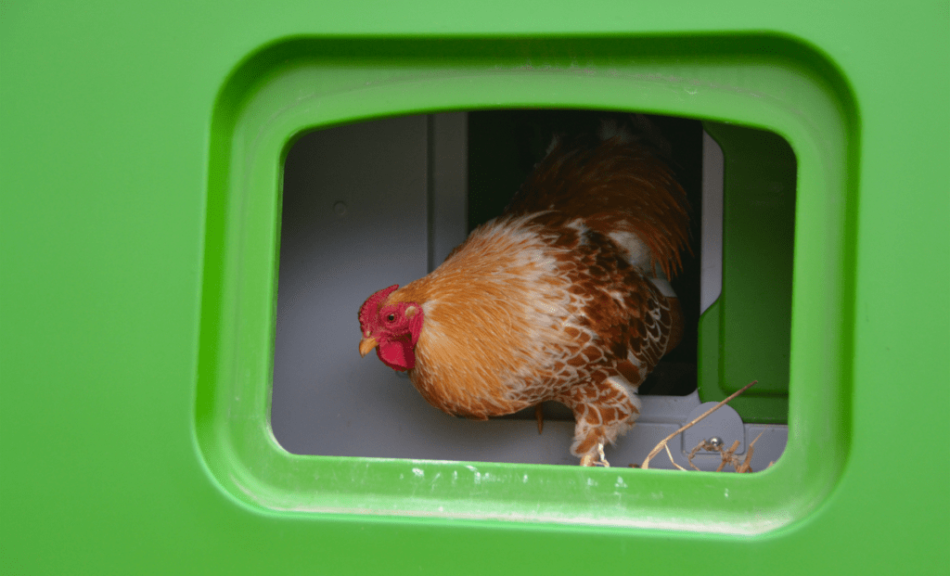
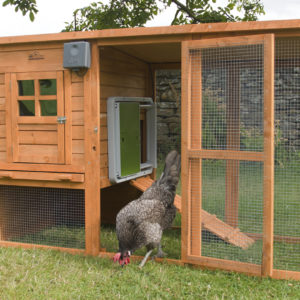
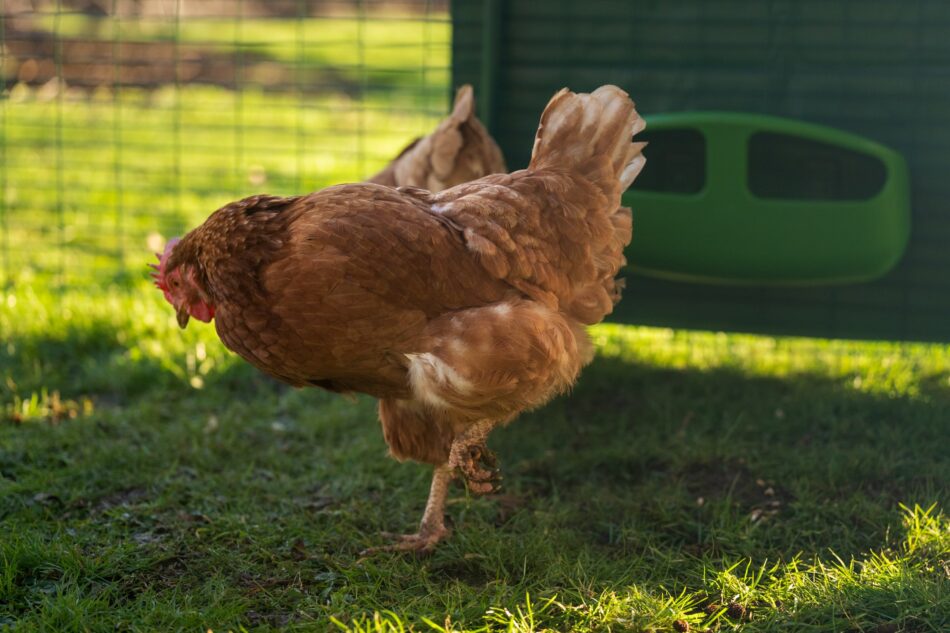
Omlet’s Eglu Cube chicken coop is the perfect size for growing flocks. It can comfortably house up to 10 small breed hens, and the attached run can be extended for extra pecking space. And, when combined with our Walk In Chicken Run, your new additions will have plenty of room to forage, play, perch, and enjoy your company.
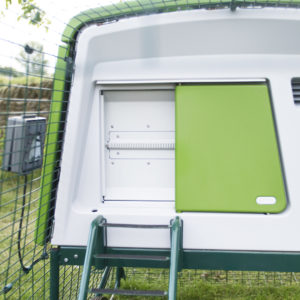
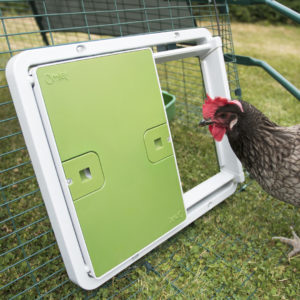
Whether you choose to let your chickens free range, or keep them in the run — adding an automatic chicken coop door gives your flock an extra layer of security between them and the things that go bump in the night. Install the Autodoor on the wire of our Walk In Run to make sure everyone is secure for the night, or on the Eglu Cube to tuck your hens in overnight. Or, place an Autodoor on both the Walk In Run and the Eglu Cube for a truly formidable flock fortress.
Omlet and your chickens
We’ve designed everything you need to keep a flock — no matter what stage of the journey you’re in. From young pullets to adult hens, your flock will be protected and comfortable in their Eglu Cube, Walk In Chicken Run, and Autodoor from the time they take their first flaps in their forever home.
We are giving away 5 Caddi Treat Holders, an entertaining and stimulating feed toy for chickens, rabbits and guinea pigs, on our Twitter Page! All you need to do to enter is follow Omlet on Twitter and comment on the competition tweet with whether you have a ?, ? or ?.
Terms and Conditions The competition closes at midnight on the 20th April 2020. To enter please comment on the Caddi competition tweet on the Omlet Twitter page – you must also be following the page. Five winners will receive a Caddi Treat Holder for Chickens, Rabbits or Guinea Pigs. The winners will be randomly selected from all entries worldwide and notified within 7 days of the competition closing. If the winners do not respond to claim the prize within 7 days of notification, we reserve the right to withdraw the prize and pick replacement winners. Omlet reserve the right to withdraw or amend the competition at any point. Prize cannot be transferred to cash. This competition is not open to Omlet employees or members of their immediate families. All entries must be made on the relevant competition post. The winner agrees to the use of their name and any reasonable requests by Omlet relating to any post-winning publicity.
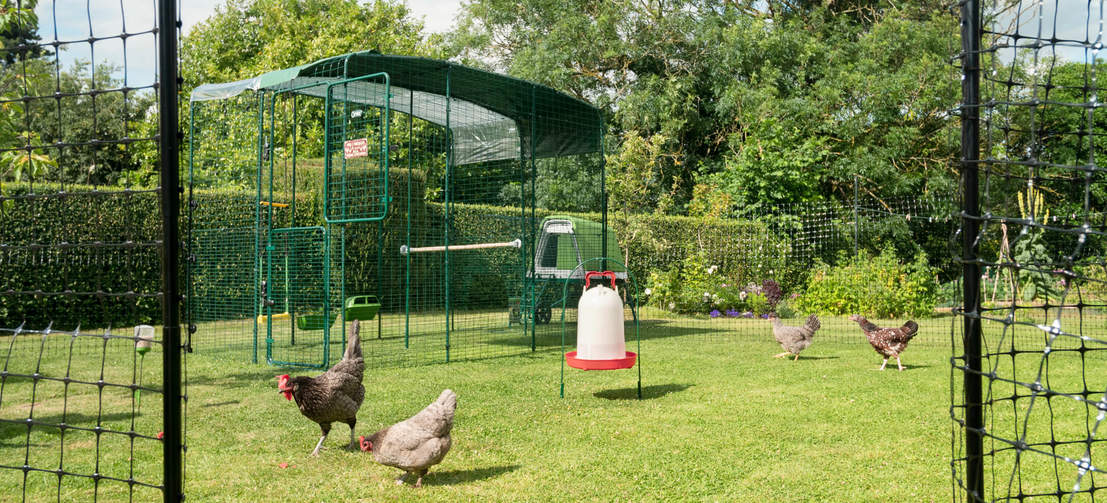
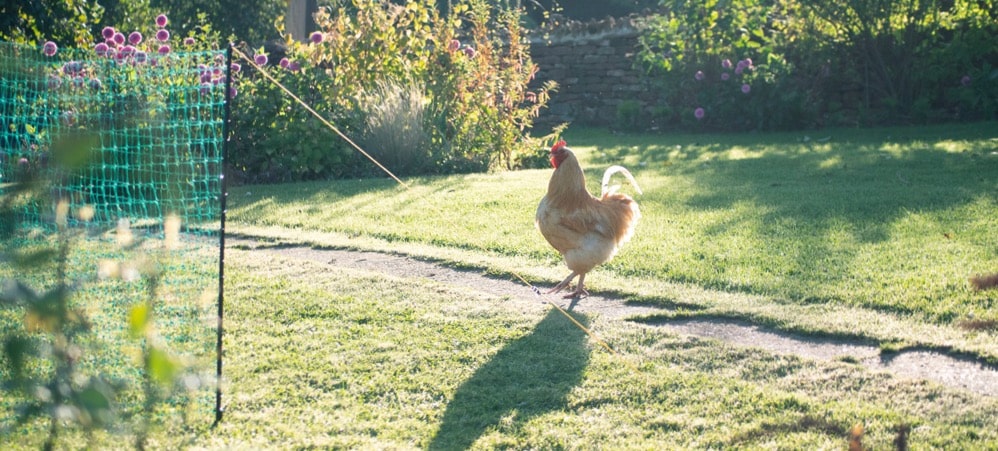
Omlet chicken fencing can be used to contain your chickens within an area, giving them more space to roam in your garden.
Our chickens provide us with entertainment, company and fresh eggs – and lots and lots of poo! While cleaning out the Eglu might not be the most fun part of chicken keeping, those droppings can be turned into what gardeners sometimes refer to as “black gold”, one of the most desired fertilizers out there – and you can get it for free! There are however a few things to think about when it comes to getting chicken manure right. Keep reading to find out more!
It can all be used
Unlike some other types of manure, chicken manure is too strong to use straight on your flower beds or vegetable patches. It will burn the roots or other parts of your flowers and crops, and can also contain harmful bacteria that can cause illness if ingested. This is why it needs to be composted!
While you can put the chicken droppings straight on a bed in autumn and cover it with dry leaves that will moult through the winter, your best shot is probably to be patient and let it mature in a separate place. Whether you do a weekly clean or pick up droppings in your Eglu every day, everything in the coop can be put straight onto your compost, including the bedding. Adding the bedding helps create the correct ratio of carbon (bedding) and nitrogen (droppings) needed to break down plant matter and waste. As chicken droppings are extremely high in nitrogen, you will probably want to add a larger ratio of other plant matter than you would in a normal compost. Dried leaves from the garden will make a great addition.
We recommend having a sealed container for your compost rather than a heap in a corner, as the latter can attract rodents and pets that should not be ingesting chicken poo.
Composting chicken droppings
Apart from carbon and nitrogen, your compost will need air, moisture and heat. This is easily done, all you need to do is to water your mixture thoroughly and turn the heap every few weeks to get air flowing through. This will automatically heat the compost, breaking down the plant matter and burning off unwanted bacteria.
If you want to speed up the process and become a composting champion, you can purchase a compost thermometer at a local garden center and keep an eye on the temperature in the middle of the heap. The ideal temperature is 50-65 degrees Celsius (130-150 degrees Fahrenheit), and this should be maintained for about 3 days, after which you will need to turn the matter completely and start over.
This is however not necessary, you can just leave the compost to do its magic, just turning it regularly. How long it will take depends on the conditions, but to be sure everything is properly composted you should leave it for 9 months to a year.
Adding black gold to your garden
Once composted, chicken manure adds organic matter to your soil and increases the soil’s capacity to hold water, as well as returning nutrients to the soil. It’s also an amazing fertilizer that provides your plants with nitrogen, phosphorus and potassium in much higher levels than other types of manure. Chicken manure can be spread on top of your vegetable patch or flower bed, or worked into existing soil. You can also put a handful of manure in a watering can and let it mix for a while before giving your flowers a very nutritious shower.
If you have composted the manure properly all the harmful bacteria will have been burned, and there is very little risk of you getting ill. However, if you’re on the worried side of things, make sure you clean your veg properly before eating them, or use the chicken manure on crops that are not touching the ground, like sweetcorn, peas or tomatoes.
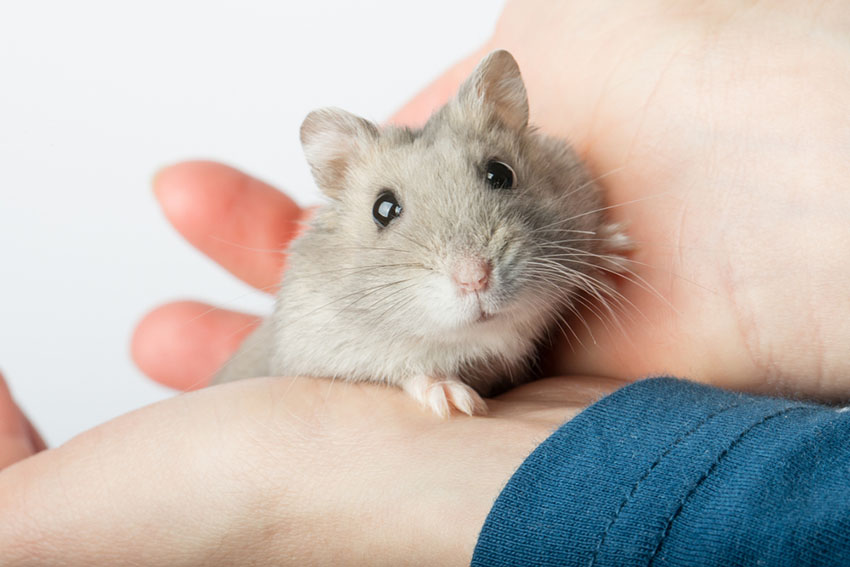
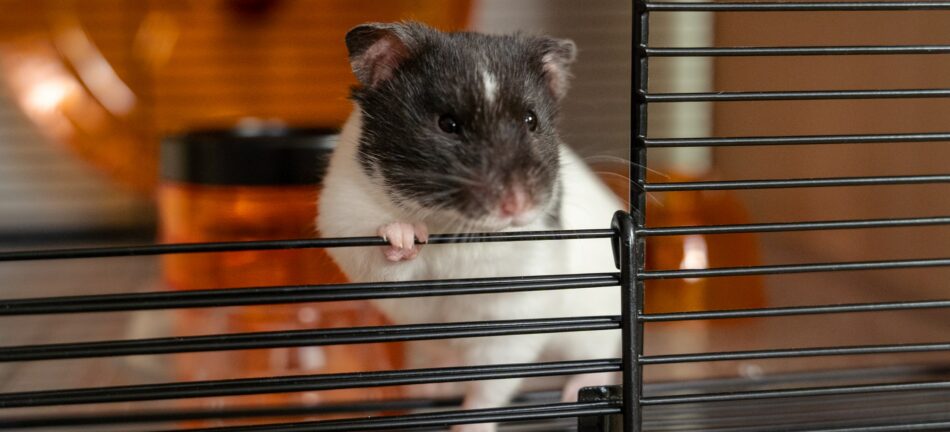
All hamster owners know that they make great pets! They are cute and cuddly, but also very independent and clever. Whether you’re a beginner or a long term hamster fan there is always more to learn about these amazing critters! That’s why we’ve put together this Best of Hamsters, a few blogs with more information and advice, perfect for teaching your children about their pet, as well as some DIY fun you can do together!
12 Interesting Facts About Hamsters
Hamsters are rodents from the subfamily Cricetinae. They were brought to the United States from Syria in 1936. There are approximately… Read more
Hamsters make excellent pets – they’re fun, cute, and relatively easy to care for. Their cuddly credentials have made them popular pets all over the world. Hamsters bring a lot of joy to a lot of people, but how can… Read more
Want to Teach your Hamster Tricks? Here are our Best Tips!
Someone once said that you can train anything that has a brain that connects to a stomach, and that goes for hamsters as well. They are actually very clever little creatures and probably capable of more than you think – like learning tricks for example! Training your hamster is a… Read more
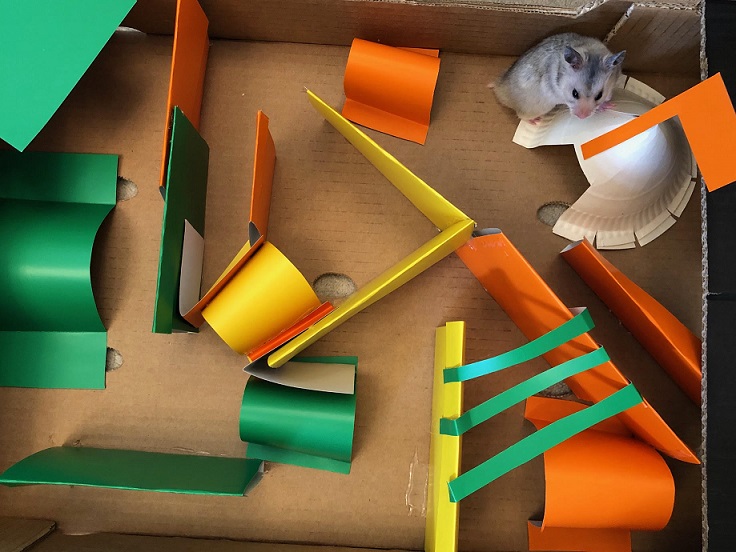
Hamsters love to play and explore! There are many toys and treats available to buy for your furry friend, but wouldn’t it be great to design and construct an exciting maze for them? They are… Read more
Mash 3 of the bananas and set to one side ready to fold into your mixture later.
Sieve the flour and baking powder into a large mixing bowl.
In a separate bowl, cream your softened butter with the sugar and then add the eggs 1 by 1 to the mixture.
Once all of the wet ingredients are combined and smooth, slowly fold in the flour mixture – try not to over mix it.
Take your mashed banana and carefully blend this into the large mixing bowl along with your vanilla extract.
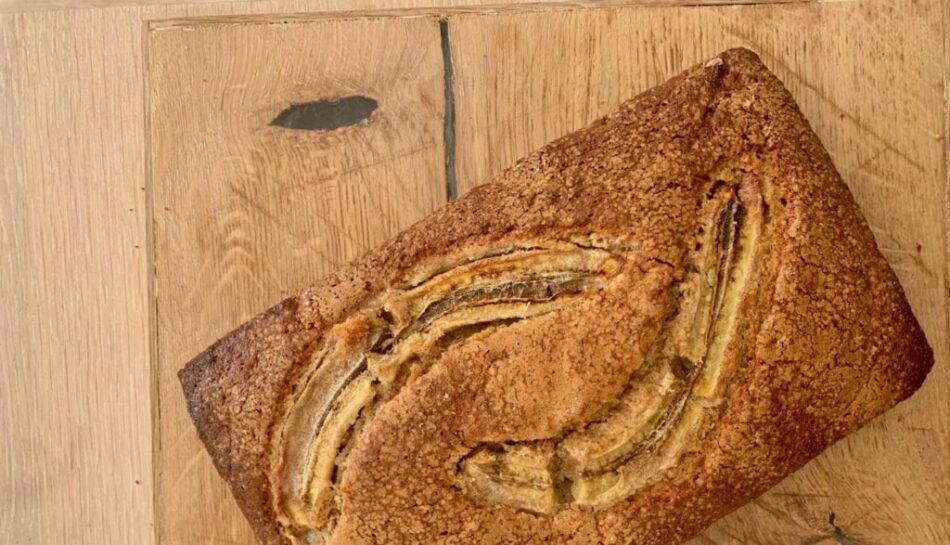
Tip the mix into a lined loaf tin or ovenproof dish of your choice and decorate with the remaining banana peeled and sliced lengthways, sink into the mix.
Bake at 165 degrees c for approximately 1hr.
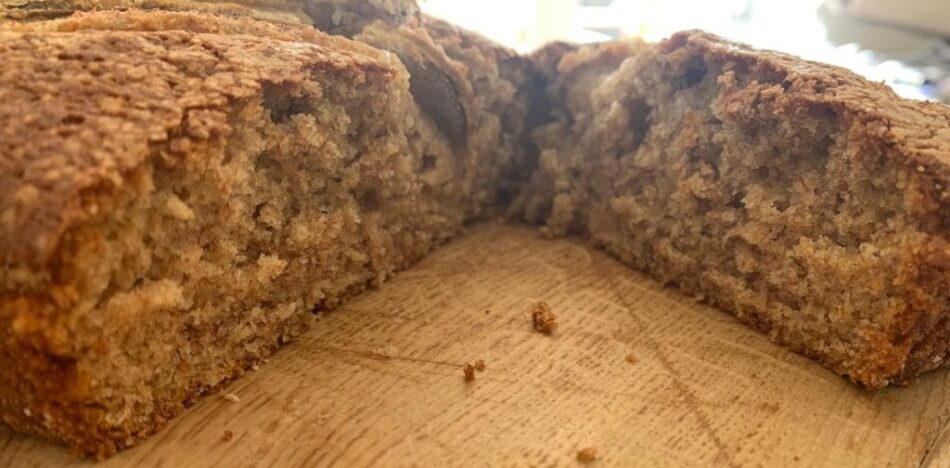
Take out of the oven once golden and cooked through, allow to cool and then enjoy with a cup of tea in front of your favourite boxset.
Eggs are truly amazing things, and sometimes we might take them for granted. For something that only takes the hen about 24 hours to make, they are eggstremely well engineered and cleverly constructed, as well as really delicious! Here are some cracking egg blogs that will hopefully make you appreciate the humble egg a bit more!
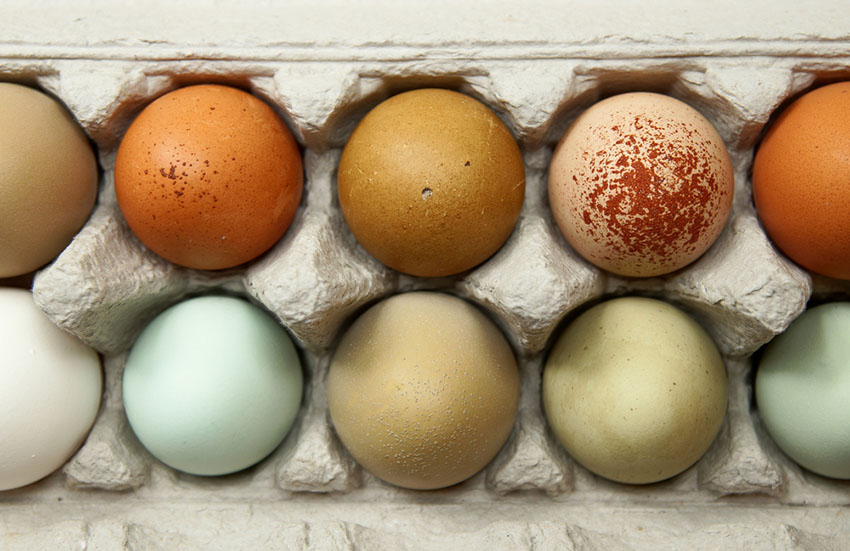
Why are chicken eggs different colours?
The ancestor of all chickens is the Red Junglefowl, Gallus gallus, a native of South-east Asia. All Junglefowl eggs have shells of a creamy white colour. And yet, as any chicken keeper knows, the eggs of domestic… Read more
The process of egg laying starts in the chicken’s eye. Sunlight enters the eye and activates a photosensitive gland, the pineal gland, located… Read more
As long as your chickens are laying and there’s a cockerel in your flock, you can hatch and incubate chicks all year round. However, traditionally the most popular time to breed your own chickens is in the spring. Hatching and rearing your own chicks from eggs… Read more
Why chickens hide their eggs and how to stop them doing it?
If you’re keeping chickens in your garden, you’ve probably become accustomed to your morning routine: wake up, drink a cup of tea or coffee and collect fresh eggs from your flock. Of course it’s an unpleasant… Read more
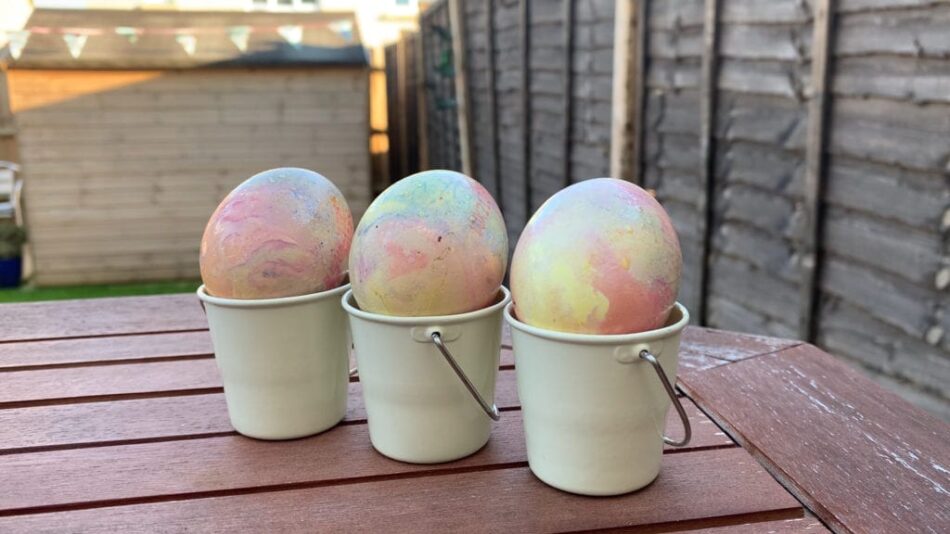
Make Easter more colourful with this super fun craft for the whole family – marbled eggs! Watch the video or follow the instructions below.
You will need:
Eggs
Food Colouring
Vinegar
Vegetable Oil
Instructions:
Take an egg and gently poke a hole at one end. Poke a hole at the other end of the egg which is slightly larger than the first.
Empty the egg by carefully blowing through the smaller of the holes, pushing the inside of the egg out into a bowl.
Set aside the egg mixture.
Add a tablespoon of food colouring to a bowl and mix with a splash of hot water and a tablespoon of vinegar.
Put the empty eggs in the bowls and let them sit there for a while, regularly turning them to get an even coating.
When the eggs has got some colour to them, drain and put on the side to dry.
Add a few drops of a different food colouring to a plate and mix with some water and a drop of vegetable oil. Roll the eggs on the plate to cover them in the second colour. They don’t need to be fully covered.
Repeat with a few different colours, adding more layers.
Let the eggs dry on a piece of kitchen roll.
You will now have some beautiful and truly unique marbled Easter eggs! Wash your hands thoroughly and scramble the eggs you put aside earlier for a delicious lunch!
While an Eggscalator for lazy hens is not available (yet,) you can still bring your chicken coop into the 21st century with the amazing Automatic Chicken Coop Door from Omlet.
Here’s 7 reasons why the Autodoor is the best of its kind…
The Autodoor can be installed on all wooden chicken coops, the MK1 and MK2 Eglu Cube, plus all Eglu runs and chicken wires.
You can set your Autodoor to open and close at a specific time or light percentage to suit your chickens’ routine. No need to get up at the crack of dawn in summer to let your chickens out – the Autodoor will do it for you!
Don’t worry about keeping your chicken coop close to a power source, the Autodoor is battery-powered by 4 AA batteries which can last up to 6 months.
Reliable in all weather conditions, this is a gadget that will take you from winter to summer, and back again with no problem.
The Autodoor’s built in safety sensors ensure no chicken is harmed or trapped in the door when investigating their new gadget.
Improved coop security! The horizontal Autodoor is far safer than it’s vertical, guillotine style competitors, which can be easily lifted by predators.
Low maintenance and easy to install, the Autoodor includes everything you need to get started in one box!
You can now connect a coop light to your Autodoor to encourage your chickens to return in the evening. It also makes checking on your pets in the evening much easier!
 Composting chicken droppings