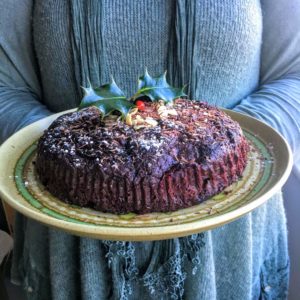
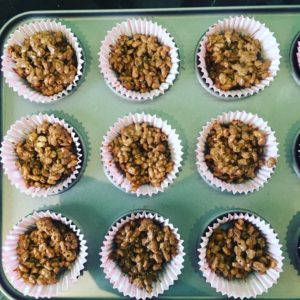
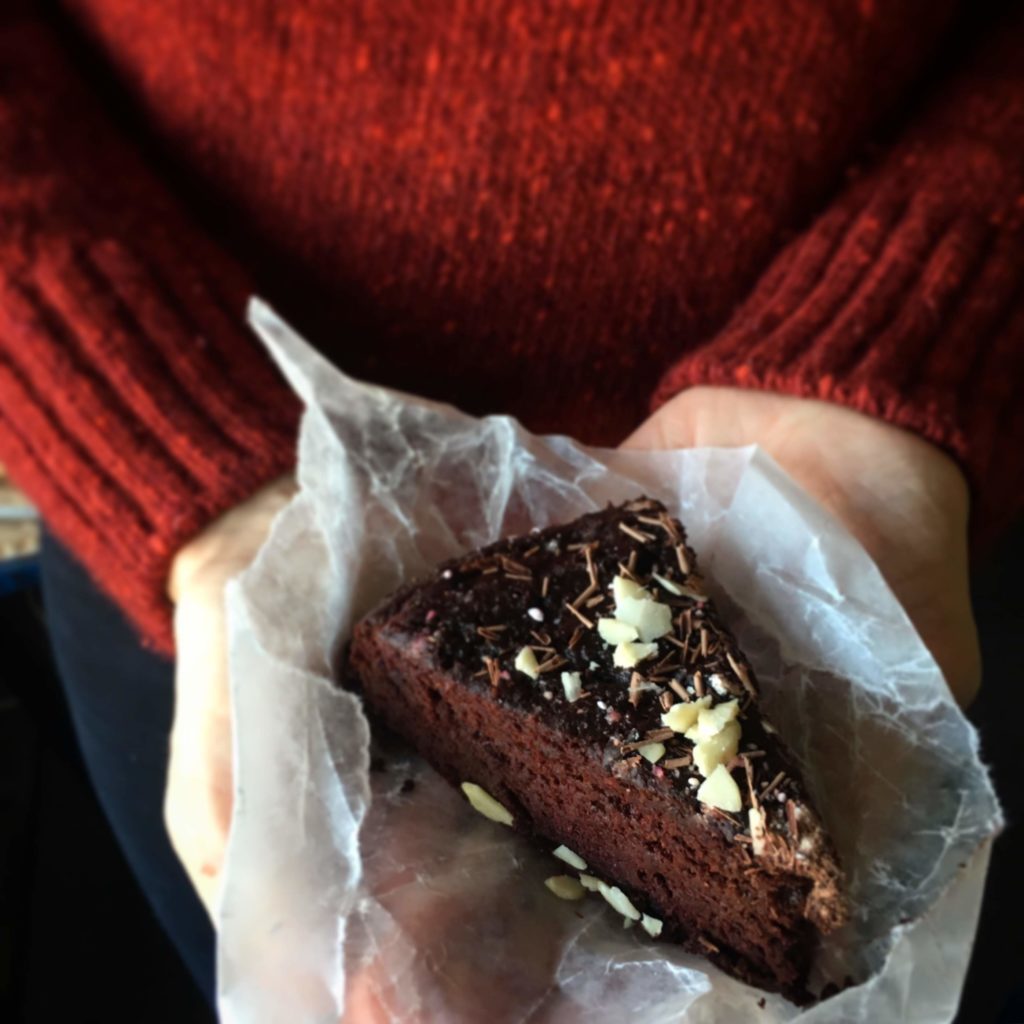
What’s on your Christmas list when it comes to cake? Easy, healthy, indulgent, gluten free, no added fat? Using eggs and veg from the garden, this recipe ticks every box…
Ingredients:
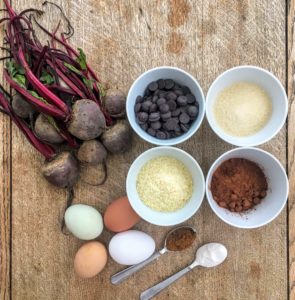
100 g good-quality dark chocolate
250 g grated raw beetroot
4 large free-range eggs
100 g ground almonds
150 g golden caster sugar
2 tablespoon good-quality cocoa powder
2 tsp mixed spice
1 teaspoon baking powder (gluten free if required)
Decorations of your choice: icing sugar, chocolate shavings, almond slivers, etc.
Method:
1) Preheat the oven to 180c and line a 20cm round cake tin with baking parchment.
2) Melt the chocolate in bowl over hot water.
2) In a large bowl, mix together the eggs, almond, sugar, cocoa powder, mixed spice and baking powder.
3) Fold in the melted chocolate, followed by the grated beetroot.
4) Pour mixture into the prepared tin and bake for 40 minutes, it’s cooked throughout when a clean metal skewer inserted into the middle of the cake comes out clean.
5) Allow to cool and decorate as you choose!
Enjoy!
Recipe courtesy of Hen Corner www.hencorner.com
This entry was posted in Recipes
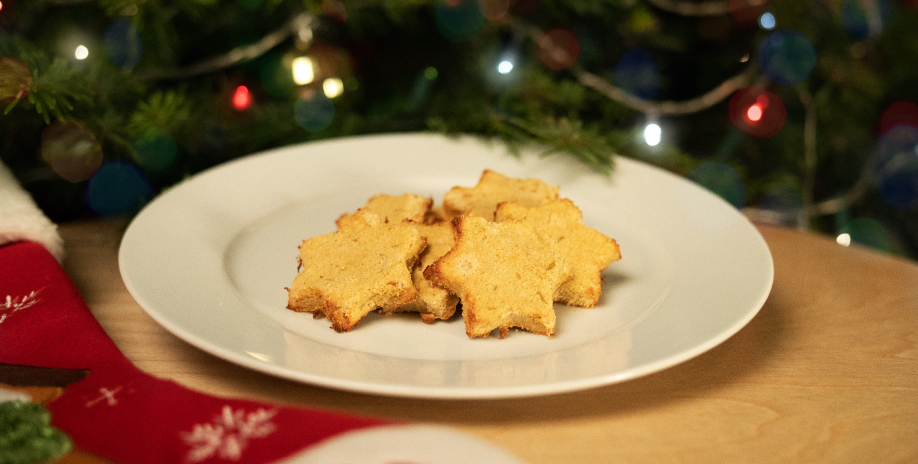
These delicious Apple and Cinnamon Dog Cookies are a great Christmas treat for your pooch this festive season, and they’re healthy!
Ingredients
Makes 10 cookies
70g coconut flour
1 egg
3 teaspoons of coconut oil
Pinch of cinnamon
1 apple (grated)
And a cookie cutter
180 C for 15 minutes
(160 C fan assisted or gas mark 4)
- Preheat the oven to 160c and prepare a baking tray with baking paper.
- Heat 3 teaspoons of coconut oil in a bowl in the microwave for 1 minute, or until soft.
- Mix together the egg, coconut oil in a bowl.
- Grate 1 apple into the bowl and mix.
- Add a pinch of cinnamon to the mix.
- Weigh out 70g of coconut flour into a separate bowl, and start to add a bit of flour at a time to the wet mixture, stirring as you go.
- Continue adding coconut flour and mixing until you get a dough like consistency. You may not need to use all the flour to achieve this. The texture will be sticky and slightly crumbly.
- Dust some coconut flour onto a clean surface and place the dough on top.
- Flatten the dough with a rolling pin or your hands until it is approximately 1 cm thick
- Use a small cookie cutter (approx 5cm diameter) to press out shapes in the dough and place them onto the baking tray. Handle these carefully as the dough can be fragile due to the lack of fat in the recipe (too much fat is unhealthy for dogs!)
- Once all the dough has been used and the cookies are all placed on the baking tray, place them in the oven for approximately 15 minutes, keeping an eye that they do not burn.
- Take them out the oven and leave to cool, at this point they will firm up a bit more, so handle carefully.
- Once cool, store in a cool dry place, and treat your dog to a delicious cookie!
Health Benefits
- Coconut flour is gluten free, perfect for dogs who suffer an intolerance of wheat. It’s also low in sugar and high in protein, fibre, and healthy fats.
- In small quantities, coconut oil can promote a healthy coat, improve digestion and assist the immune system.
- Eggs are also great for extra protein in your dog’s diet
- Did you know, cinnamon can be incredibly helpful for senior dogs who are suffering with arthritis? Adding a small amount to your dog’s diet can be incredibly beneficial.
- Apples are a source of Vitamin A and C so make a great, healthy treat for your dog, but don’t feed them the core when you have finished grating the apple, as the seeds are harmful.
As always, treats should be given to dogs alongside a healthy balanced diet, and do not feed them too many at a time.
We’d love to see your photos of this cookie recipe, tag us on Instagram using #OmletPets.
Sources:
https://www.chewchewtreats.ca/blogs/chewchew-treats-blog/coconut-flour-benefits-for-dogs
https://www.cesarsway.com/dog-care/nutrition/dog-approved-people-food
https://www.dogster.com/dog-food/about-cinnamon-for-dogs
https://moderndogmagazine.com/articles/can-dogs-eat-apples/29085
https://www.dogsnaturallymagazine.com/the-health-benefits-of-coconut-oil/
This entry was posted in Recipes
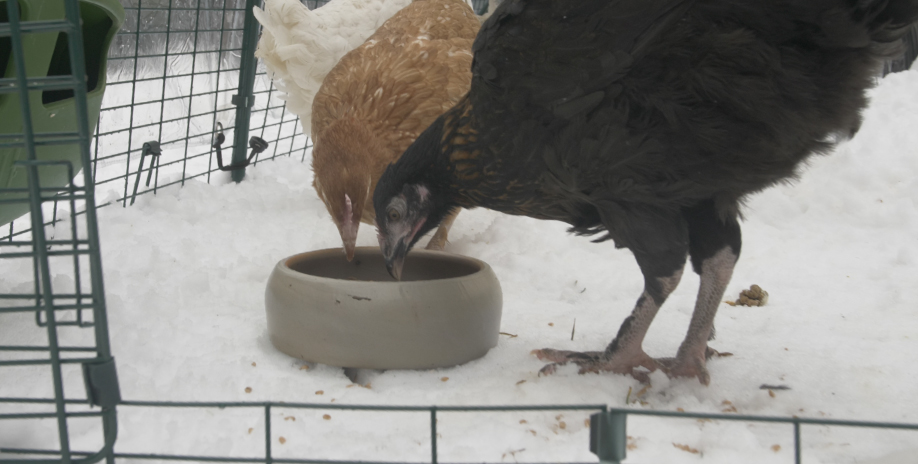
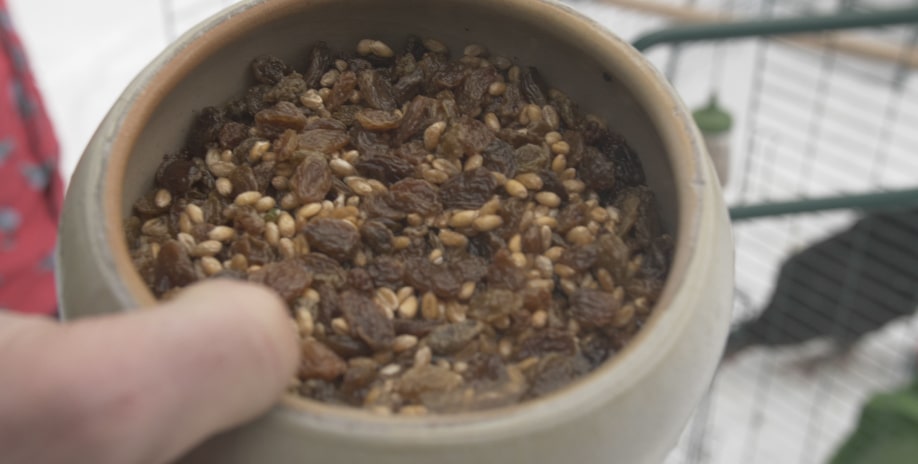
The cold, frosty temperatures of winter are in full swing, and while you are enjoying a warm cup of tea in the warmth of your kitchen, you might be looking out on your girls wondering how they feel about the colder weather.
If you’re looking for a new way to keep them warm first thing in the morning, or late afternoon just before they go to roost, consider making this yummy, warm corn recipe, especially for your hens, with a festive flavour which will provide extra nutrients to keep up their health this winter. It’s super simple and quick to make.
Ingredients – for 2-3 chickens
40g corn
20g oats
20g raisins
100ml hot water
Pinch of ginger, cinnamon
Method
Soak the corn, oats and raisins in hot water for 10 minutes, stirring occasionally. Mix in a pinch of ginger and cinnamon for added nutrients for your chickens. Leave to cool slightly before feeding to chickens.
Ginger supports the immune system and provides anti-inflammatory benefits which can be particularly beneficial for a poorly hen. Cinnamon has antibacterial and antioxidant benefits, and can reduce inflammation, these are extremely good for chickens as they are likely to experience respiratory problems.
This entry was posted in Chickens
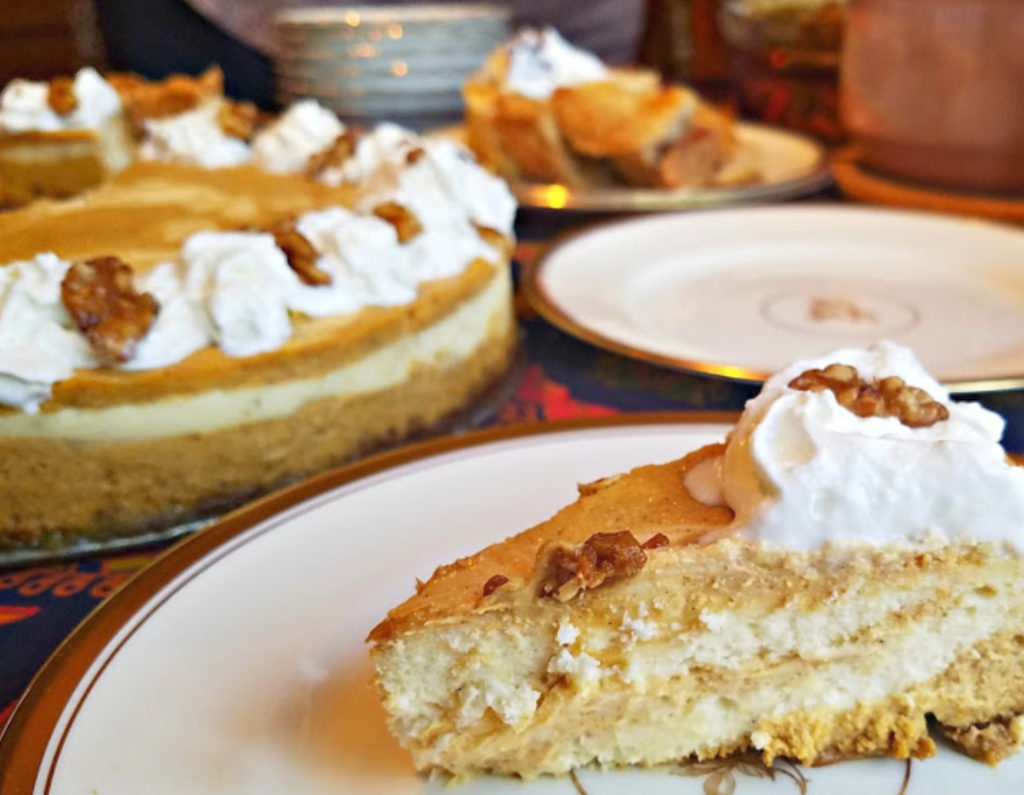
Halloween baking is so much better with eggs fresh from your backyard chicken coop. This pumpkin cheesecake is the perfect dessert to serve to guests. Deceptively elegant but surprisingly easy to make, it’s great for holiday parties because it can be made a day or two in advance.
Sharing this yummy recipe from guest blogger Lisa Steele, Fresh Eggs Daily.
This entry was posted in Recipes
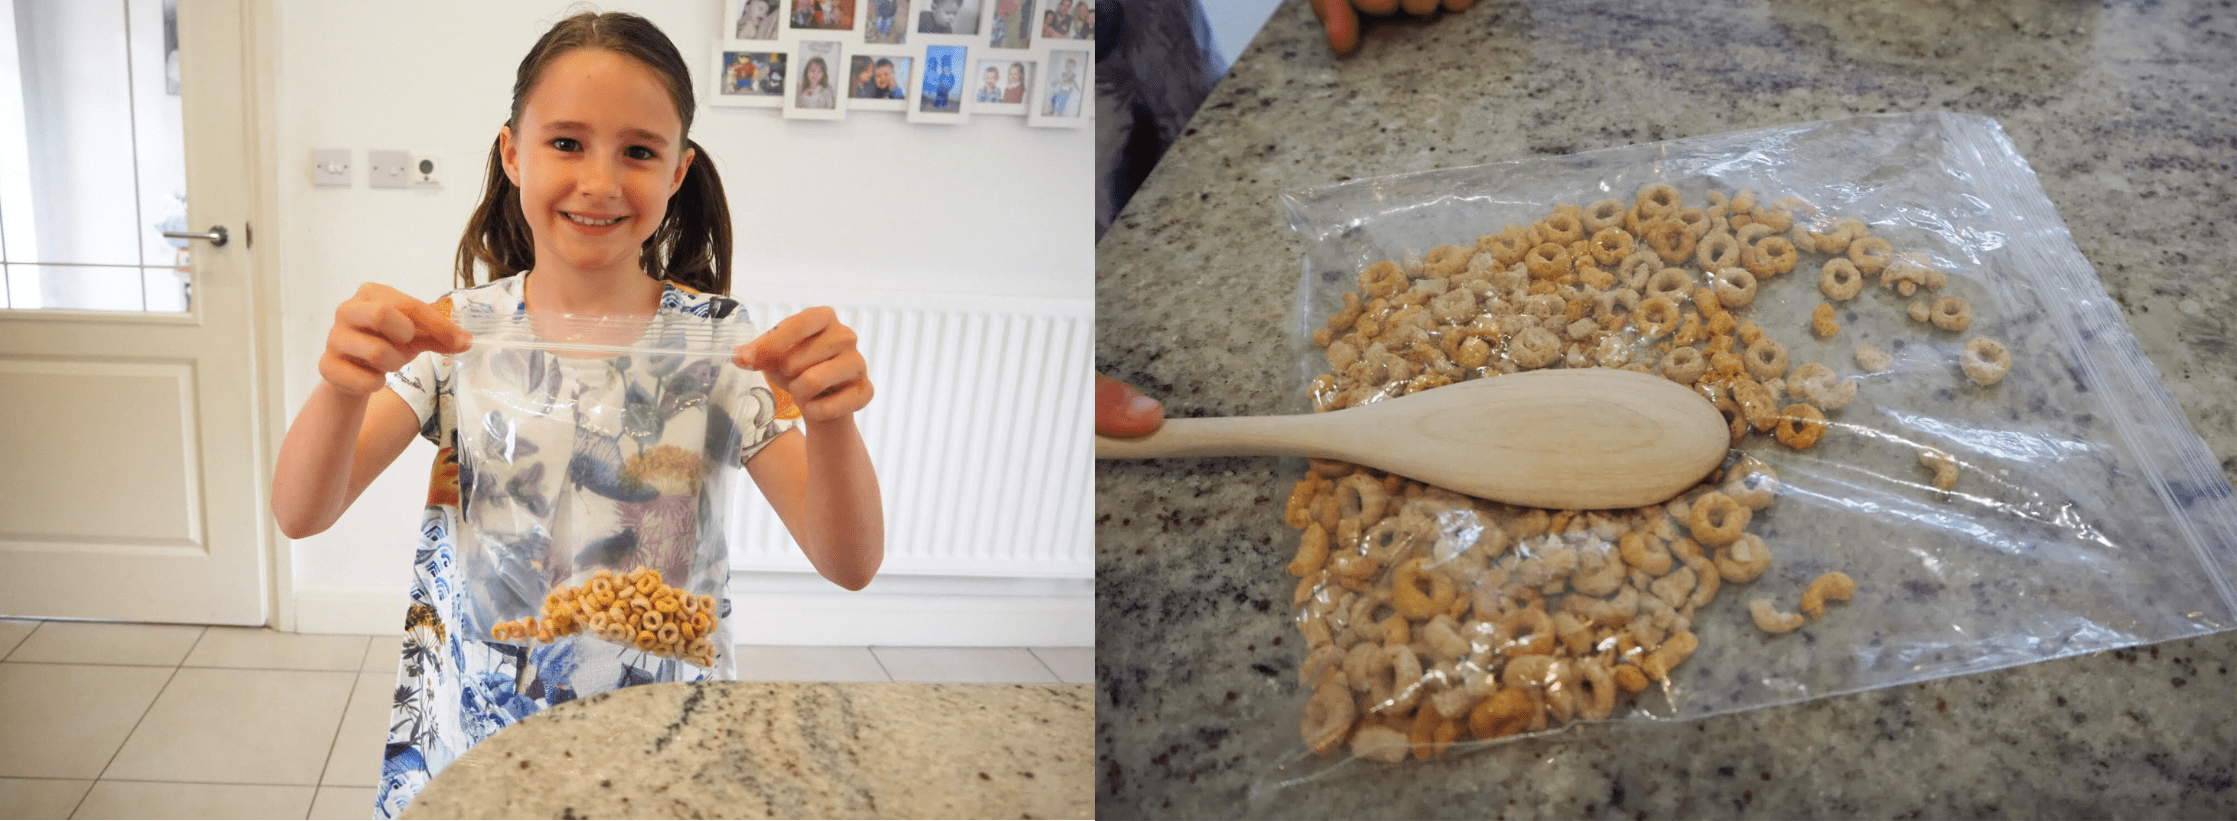
The school summer holidays are in full swing and there’s no better time to do some baking with the kids! Ruby and Harry decided they would like to make some treats for their Syrian Hamster called Ginny!!
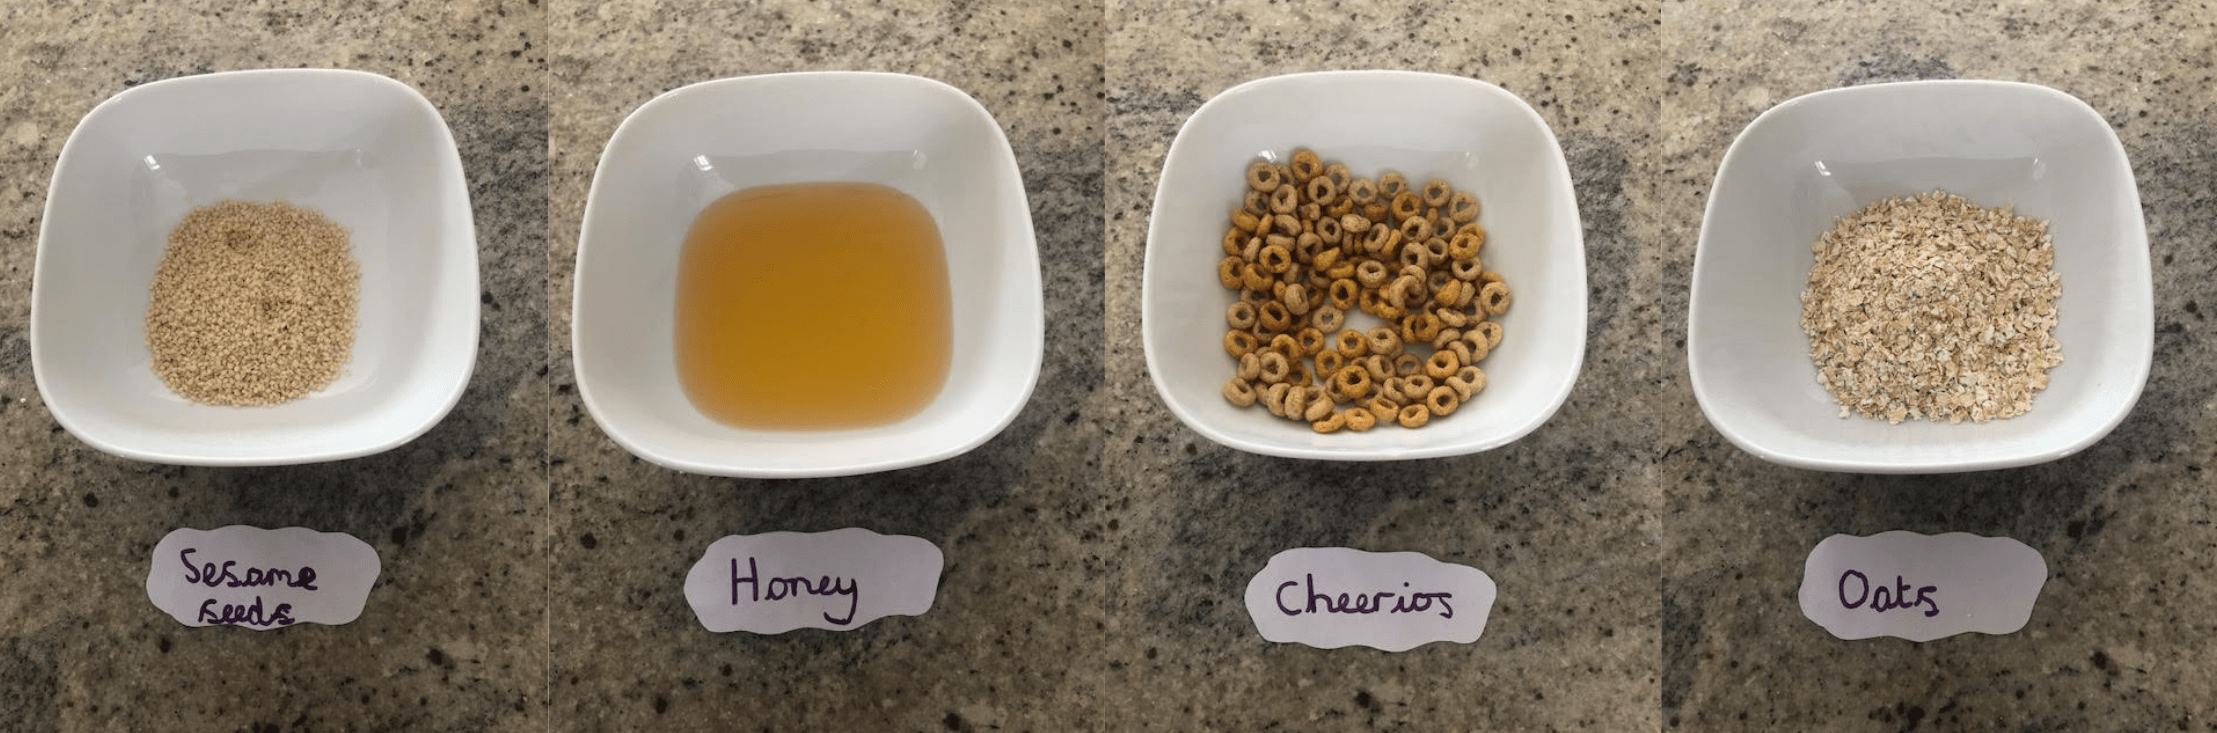
So here’s a simple recipe to make some yummy Crunchy Honey Delights!
Ingredients:
Cheerios (sugar-free kind)
Sesame Seeds
Honey
Oats
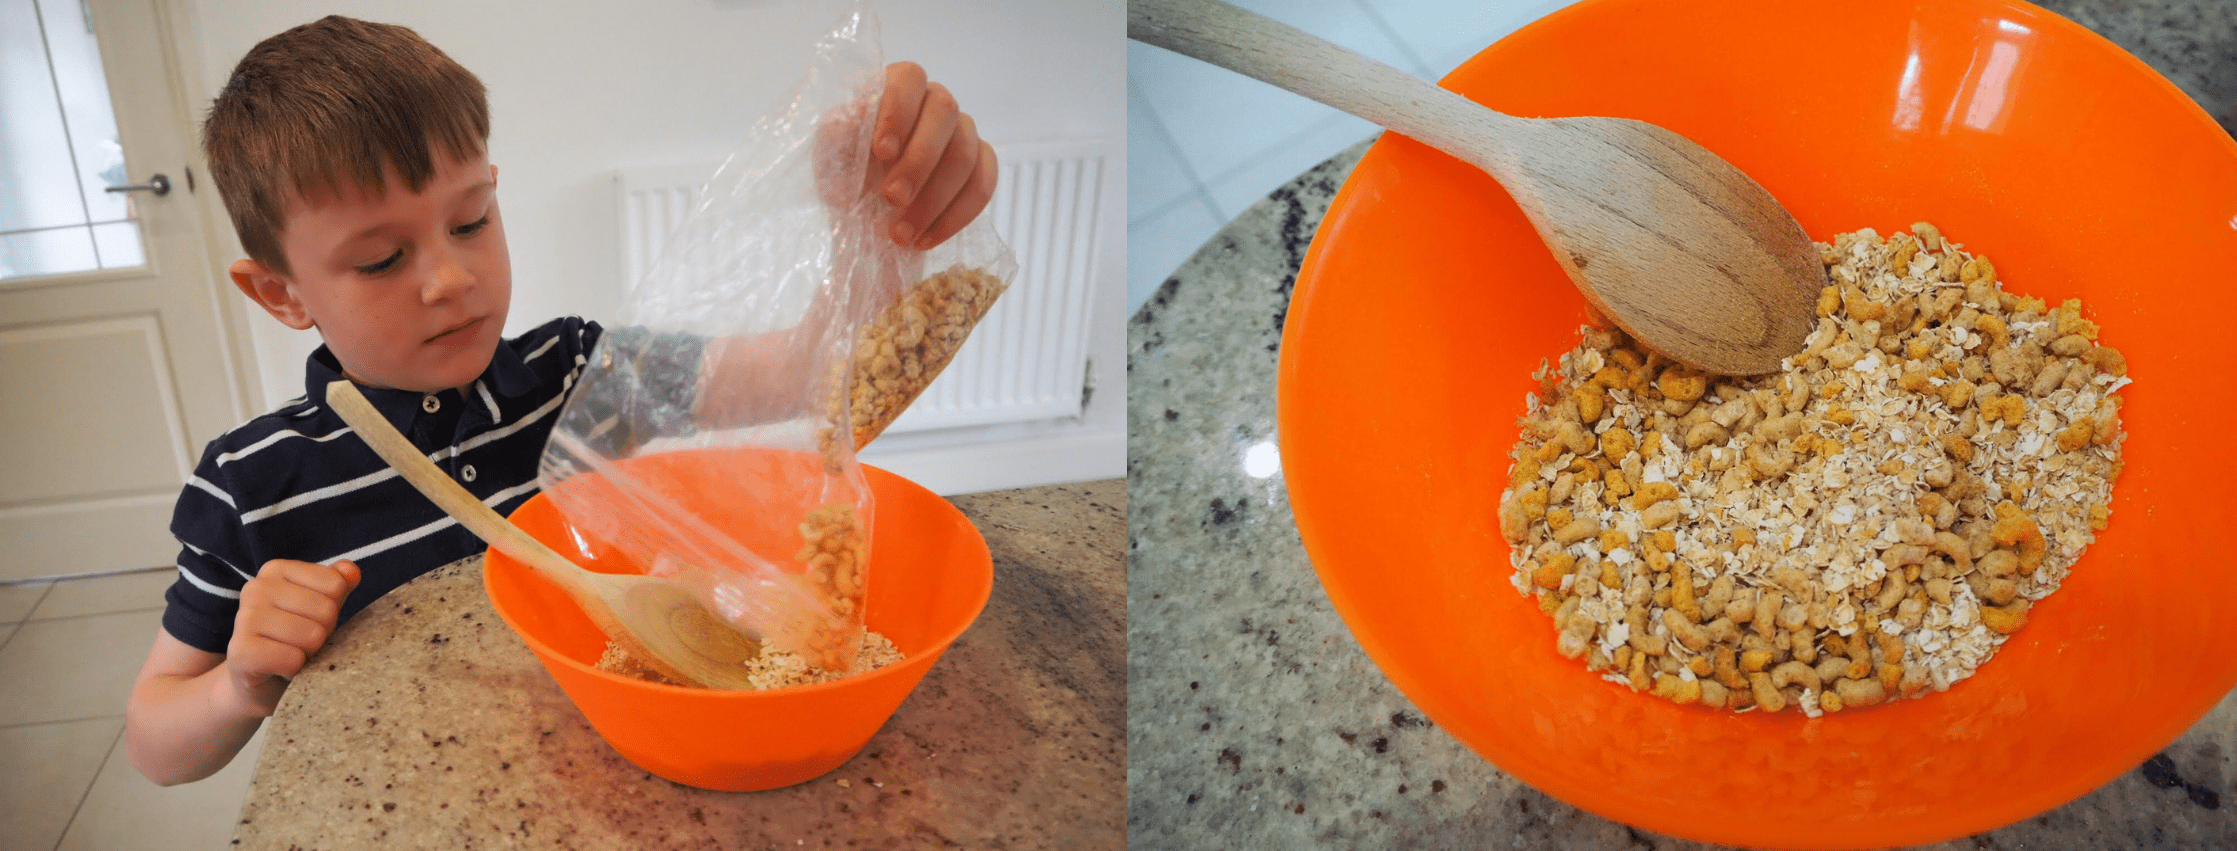
1. Add sesame seeds and oats into a bowl
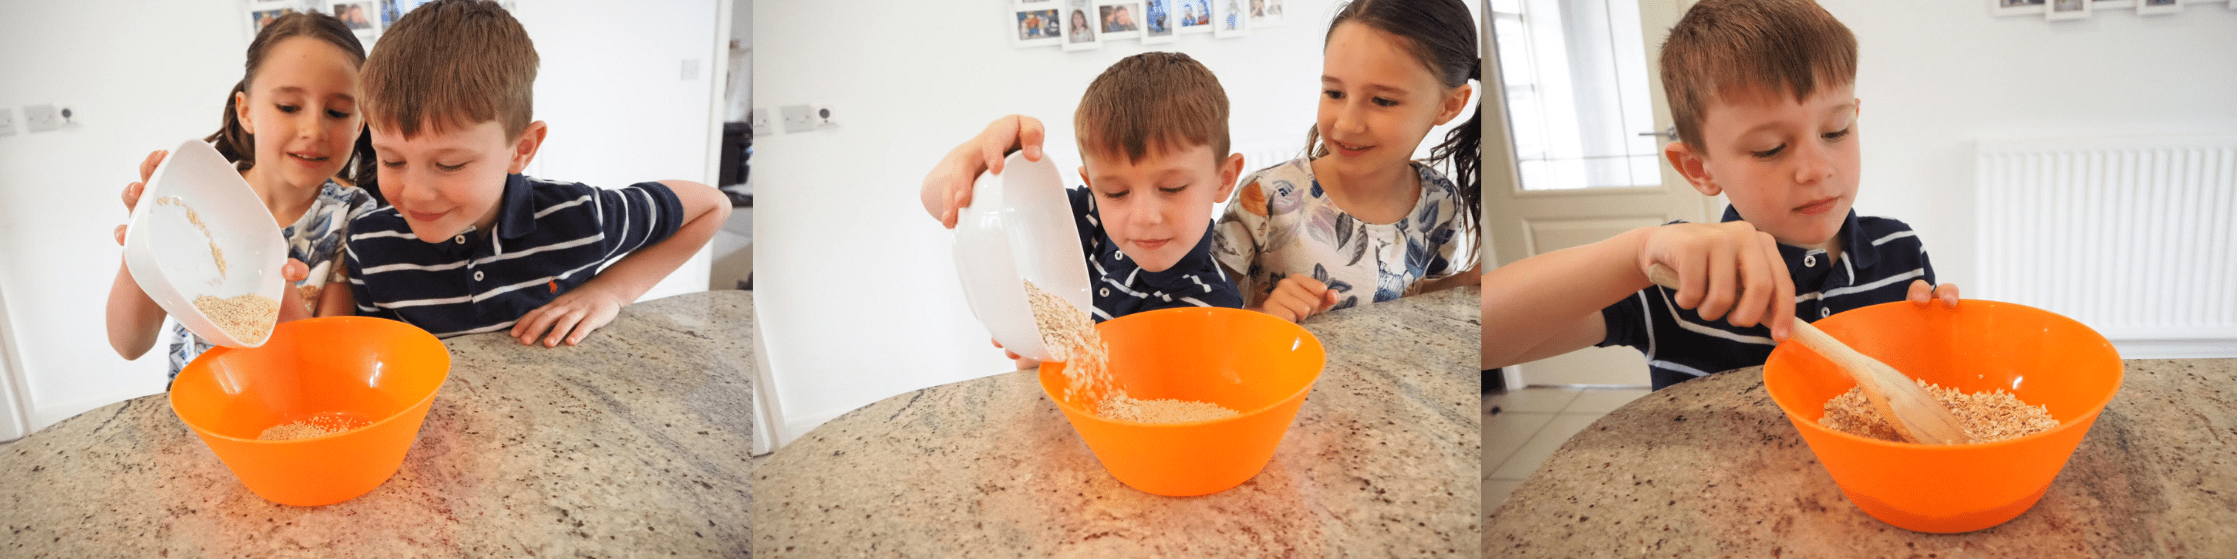
2. Crush the Cheerios in a small bag, don’t crush them into dust, just small pieces
3. Add the Cheerios to the sesame seeds and oats and mix together
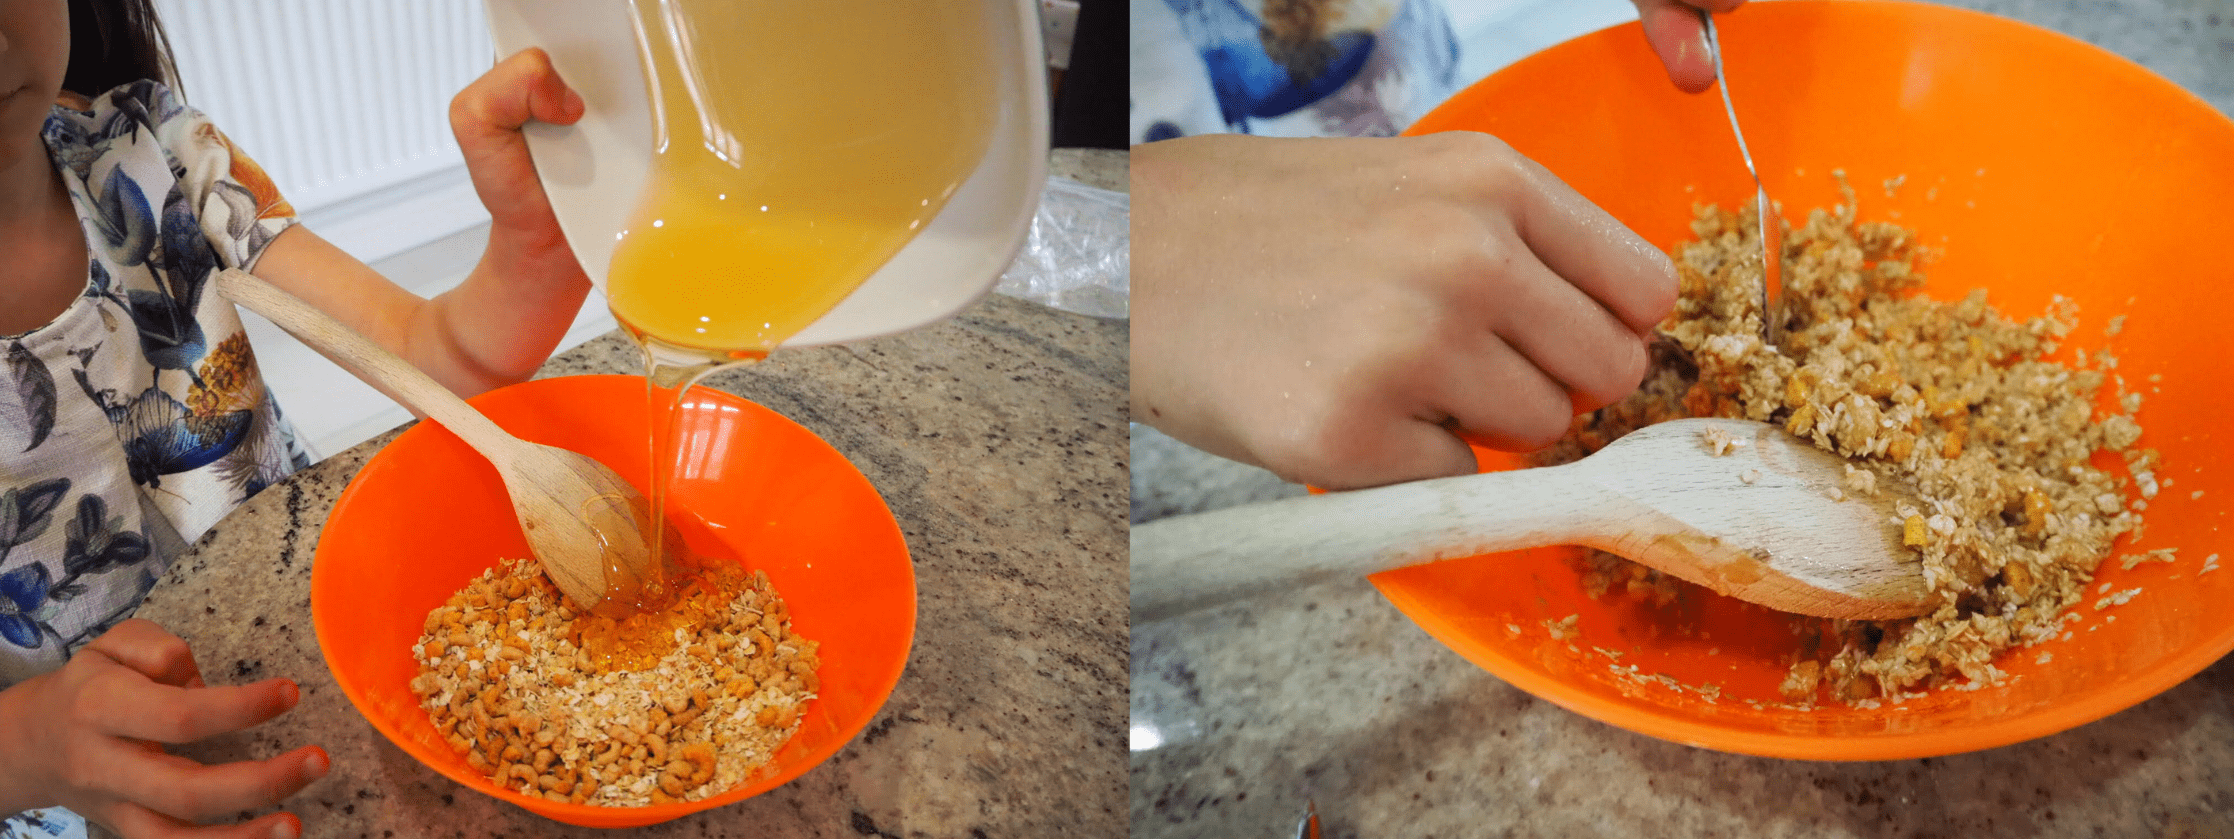
4. Drizzle honey over the mixture and coat well
5. Use your fingers to mould the mixture into small balls that your hamster can hold,
then put them on a baking tray and into the fridge for 15 minutes
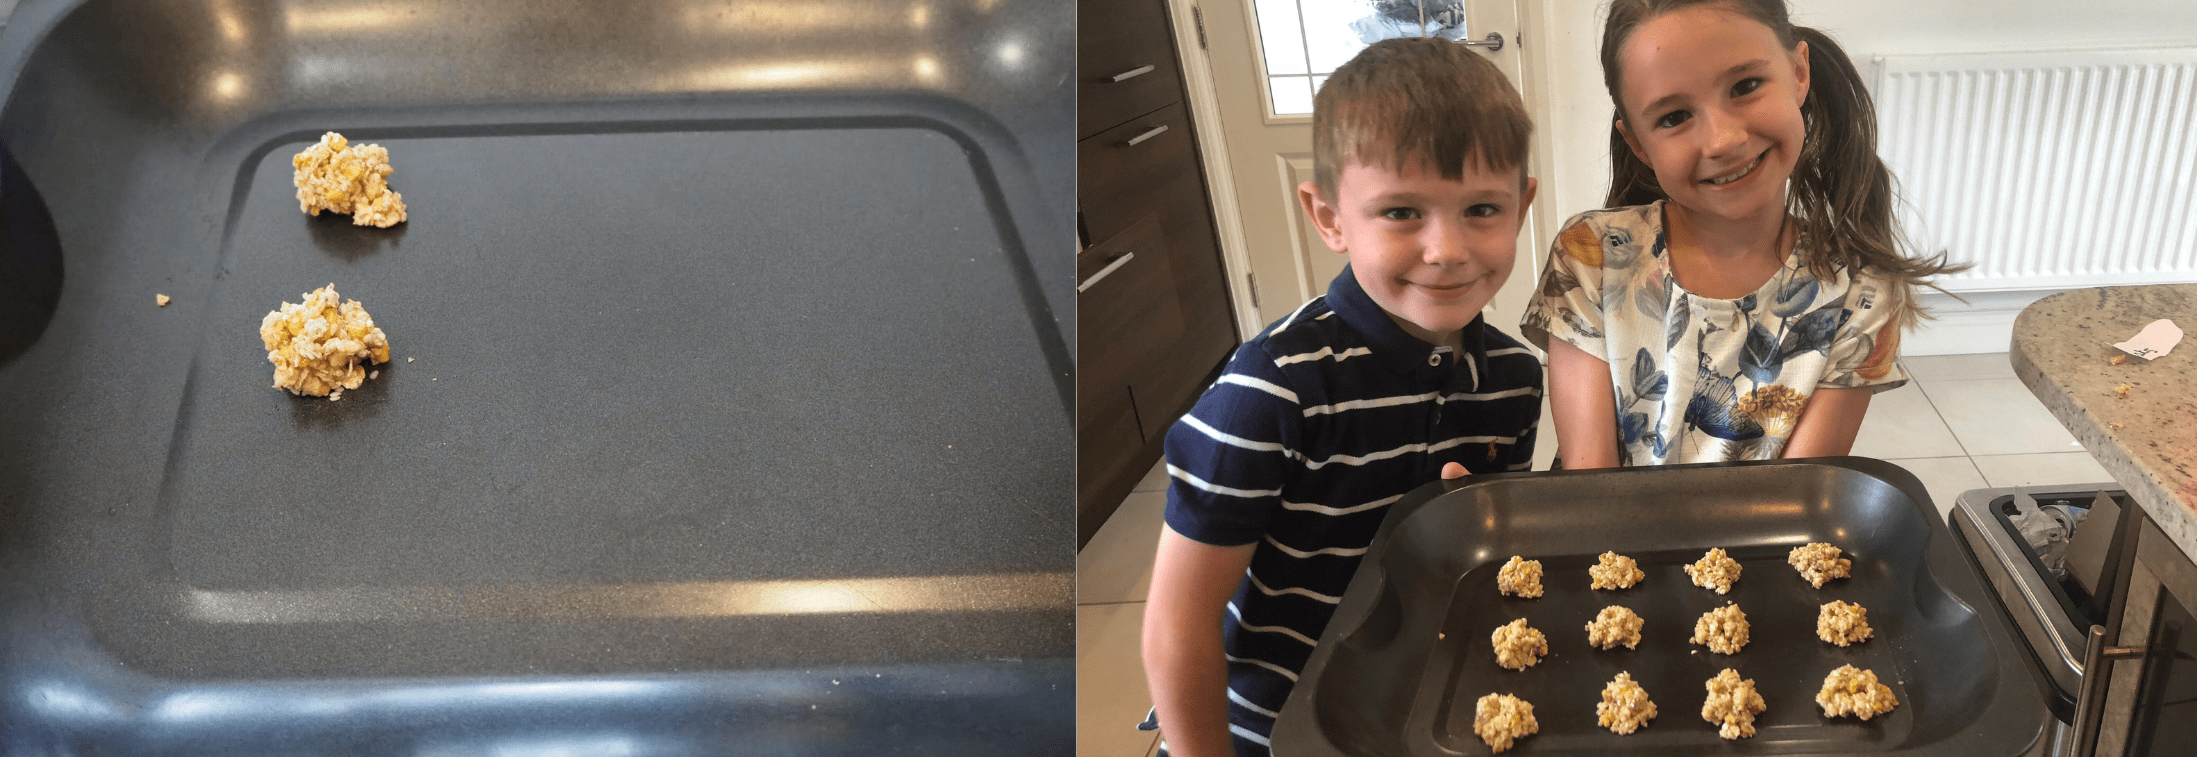
6. Heat your oven to 190 degrees and bake treats for 8-10 minutes and then let them cool completely

7. It’s time for the taste test….. does Ginny like the new treats….?
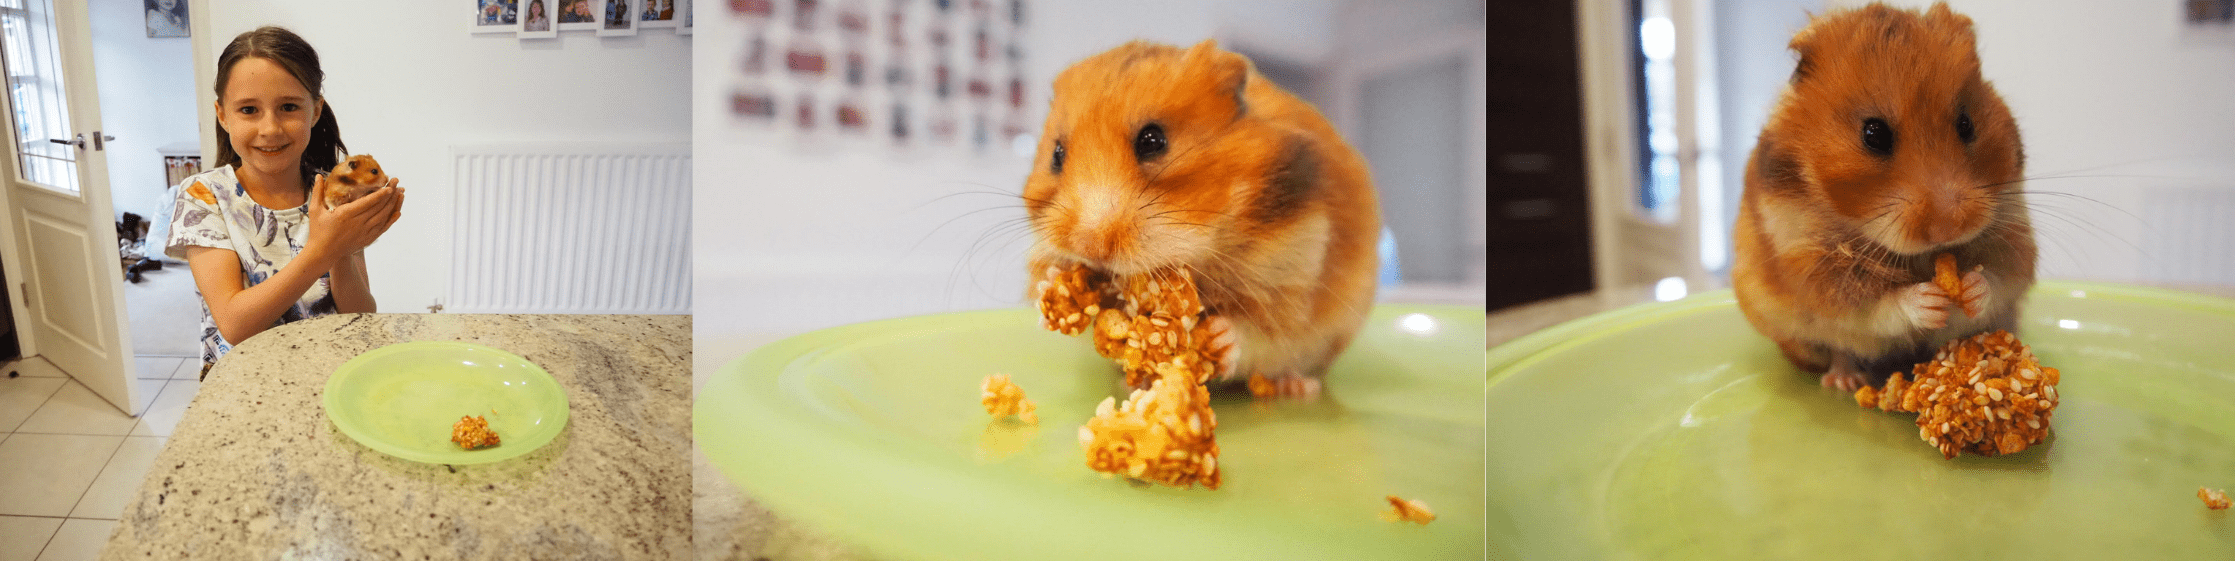
Ginny loved the Crunchy Honey Delights!
Happy Baking and remember to only give your Hamster little treats once or twice a week!
This entry was posted in Hamsters
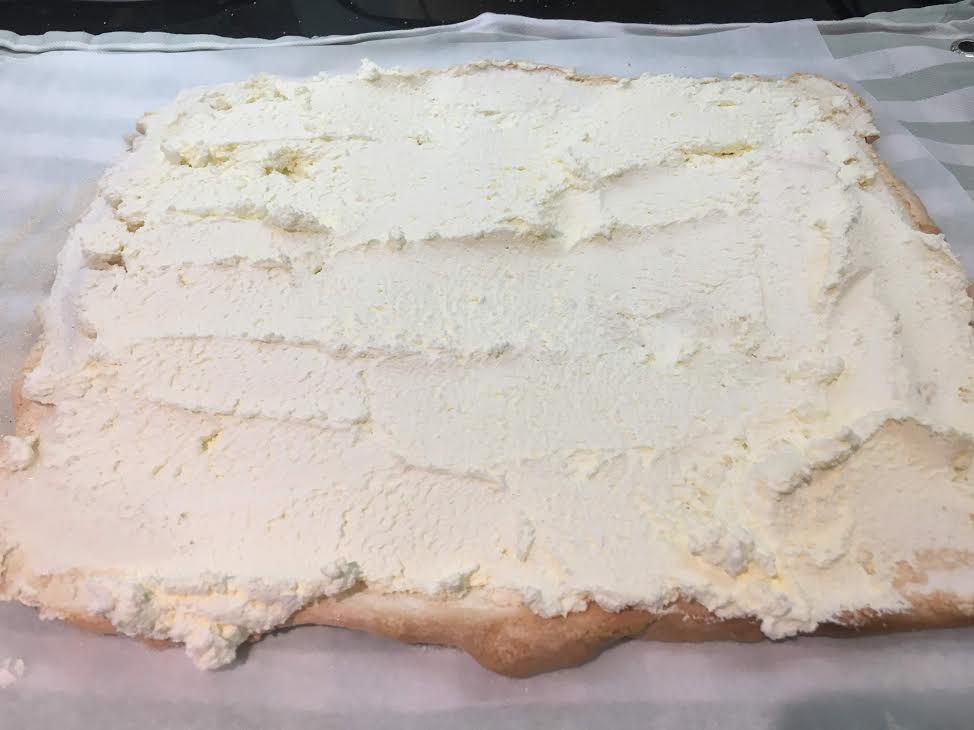
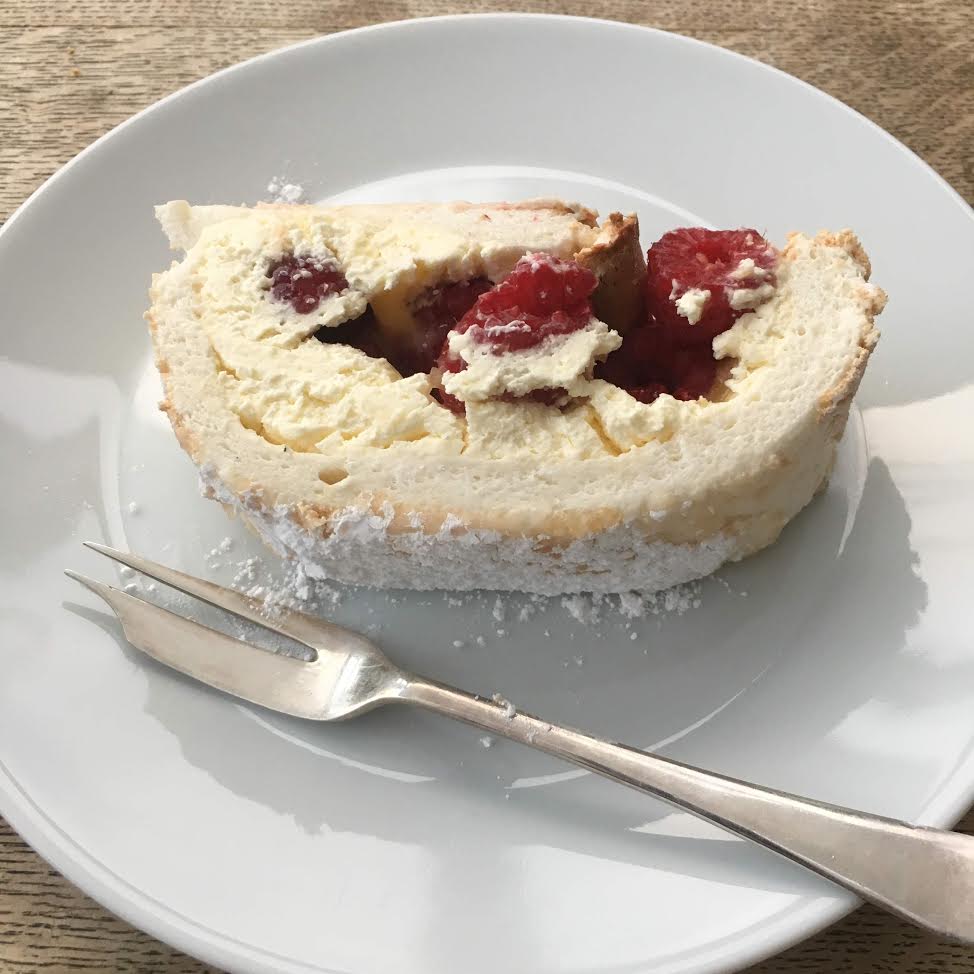
Raspberry & Lemon Meringue Roulade
We’ve always been fans of a super summer pavlova for dessert, but this year have been rolling up all that yumminess into a meringue roulade that guarantees a taste of all the flavours in every spoonfull!
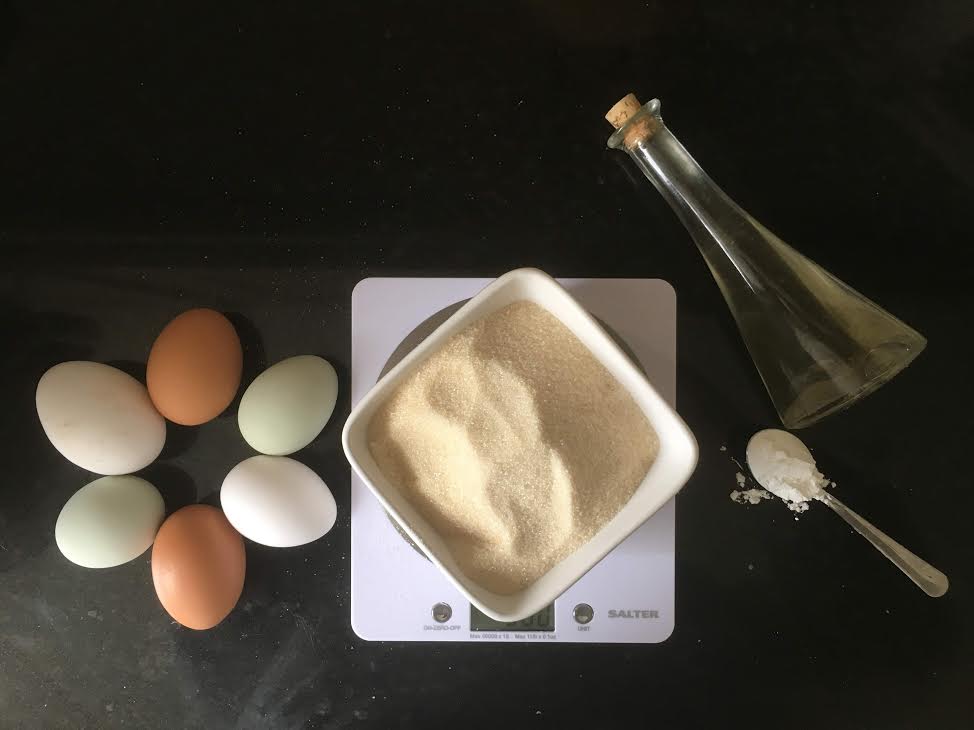
Ingredients for meringue:
6 Eggs (whites only)
300g Caster Sugar
25g Caster Sugar for sprinkling
1 tsp Cornflour
1 tsp White Wine Vinegar
Ingredients for filling:
400ml Double Cream, whipped
Small jar Lemon Curd (homemade if possible)
2 punnets of Fresh Raspberries
Icing sugar for dusting

Method:
1) Preheat the oven to 180c, line a baking sheet with non-stick baking parchment.
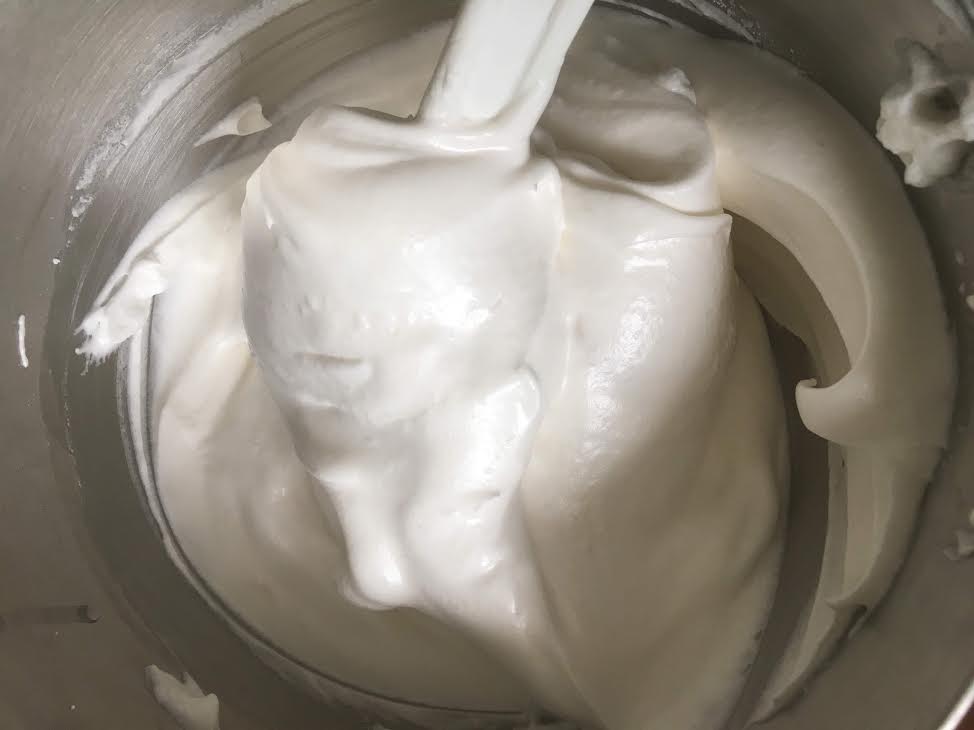
2) Whisk the egg whites until they form firm peaks.
3) Sprinkle the cornflour and white wine vinegar over the whisked egg whites then add the sugar steadily whilst still whisking.
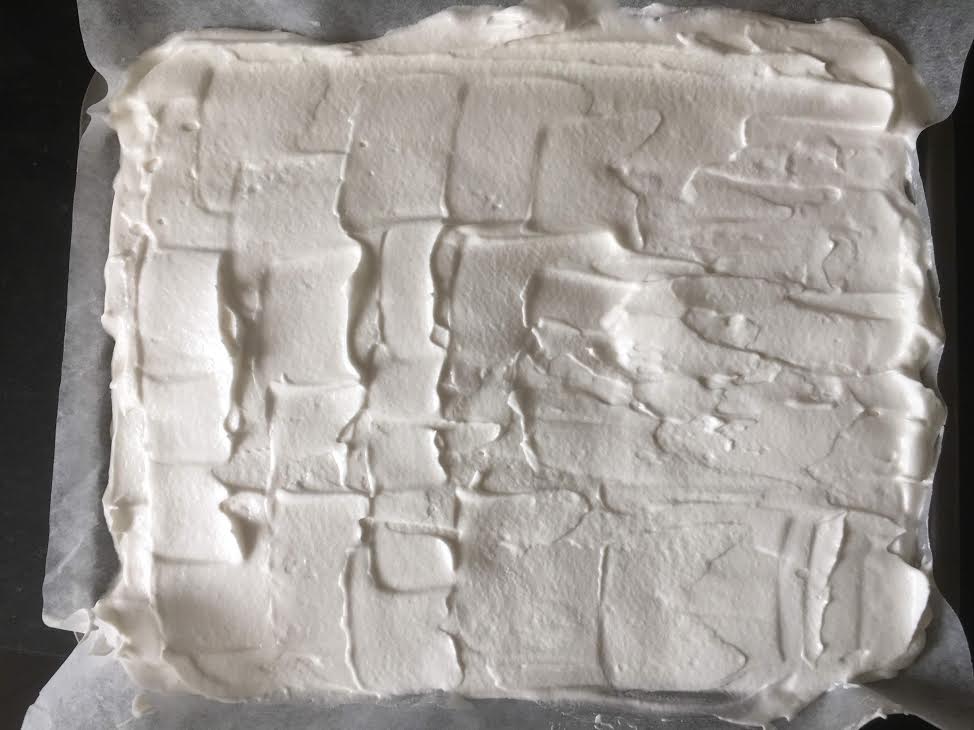
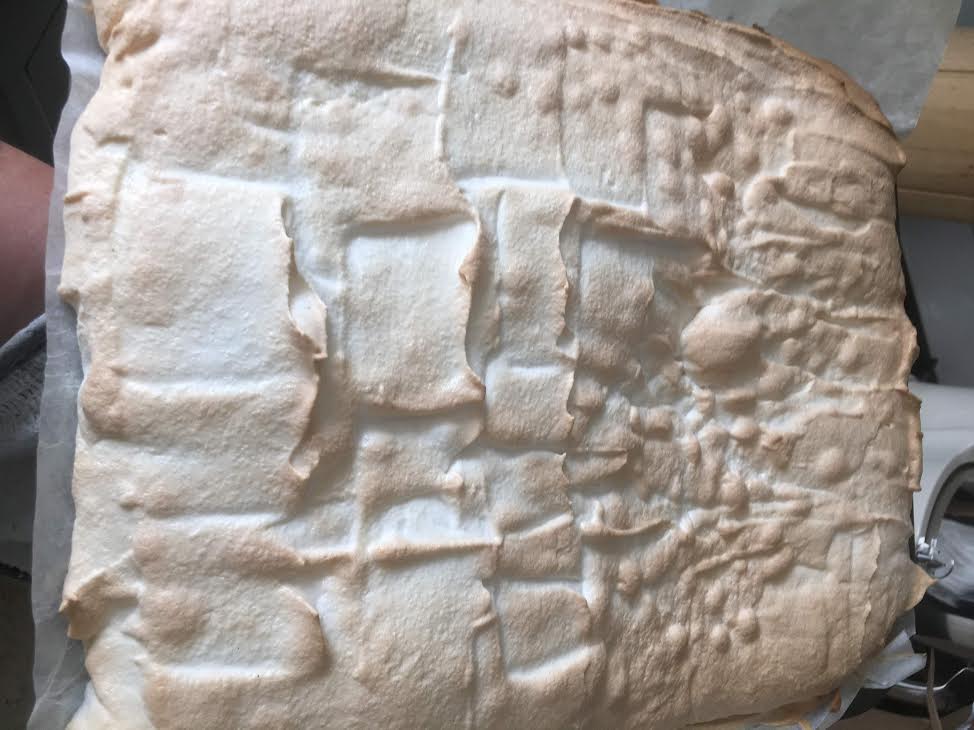
4) Spread the meringue mixture onto the lined baking tray.
5) Bake for 10 mins at 180c then turn the oven down to 160c and bake for another 10 mins until the meringue is starting to colour and is firm to touch.
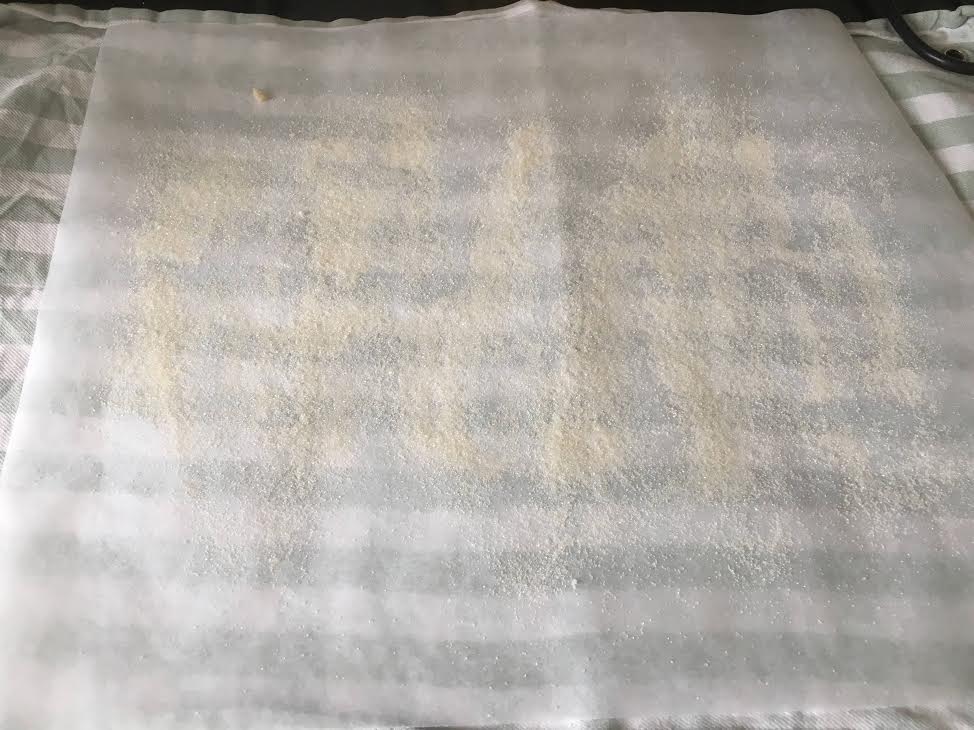
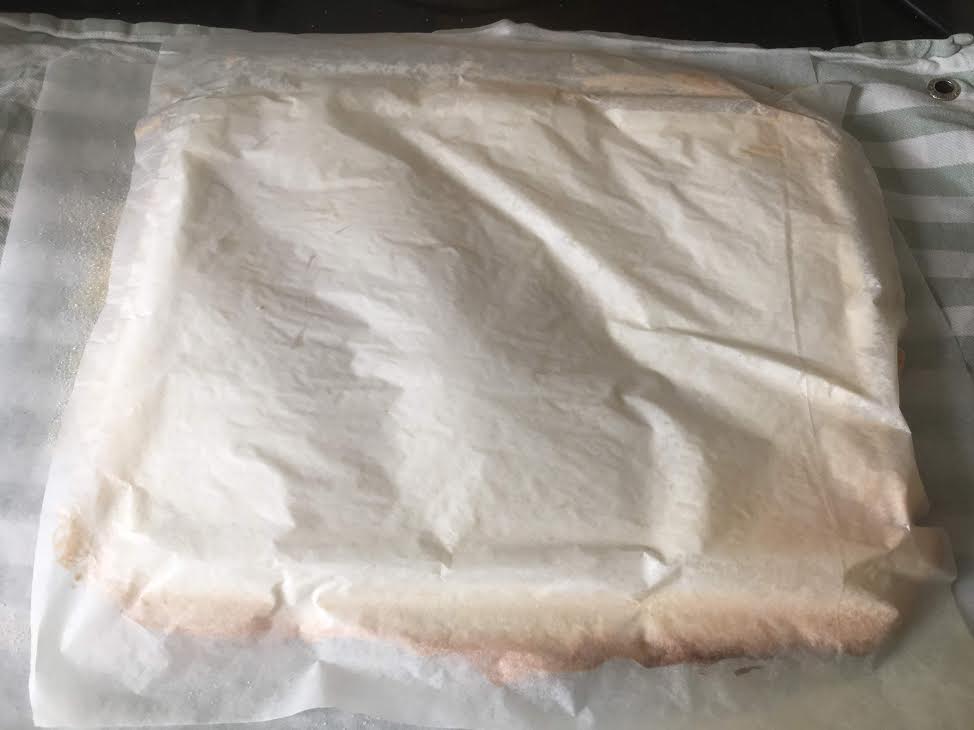
6) Lay a clean tea towel on the work surface, place a sheet of parchment over the top and sprinkle with 25g caster sugar.
7) Take the baked meringue out of the oven and turn upside down on the prepared sugar dusted parchment, remove the baking sheet, allow to cool completely.
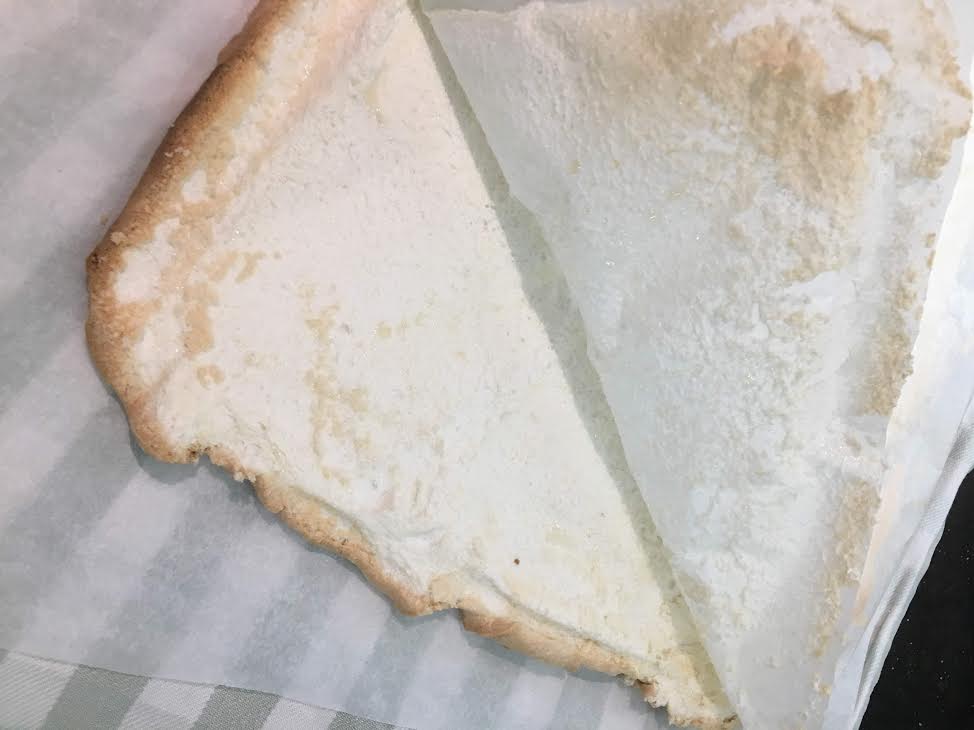
8) Once the meringue is cool, peel off the sheet of baking parchment that it was baked on and spread the whipped cream over the whole area of of the meringue.
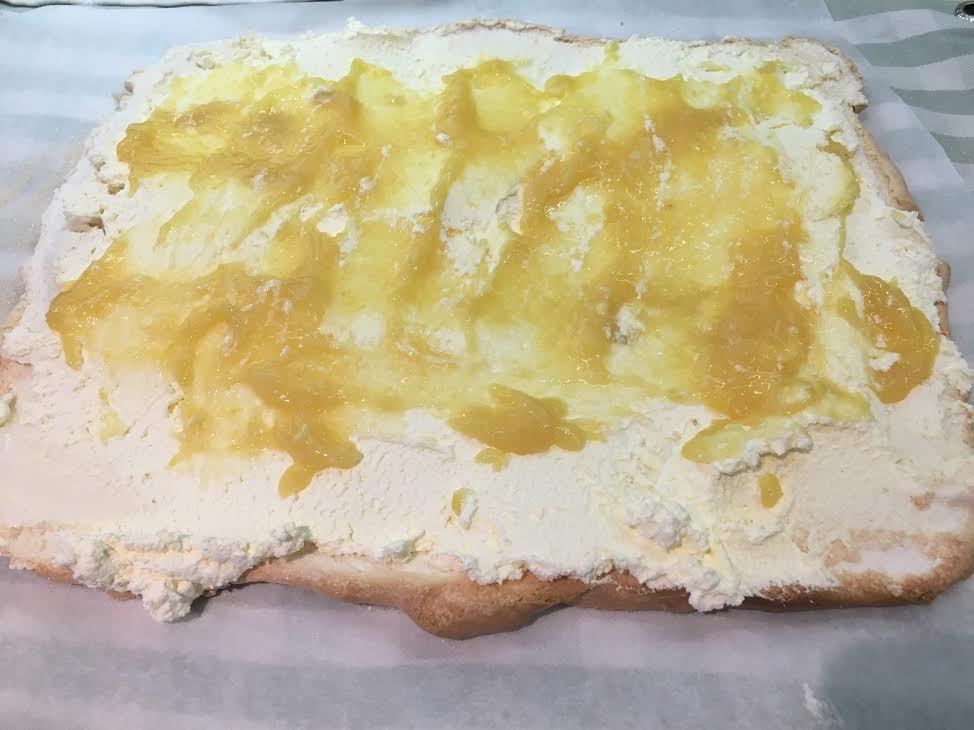
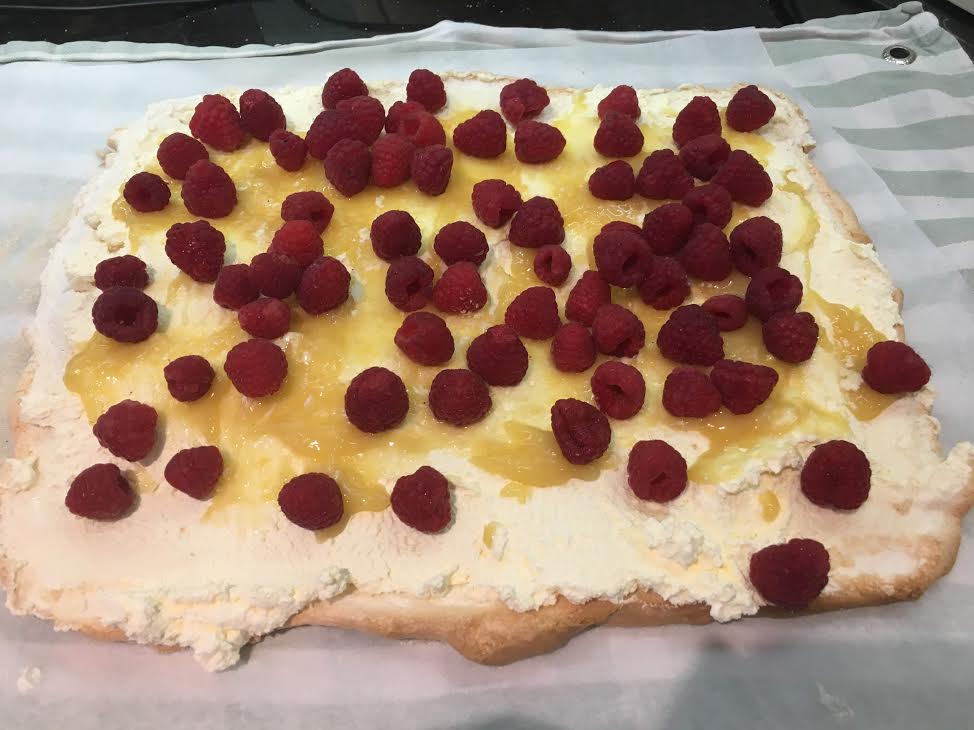
9) Dollop/spread spoonfuls of lemon curd at regular intervals over the cream and scatter the raspberries on top.
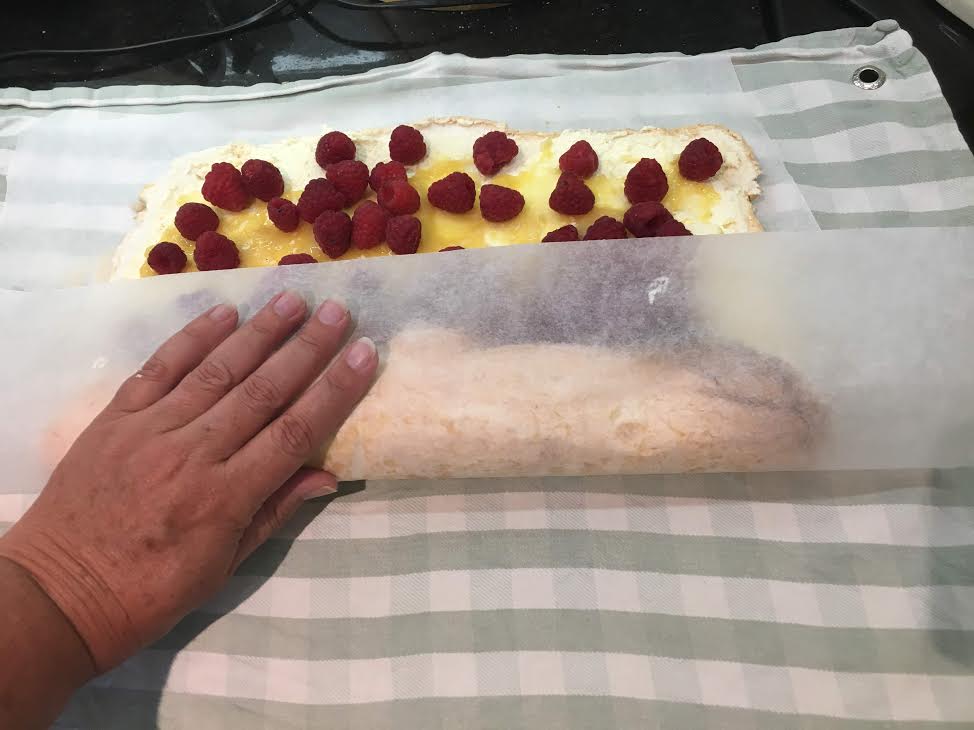
10) Using the parchment paper for support, carefully roll the meringue to resemble a swiss roll, ensuring the parchment and tea towel don’t get caught up in the dessert!.
11) Transfer to a serving platter, dust with icing sugar and enjoy!
Recipe courtesy of Hen Corner

www.hencorner.com
This entry was posted in Recipes
Chocolate Nests
A super treat, especially at Easter, that’s easy enough for the children to make. It’s also a handy recipe to use up any extra chocolate if you can’t quite manage to eat all your Easter Eggs!
Ingredients:
Makes 12
100g Milk Chocolate
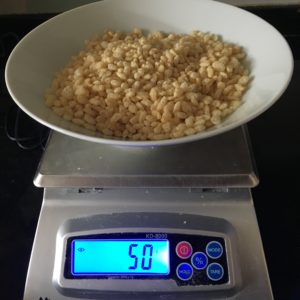
50g Puffed Rice Cereal
24 Mini Chocolate Eggs
Method:
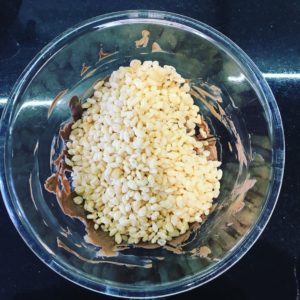
1) Melt the chocolate over a bowl of hot water (do supervise well if children are helping).
2) Stir in the puffed rice.
3) Distribute the chocolate rice mixture between 12 paper cake cases, press into nest shapes with the back of a spoon.
4) Pop a couple of mini eggs into the nest, allow to cool as the chocolate sets.
5) Share and enjoy!
Recipe courtesy of Hen Corner
This entry was posted in Recipes
Hot Cross Buns
A hot cross bun is a spiced sweet bun made with currants or raisins, marked with a cross on the top, and traditionally eaten on Good Friday.
This quantity of batter makes 12 buns.
Ingredients:
- 500g strong white flour
- 1 tsp dried yeast
- 1 tsp salt
- 40g caster sugar
- 2 tsp mixed spice
- 250ml milk
- 60g butter, room temperature
- 2 eggs
100g Dried mixed fruit
For crosses:
100g flour & 200ml water paste
For glaze:
2 Tbsp warmed honey
Method:
- Make the dough by combining all ingredients in a large mixing bowl, draw it all together with your hand to combine well and squeeze the dough into a ball.
- Work and fold the dough for 15 minutes, pulling and stretching in several directions.
- Turn the dough into a ball and place in a large clean bowl, cover and leave in a warm place to prove for 1 hour.
- Knock the air out of the dough and roll out into a rectangle 1cm thick.
- Sprinkle the dried fruit onto the dough, fold in and work the dough gently to incorporate the fruit evenly.
- Shape the dough into 12 buns, place on a baking sheet lined with parchment, cover and prove for 1 hour.
- Preheat the oven to 200c, mix the flour and water into a thick paste and spoon into a piping bag.
- Just before baking, pipe crosses onto the buns.
- Bake at 200c for approx 12-16 mins, look for firm, risen, golden brown buns.
- Brush the baked buns with warm honey for a lovely shiny glaze.

Recipe courtesy of Hen Corner
This entry was posted in Recipes
Pancake Day
Pancakes are traditionally eaten on Shrove Tuesday as the last meal before Lent begins on Ash Wednesday. Historically, people would use up the goodies and treats in their larders before a 40 day fast as they pray and prepare themselves for Christ’s death and resurrection at Easter.
This is a great recipe to enjoy in February as pure breed hens are just coming back into lay and, hopefully, you’ll have eggs aplenty!
This quantity of batter makes 6 pancakes.
Ingredients:
200g plain flour
1/5 tsp salt
2 eggs
400ml milk
To cook:
Vegetable oil (we used organic rapeseed oil)
To serve:
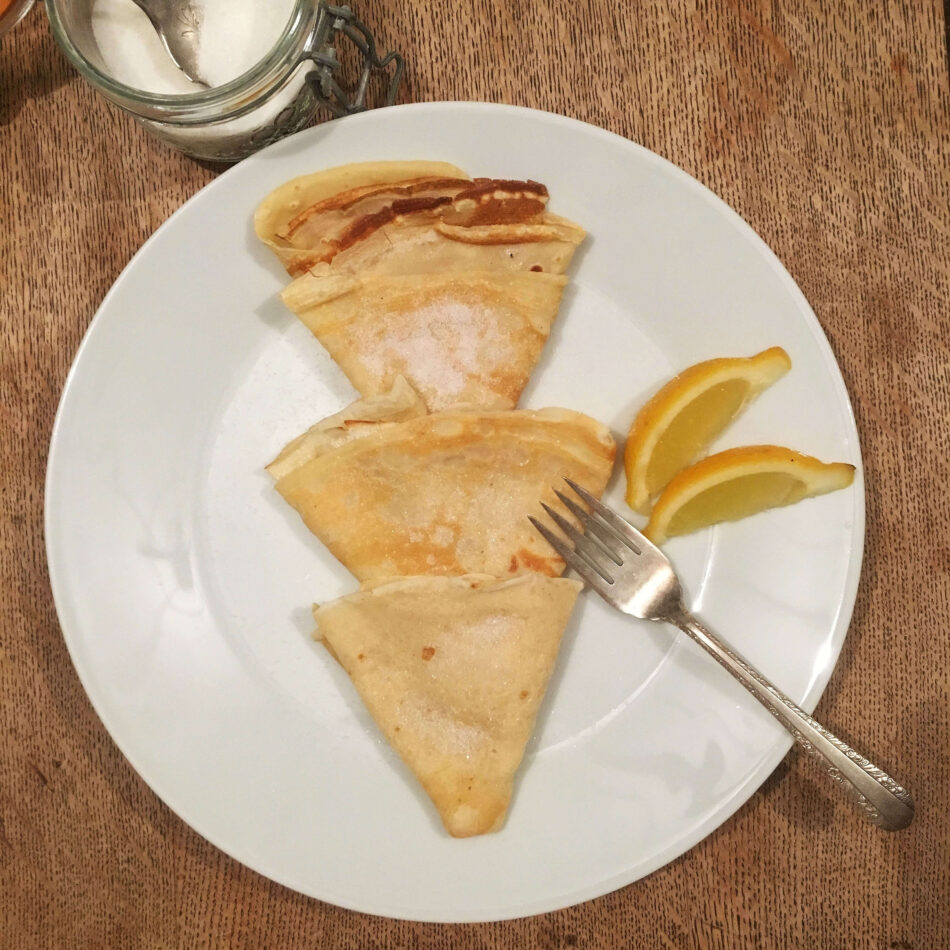
Sugar and lemon wedges
Method:
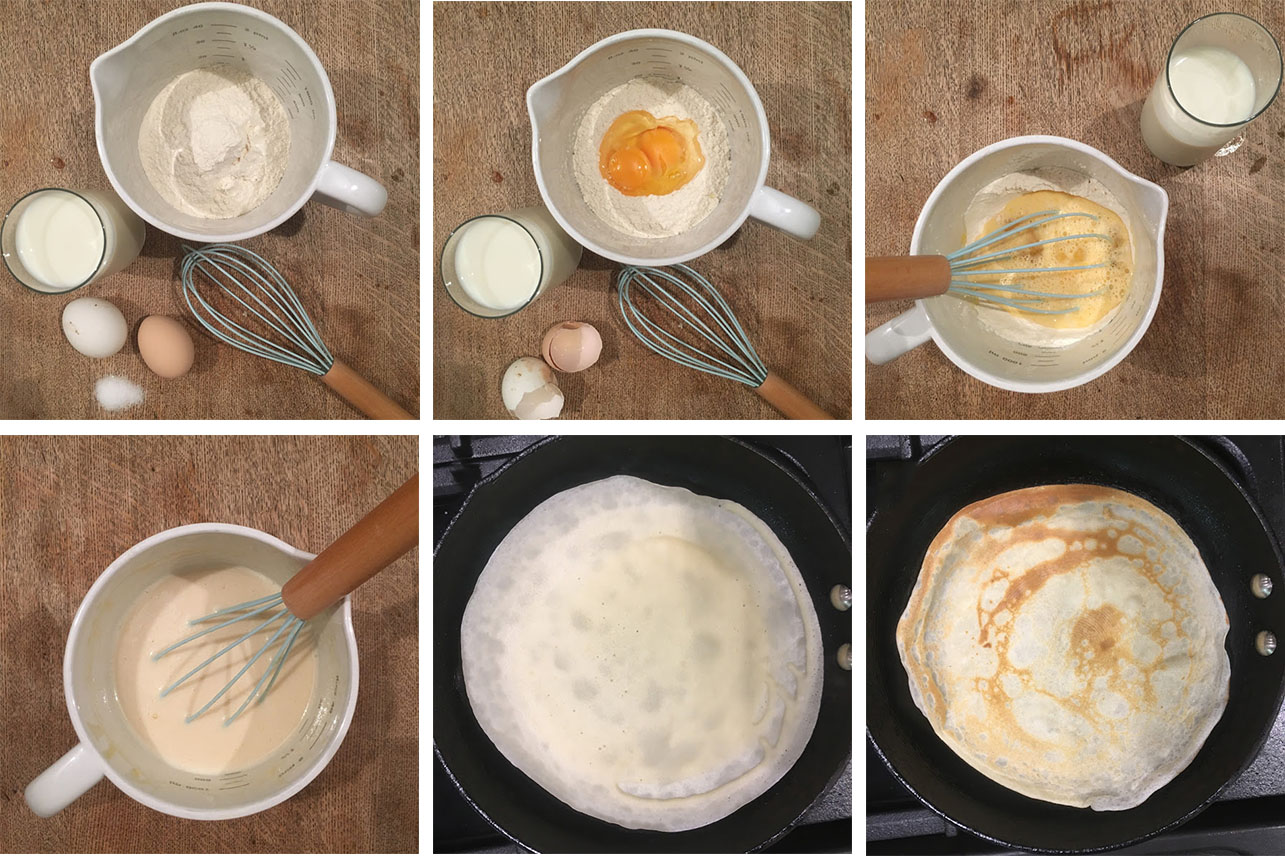
1) Combine the flour and salt in a large jug, make a dip/well in the middle of the flour and crack the eggs into the well.
2) Begin to whisk the eggs together with a couple of tablespoons of milk starting to incorporate some of the flour as you go.
3) Continue to add the milk a few tablespoons at a time, whisking as you go, gradually incorporating the flour. This will help create a smooth batter.
4) Once all the ingredients are combined, leave the batter to rest for 30 minutes.
5) Preheat a non stick frying pan over a medium heat, brushing the inside with a thin coating of oil.
6) Pour in a small amount of batter and swirl it around the pan for an even coating.
7) As it cooks, watch for the pancake to start coming away from the edges of the pan, then loosen under the pancake with a spatula.
8) Confidently toss your pancake (or carefully turn over) to cook the other side, they are ready once lightly browned each side.
9) Continue cooking the rest of the batter, brushing the pans with a little oil in between each new pancake.
Serve sprinkled with sugar and lemon juice, or any indulgent topping of your choice!
Recipe courtesy of Hen Corner
This entry was posted in Recipes
Ingredients :
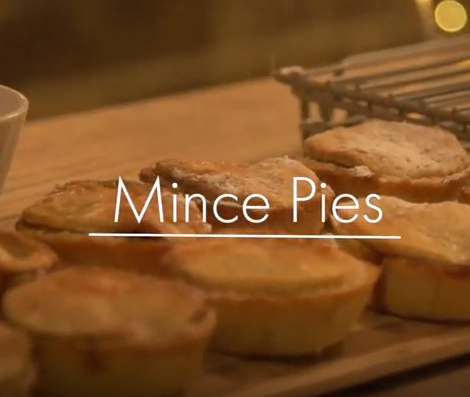
Mincemeat:
500g of dried fruit and nuts
Orange Zest
1 Apple
2 tsp Mixed Spice
1tbsp Honey
100g of Brown Sugar
100g of Frozen Butter
100ml of Brandy
Either buy Sweet Shortcrust Pastry from the store or have a go at making your own.
Pastry:
300g of Plain Flour
150g of Diced Butter
Pinch of Salt
50g of Caster Sugar
Egg Yolk
Dash of Milk
This entry was posted in Recipes

Ingredients:
100g Dark choc chips
275g Golden caster sugar
165g Dairy free spread
1tbsp Cocoa powder
A sprinkle of Chilli Flakes
A pinch of Salt
5 Eggs
2tbsp of Ground Almonds
Edible golden glitter
Method:
This recipe is one of our favourites: these are Chocolate Chili Triangles. What’s great about this recipe is
that it is gluten free and it is dairy free. So if you’ve got friends who have got a special diet, this is a real top
treat for them. It’s also a very straightforward recipe.
In a heatproof bowl we are putting 100 g of dark
chocolate chips, 275 g of golden caster sugar, 165 g of dairy free spread, 1 big tablespoon of cocoa
powder, a sprinkle of chili flakes and a pinch of salt. This is simply going over some boiling water on the
stove until it’s melted down and we can mix it together.
The second part of the recipe is to whisk together 5 eggs. Once we’ve whisked the eggs together, we’re going to add two tablespoons of ground almonds, and once our chocolate mix is melted, combine the lot together and
bake it in the oven. Just fold it in, for even consistency.
Take a square baking tray, line it with parchment paper, and simply pour in the chocolate mix. This then goes into the oven at a 180°C or 350°F for 35 min.
Take the tray out the oven and allow to cool, then lift the parchment out of the tin.
Now is time to make your chocolate chilli sparkle and shine. Spray the golden glitter across the top of the square, covering it and then cut it into triangles.
They’re certainly something special. Enjoy!
Merry Christmas from Hen Corner and Omlet.
For the full video click here: https://vimeo.com/245899888
This entry was posted in Recipes
Ingredients:
180g of Ground Almonds
120g of Golden Caster Sugar
Grated Zest of a Lemon
A Pinch of Salt
A tot of Amaretti liquor
2 Egg Whites
1 tbsp. of Honey
1 Handful of Flaked Almonds
Sprinkle of Icing Sugar
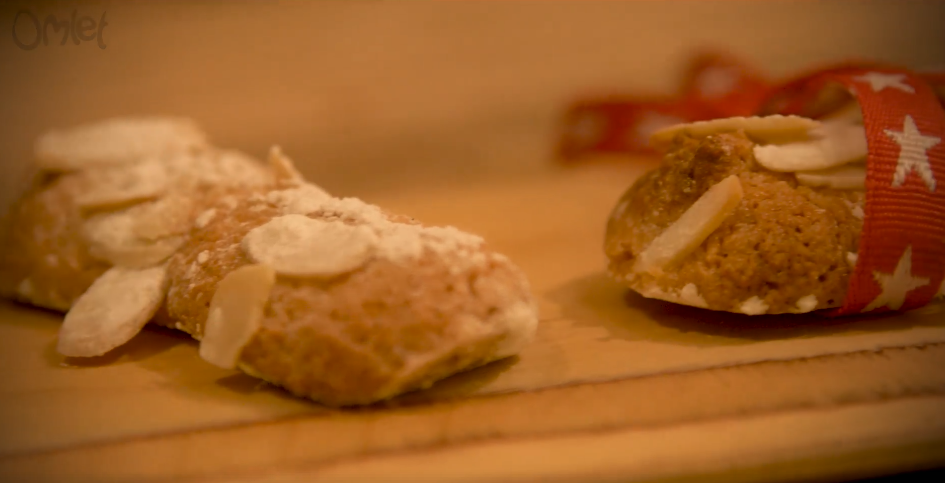
This recipe has a special Italian twist to it, It’s an Amaretti biscuit, lovely and chewy on the inside with flaked almonds on the outside, very quick and easy to make. We love this recipe as it uses contributions from both the bees and the chickens at the Hen Corner Urban Farm.
Pour all of your ground almonds into a mixing bowl and add the golden caster sugar. Add the grated zest of a lemon and a pinch of salt. Then we make this biscuit festively merry with a lovely little tot of Amaretti liquor. Give that a good mix with a wooden spoon.
Put that to one side.
Then in a separate bowl mix two egg whites with a tablespoon of honey. It’ll start to look similar to a meringue consistency.
You are then going to fold the egg whites into your almond mix.
You want this evenly combined and then you’re going to pipe it onto a baking tray that’s lined with parchment paper.
Coat the piped formations in flaked almonds and icing sugar before baking in a moderate oven for about 15-20 minutes.
You can either plate them up to pass around on a tray ready to be enjoyed or you
wrap them up with a bit of ribbon to make cute edible decorations, ready to hang them from the Christmas tree.
We hope you have a go at making these yourself, they’re really quite simple and really rather special.
Merry Christmas from Hen Corner and Omlet
This entry was posted in Recipes
Makes 10
10 Soft boiled eggs
2 lbs of Sausagemeat
6oz Chorizo
1 Raw egg (whisked)
7oz Breadcrumbs
16.9 fl oz of Vegetable cooking oil
Start by boiling 10 eggs for roughly 5 mins, depending on how soft you like your egg, then run them under cold water to cool them down. Tap each egg on a kitchen surface and roll them under your palm, we find this the easiest way to peel an egg. Put the eggs to one side whilst you prepare your sausagemeat. Remove all packaging from the sausagemeat and empty into a large bowl. Finely chop the chorizo and then add it to your sausagemeat. Use your hands to work the sausagemeat and mix in the chorizo. Once you have done this, take a small handful of the sausagemeat and roll it into a ball then flatten it out into a patty in your hand. Place one egg on top of the patty and wrap the meat around the egg as far as possible, take a another small handful of the sausagemeat and patch up the remaining area to form a ball around the egg. Dip the ball in the whisked raw egg mixture, ensure it is all covered. Take a large plate and spread the bread crumbs across it, take the egg soaked ball and roll it around in the breadcrumbs. Repeat this process for the other eggs. Heat a pan of cooking oil until it is at roughly 330 degrees farenheit, make sure the oil is deep enough to cover the eggs and then cook roughly 2-3 at a time for 5 minutes each.
You can serve these hot or cold, as a starter or as a delicious snack, enjoy!
This entry was posted in Recipes
We all love a good runny poached egg but it’s impossible to cook more than one at a time without them falling apart. Out of all the tricks in the book I have never managed to cook multiple poached eggs so that they all come out perfect. I tried all of the old wives tales you can imagine, spin the water, add vinegar, cook them in deep water, cook them in shallow water. I officially gave up and resided to a life of scrambled and fried eggs….until now.
Behold the champion of all poached egg hacks, the clingfilm technique, huzzah! Below I will take you through this nifty method step by step so that you two can enjoy all the poached eggs you wish for:
1 – Lay out a piece of clingfilm and rip it off the roll
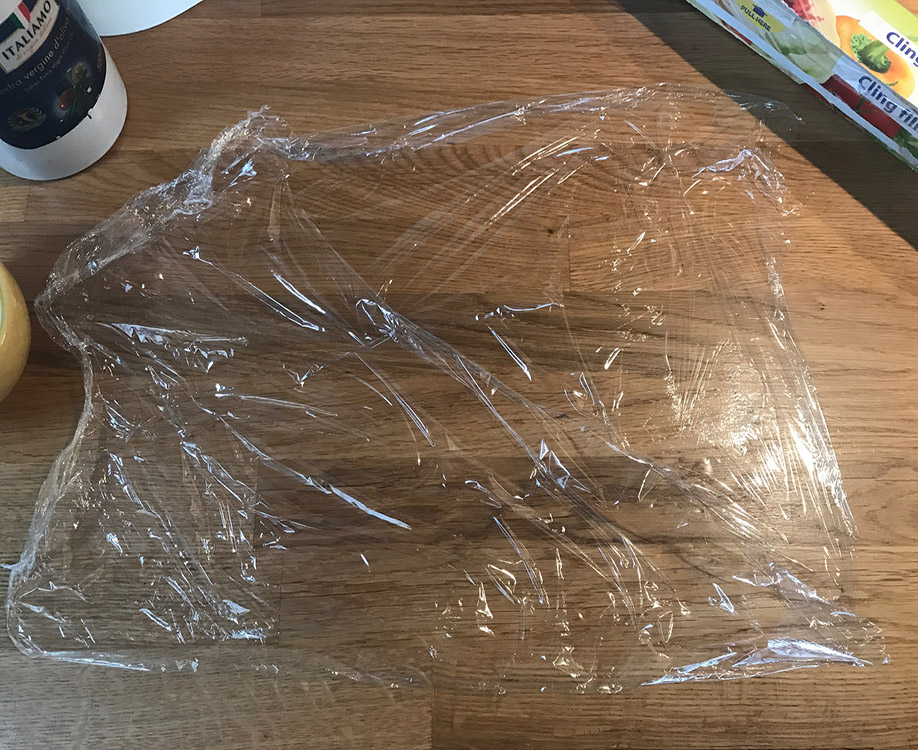
2 – Place the clingfilm over a cup and push the wrap into it slightly, creating a little dip
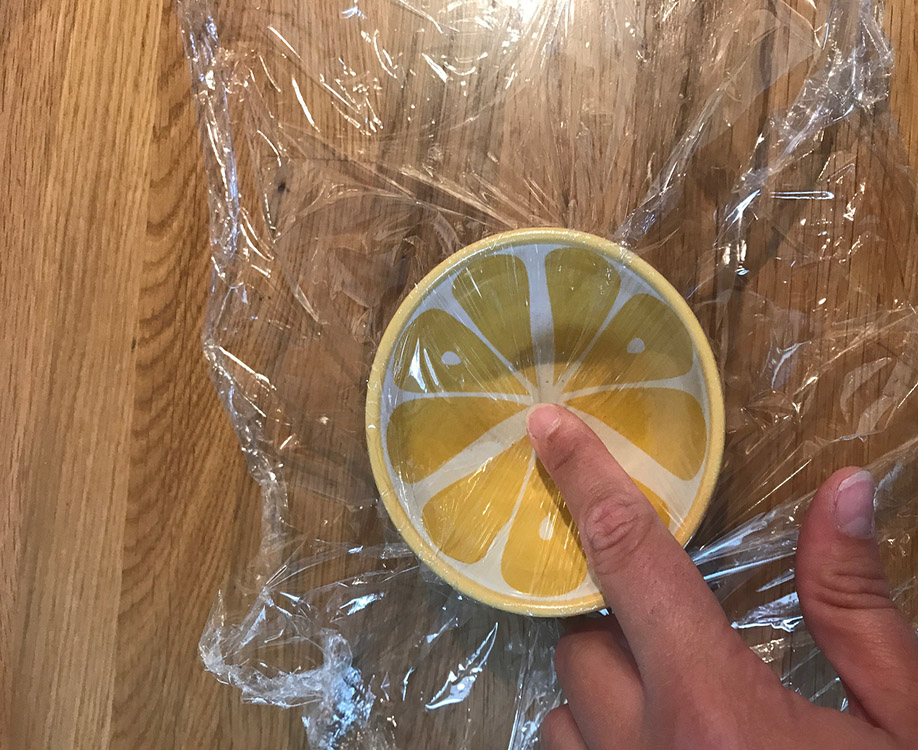
3 – Pour a small amount of oil into the dip and spread it around the area covering the cup (this makes sure that your egg is easy to remove from the clingfilm later)
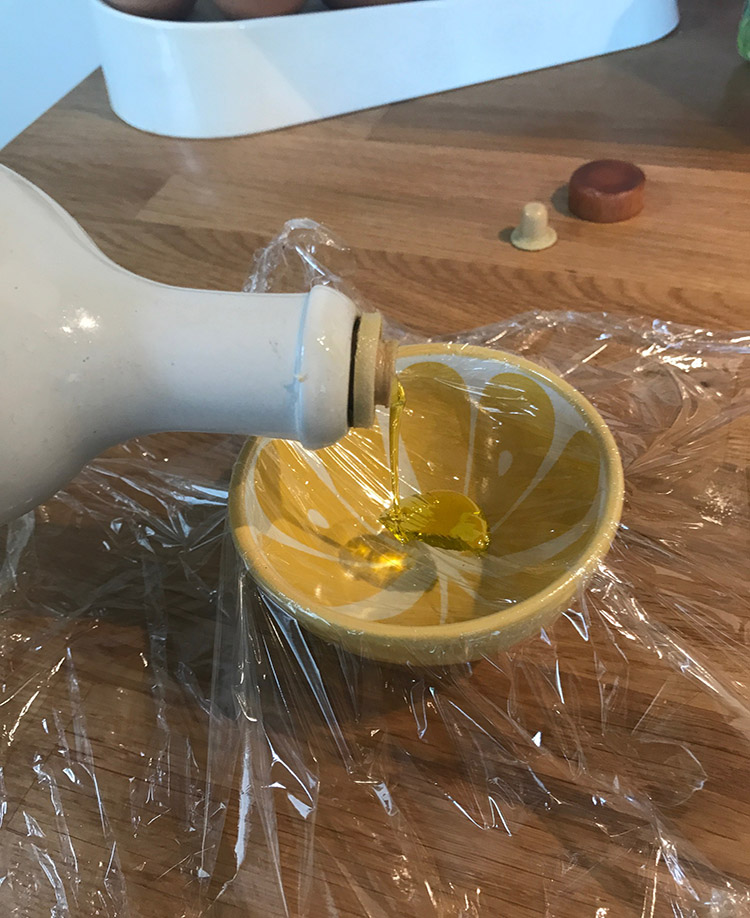
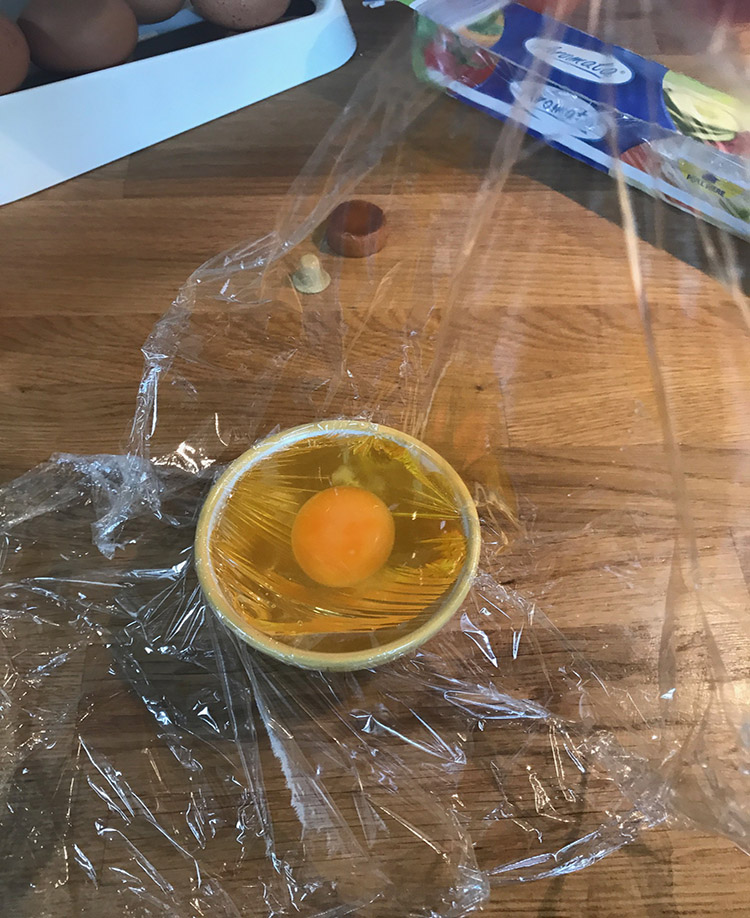
4 – Crack a fresh egg into the dip in the clingfilm
5 – Pull each of the corners of the clingfilm up to meet in the middle high above the egg, wist the wrap down to the egg making a seal, it should now look like a pod at the bottom
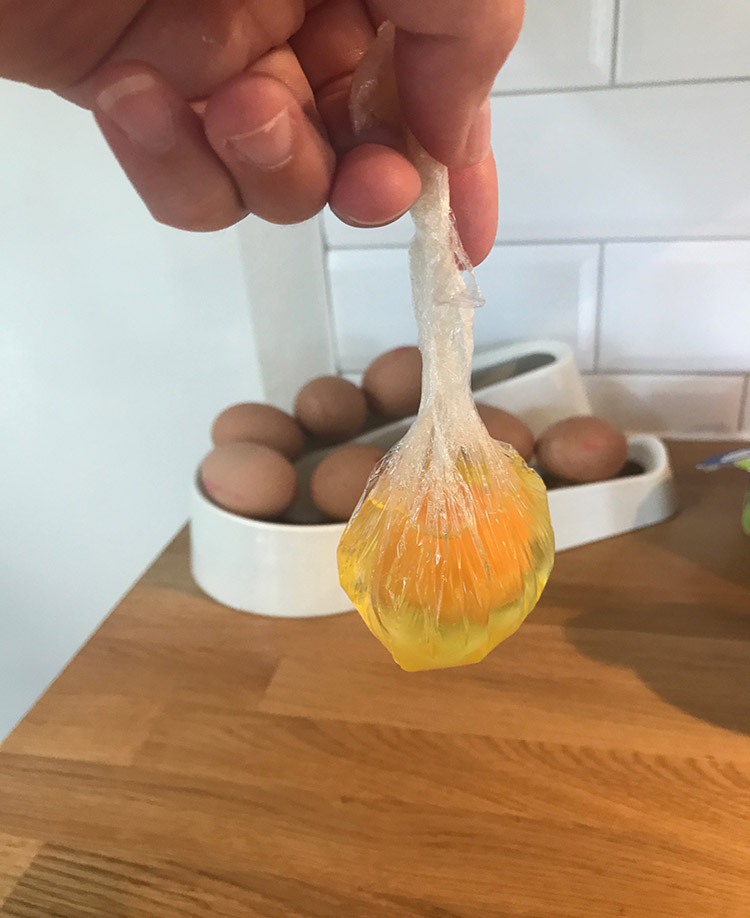
6 – Repeat for the number of eggs you are cooking
7 – Fill your saucepan halfway and get it to a gentle simmer over medium heat
8 – Slowly drop your bunch of egg pods into the saucepan and time for 3 1/2 minutes
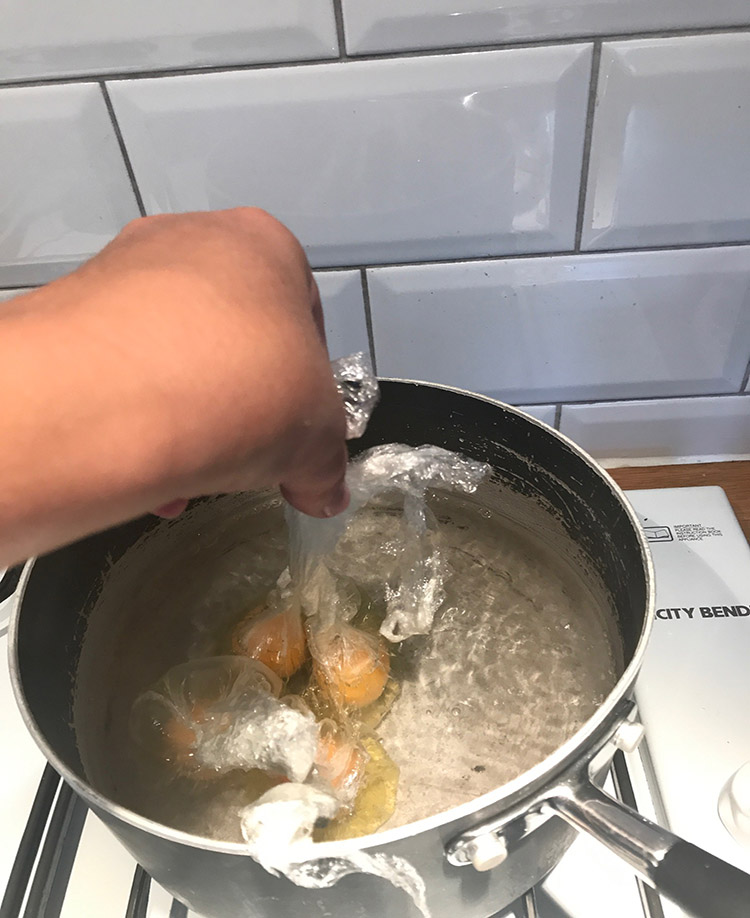
9 – Pull the eggs out and cut the twisted part of the clingfilm off (be careful the eggs and wrap will be hot)
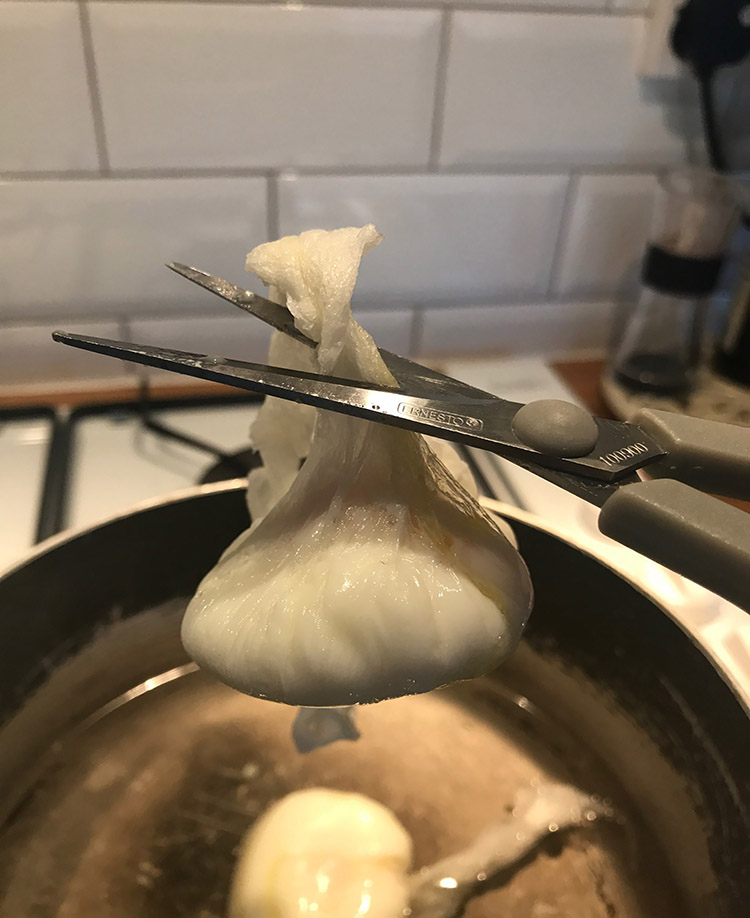
10 – Slowly peel away the clingfilm and place your egg on toast, bacon, gammon, biscuits, pancakes whatever you prefer
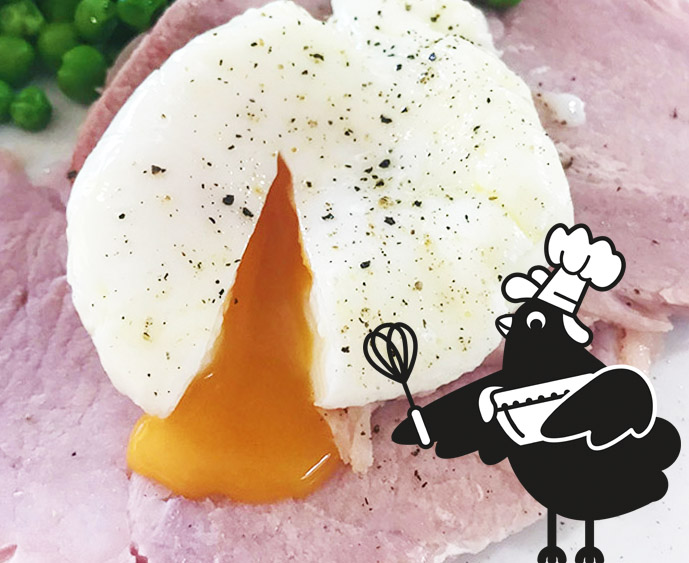
Enjoy!!
This entry was posted in Recipes
As we all try to detox this January, we thought we would bring you some healthy egg recipes to keep you on track with your goals!
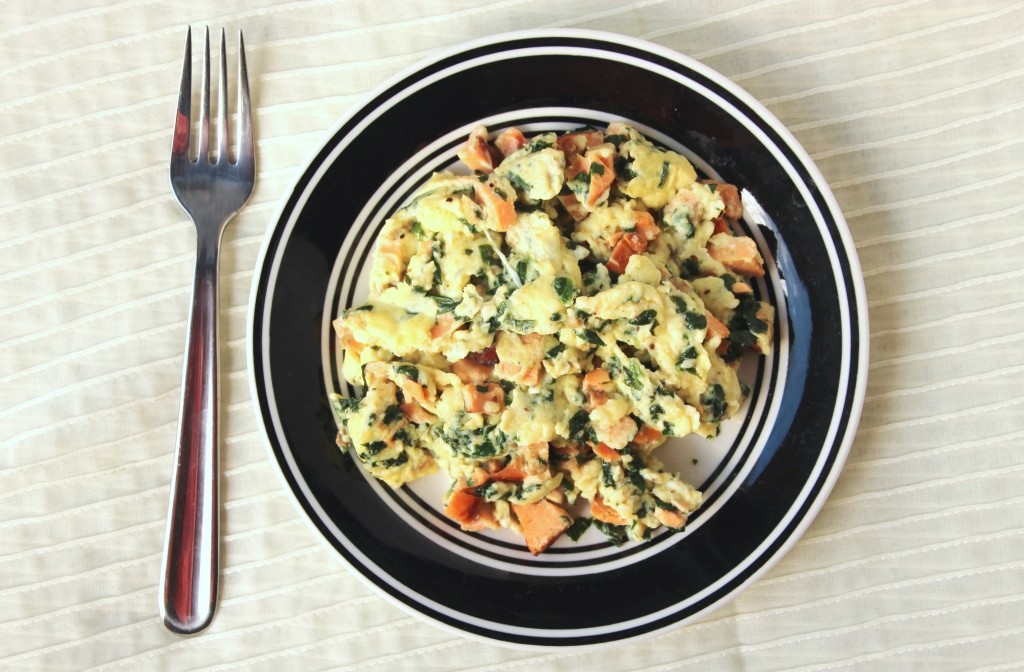
Starting with a simple bowl of Scrambled Eggs and Smoked Salmon with Wilted Spinach.
Ingredients:
2 Eggs
Dash of Milk
Knob of light butter/marg
2 slices of Smoked Salmon
Handful of spinach
Pinch of pepper
Crack your two eggs into a bowl and whisk with a dash of milk.
Slowly heat your butter in a non stick pan, once butter has melted, pour your eggs in.
Stir occasionally, after 30 seconds, add your salmon and spinach, continue to stir.
Once the salmon has turned light pink, spinach has wilted and the eggs have started to solidify, remove the pan from the hob.
Allow the heat from the pan to continue cooking the eggs and then pour them either into a bowl or onto some wholemeal toast.
Enjoy!
This entry was posted in Recipes
Ingredients
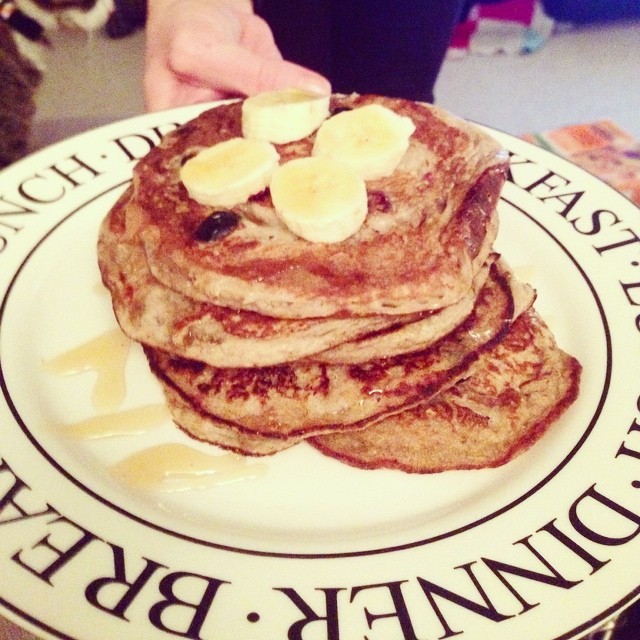
2 ripe peeled bananas,
1/2 cup of oats,
2 eggs,
1 tbsp of yoghurt,
Splash of milk.
To cook
1 tsp coconut oil
This is the easiest and quickest breakfast to make if you’re on the go. All you have to do is put all the ingredients apart from the coconut oil in a blender and blend until it’s smooth. Then heat a non stick frying pan with a little bit of coconut oil and then pour or ladle the pancake mixture into small ‘American style’ pancakes on the frying pan. You should be able to fry roughly 2-3 at a time depending on the size of your frying pan. Wait for the pancake to cook on one side, once you start to see air bubbles coming through, you can then flip the pancake to cook on the other side. They should come out golden brown and fluffy. Serve with any fruit of your choice, we personally like them with blueberries and a dollop of greek yoghurt. If you wish to reheat these pancakes at a later date for a healthy alternative breakfast, just pop them in the toaster for a minute for a crisp and warm pancake.
This entry was posted in Recipes
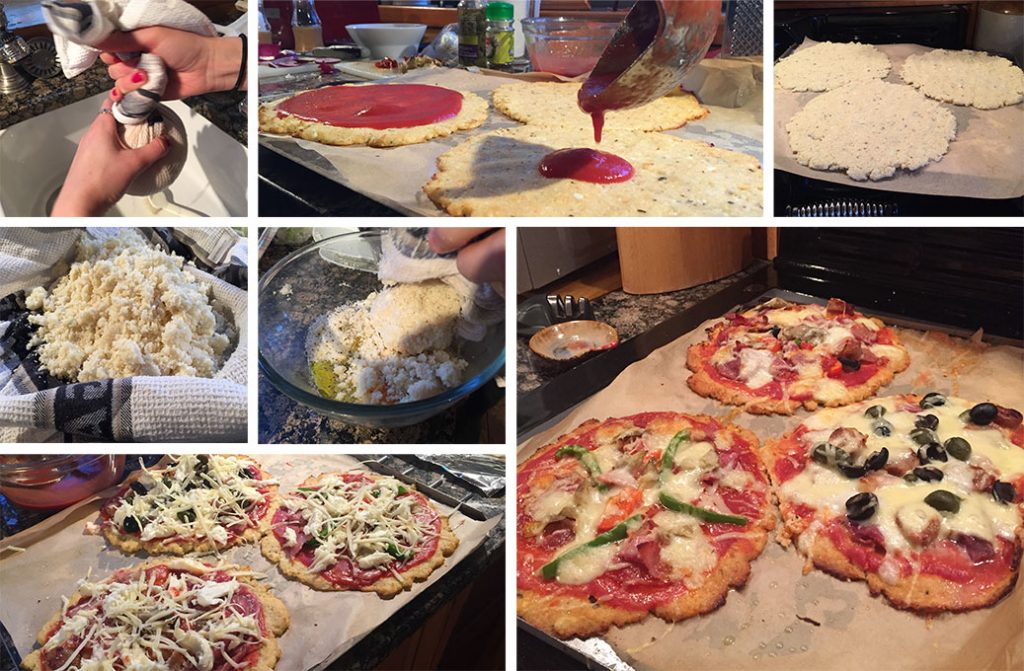
In recent years people have tried harder and harder to find healthier alternatives to their favourite foods especially if you’re looking for a gluten free substitute. One popular recipe at the minute is a Cauliflower Pizza Base. We decided to test all the hype and see if it really does taste as good as they say!
Having made them, on reflection we think this was a good alternative to a standard pizza base and it’s particularly great for people who can’t eat gluten however if you put a deep dish pepperoni in front of us, you can probably guess which one we would choose.
Pizza Base
- 2 Cauliflower Heads
- 1 Egg
- 100g of Parmesan
- Tbsp Olive Oil
- Mixed Herbs
- Salt and Pepper to season
Topping
- Passata Sauce or Tomato Puree
- Mozzarella
- Cheddar Cheese
- Other toppings of your choice: Pepperoni, Chorizo, Ham, Mushrooms, Peppers, Onions, Olives, Anchovies etc
Method
Chop the cauliflower up into smaller chunks and put it in a food processor. Blend it up until it’s a fine crumb.
Take the cauliflower out and place it in the middle of a clean tea towel. Roll the corners of the tea towel up to form a ball at the bottom. Wring the tea towel over a sink to remove all the moisture in the cauliflower. Repeat this process quite a few times, you’ll find it surprising how much water cauliflower contains!
Once you think you’ve removed most of the moisture, empty the cauliflower out into a mixing bowl. Grate your parmesan into the bowl, add the egg and your mixed herbs, drizzle olive oil into the bowl and then mix all the ingredients together until it forms a ball.
You can make roughly 3 medium sized pizzas out of this mix so break the ball of dough into 3 parts and pat each one out into a circle onto greaseproof paper.
Place on a baking tray and bake blind for 10 minutes at 180 degress c to crisp up the bases.
Take the bases out the oven and then you can start adding your toppings. Spread your tomato sauce on the base, sprinkle with mozzarella and cheddar, then it’s time for the fun part!
Go wild with your toppings, add anything that takes your fancy. Be careful not to make the toppings too heavy as these bases are more delicate than your average pizza base.
Place back in the oven for another 10 mins and they should come out golden brown and ready to serve, enjoy!
This entry was posted in Recipes

Ingredients:
Sandwich:
2 Slices of bread
2 Slices of cheese (Emmental, Gruyere, Cheddar)
2 Slices of thick cut ham
Bechamel Sauce:
25g Butter
1 Tbsp flour
125ml Milk
Pinch of salt
Pinch of pepper
1 Tsp of Dijon mustard
Topping:
1 Large egg
To make the Bechamel sauce slowly melt the butter in a pan on a low heat, once melted, add the flour in parts and beat it with a wooden spoon until it forms a ball. Then slowly add your milk to the pan and keep stirring it over the low heat to keep it nice and smooth. Once you have added all your milk, add your seasoning and leave it to thicken for a couple of minutes. Set the sauce to the side.
Lightly toast your bread under the grill and then butter each slice, layer the cheese and ham on one slice and place the other slice of toast on top. Then spoon your sauce onto the top of the sandwich, place under the grill until it starts to turn golden brown. Meanwhile, put a knob of butter in a frying pan and crack open your egg. Fry the egg but make sure you keep the egg runny, once ready place on top of your sandwich and serve with a side salad.
This entry was posted in Recipes
Makes 10
10 Soft boiled eggs
2x 500g Sausagemeat
150g Chorizo
1 Raw egg (whisked)
200g Breadcrumbs
500ml of Vegetable cooking oil

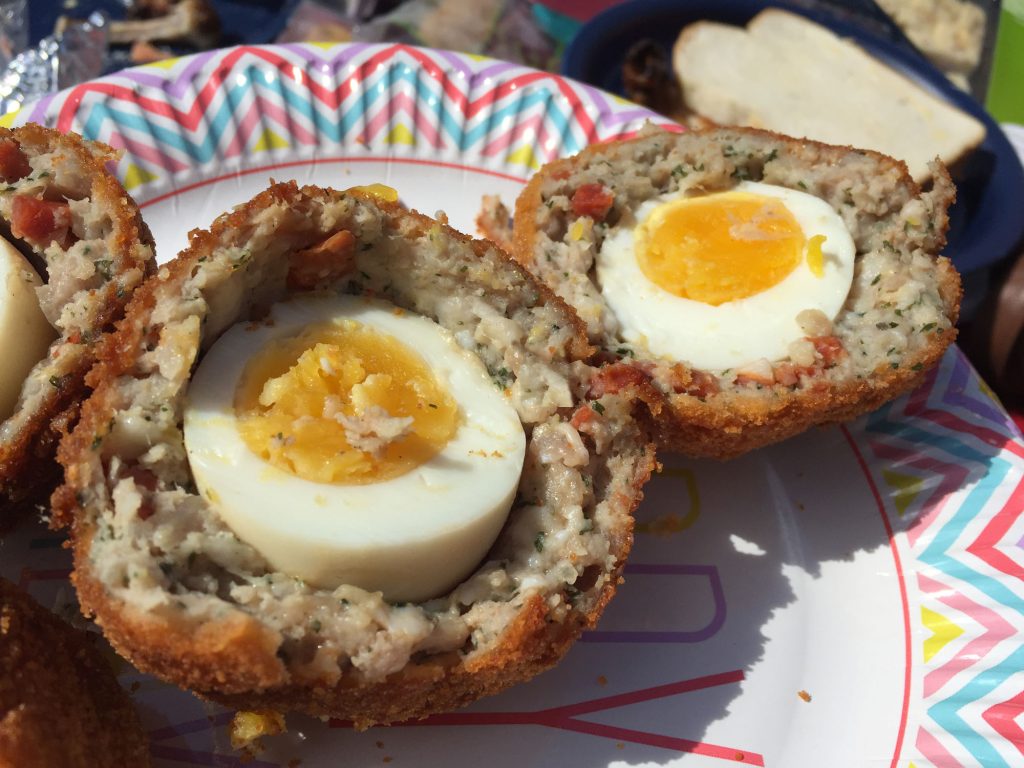
Start by boiling 10 eggs for roughly 5 mins, depending on how soft you like your egg, then run them under cold water to cool them down. Tap each egg on a kitchen surface and roll them under your palm, we find this the easiest way to peel an egg. Put the eggs to one side whilst you prepare your sausagemeat.
Remove all packaging from the sausagemeat and empty into a large bowl. Finely chop the chorizo and then add it to your sausagemeat. Use your hands to work the sausagemeat and mix in the chorizo. Once you have done this, take a small handful of the sausagemeat and roll it into a ball then flatten it out into a patty in your hand.
Place one egg on top of the patty and wrap the meat around the egg as far as possible, take a another small handful of the sausagemeat and patch up the remaining area to form a ball around the egg.
Dip the ball in the whisked raw egg mixture, ensure it is all covered. Take a large plate and spread the bread crumbs across it, take the egg soaked ball and roll it around in the breadcrumbs. Repeat this process for the other eggs.
Heat a pan of cooking oil until it is at roughly 165 degrees c, make sure the oil is deep enough to cover the eggs and then cook roughly 2-3 at a time for 5 minutes each.
You can serve these hot or cold, as a starter or as a delicious picnic snack, enjoy!
This entry was posted in Recipes
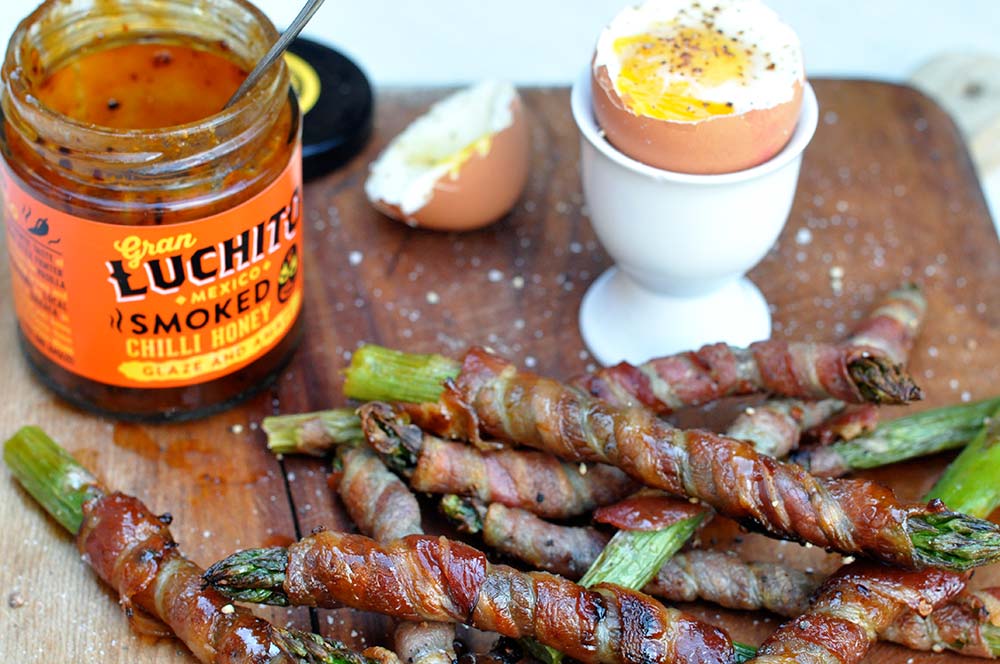
It’s one of our favourite foods as a child so why do we forget about it as an adult? What ever happened to taking a soft boiled egg, putting it in a funky egg cup and dipping your soldiers in it? We love it! It makes for a fun breakfast with the family, or a quick tea if you’ve got nothing in the house. These days it’s all about the smashed avocado on sourdough with poached eggs (not gonna lie, we do enjoy this) but sometimes it’s nice to just keep things simple with an Egg and a Soldier.
The Egg
People underestimate the difference a fresh egg can make to the taste of their breakfast. There’s nothing better than walking out to your garden and collecting your freshly laid eggs and putting them straight in a pan. We would definitely vote for a home grown or free range egg vs a small battery egg any day!
Alternatively Duck eggs make great dippy eggs as they have such a large yolk, bear in mind cooking time will take longer and your ratio of soldiers will need to be increased.
The Cup
Half the fun of a dippy egg is choosing your cup! Why not take a look at some of our weird and wonderful egg cups to add to your collection?

The Seasoning
You can either keep it simple with salt and pepper or if you’re feeling adventurous why not add a couple of drops of Tabasco to get your day off to a fiery start? Other suggestions include a dollop of Marmite, truffle salt and paprika. The options are endless, try out some new ones and let us know what you think.
The Soldier
Often not given the respect it deserves, the soldier element of a dippy egg is what makes the meal. You need a strong soldier that’s not going to bend, we would recommend toasted crusty bread, or a standard cut loaf, but make sure that it’s toasted enough to avoid the flimsy bread error. Alternatively you can try out different soldiers instead of bread, for example grilled asparagus wrapped in proscuitto, crudites or crispy bacon, get experimenting!
This entry was posted in Recipes